

Rob11902
-
Content Count
6 -
Joined
-
Last visited
Posts posted by Rob11902
-
-
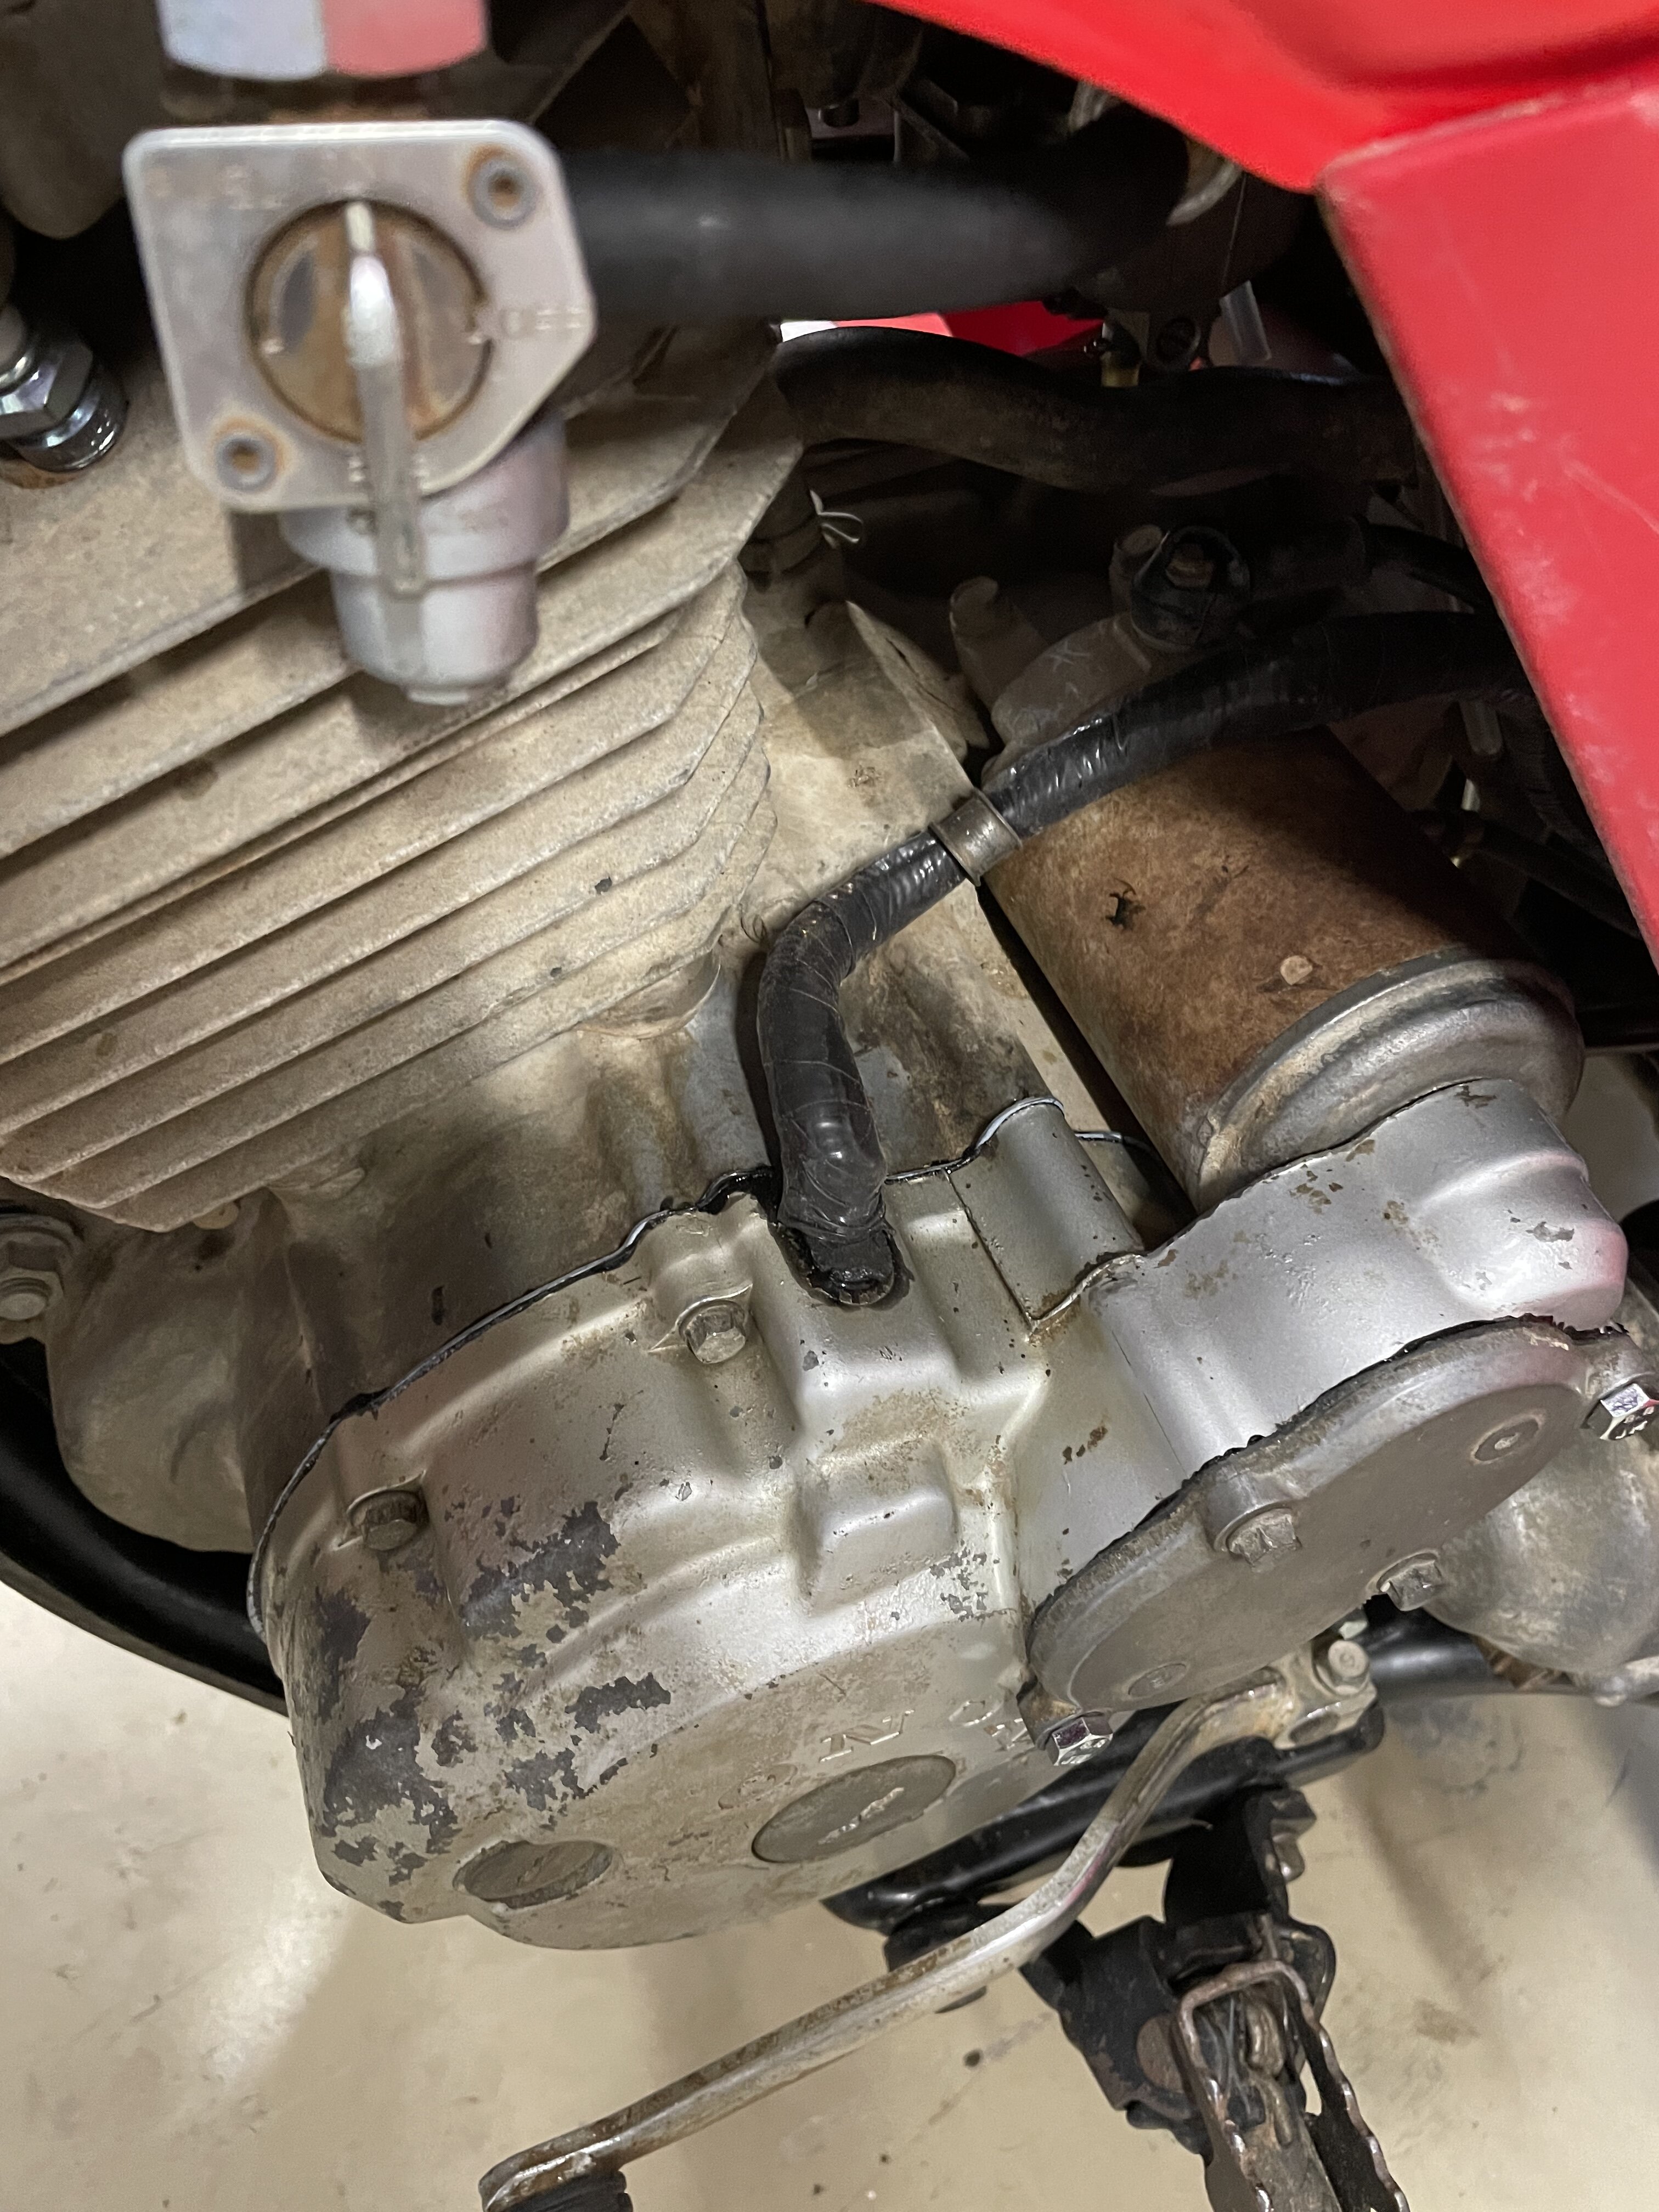
Alamo, where the wires come out of the cover, the Yamabond thinned out and became a bit translucent so you are seeing the case cover below the now semi-transparent sealant. It’s sealed around the wires and the rubber grommet with Yamabond as well.
-
It’s black Yamabond for sure. I take instruction well and bought what you recommend. The Yamabond stuff is good sealant. You may be seeing the edge of the aftermarket gasket which was actually a light blueish gray color.
-
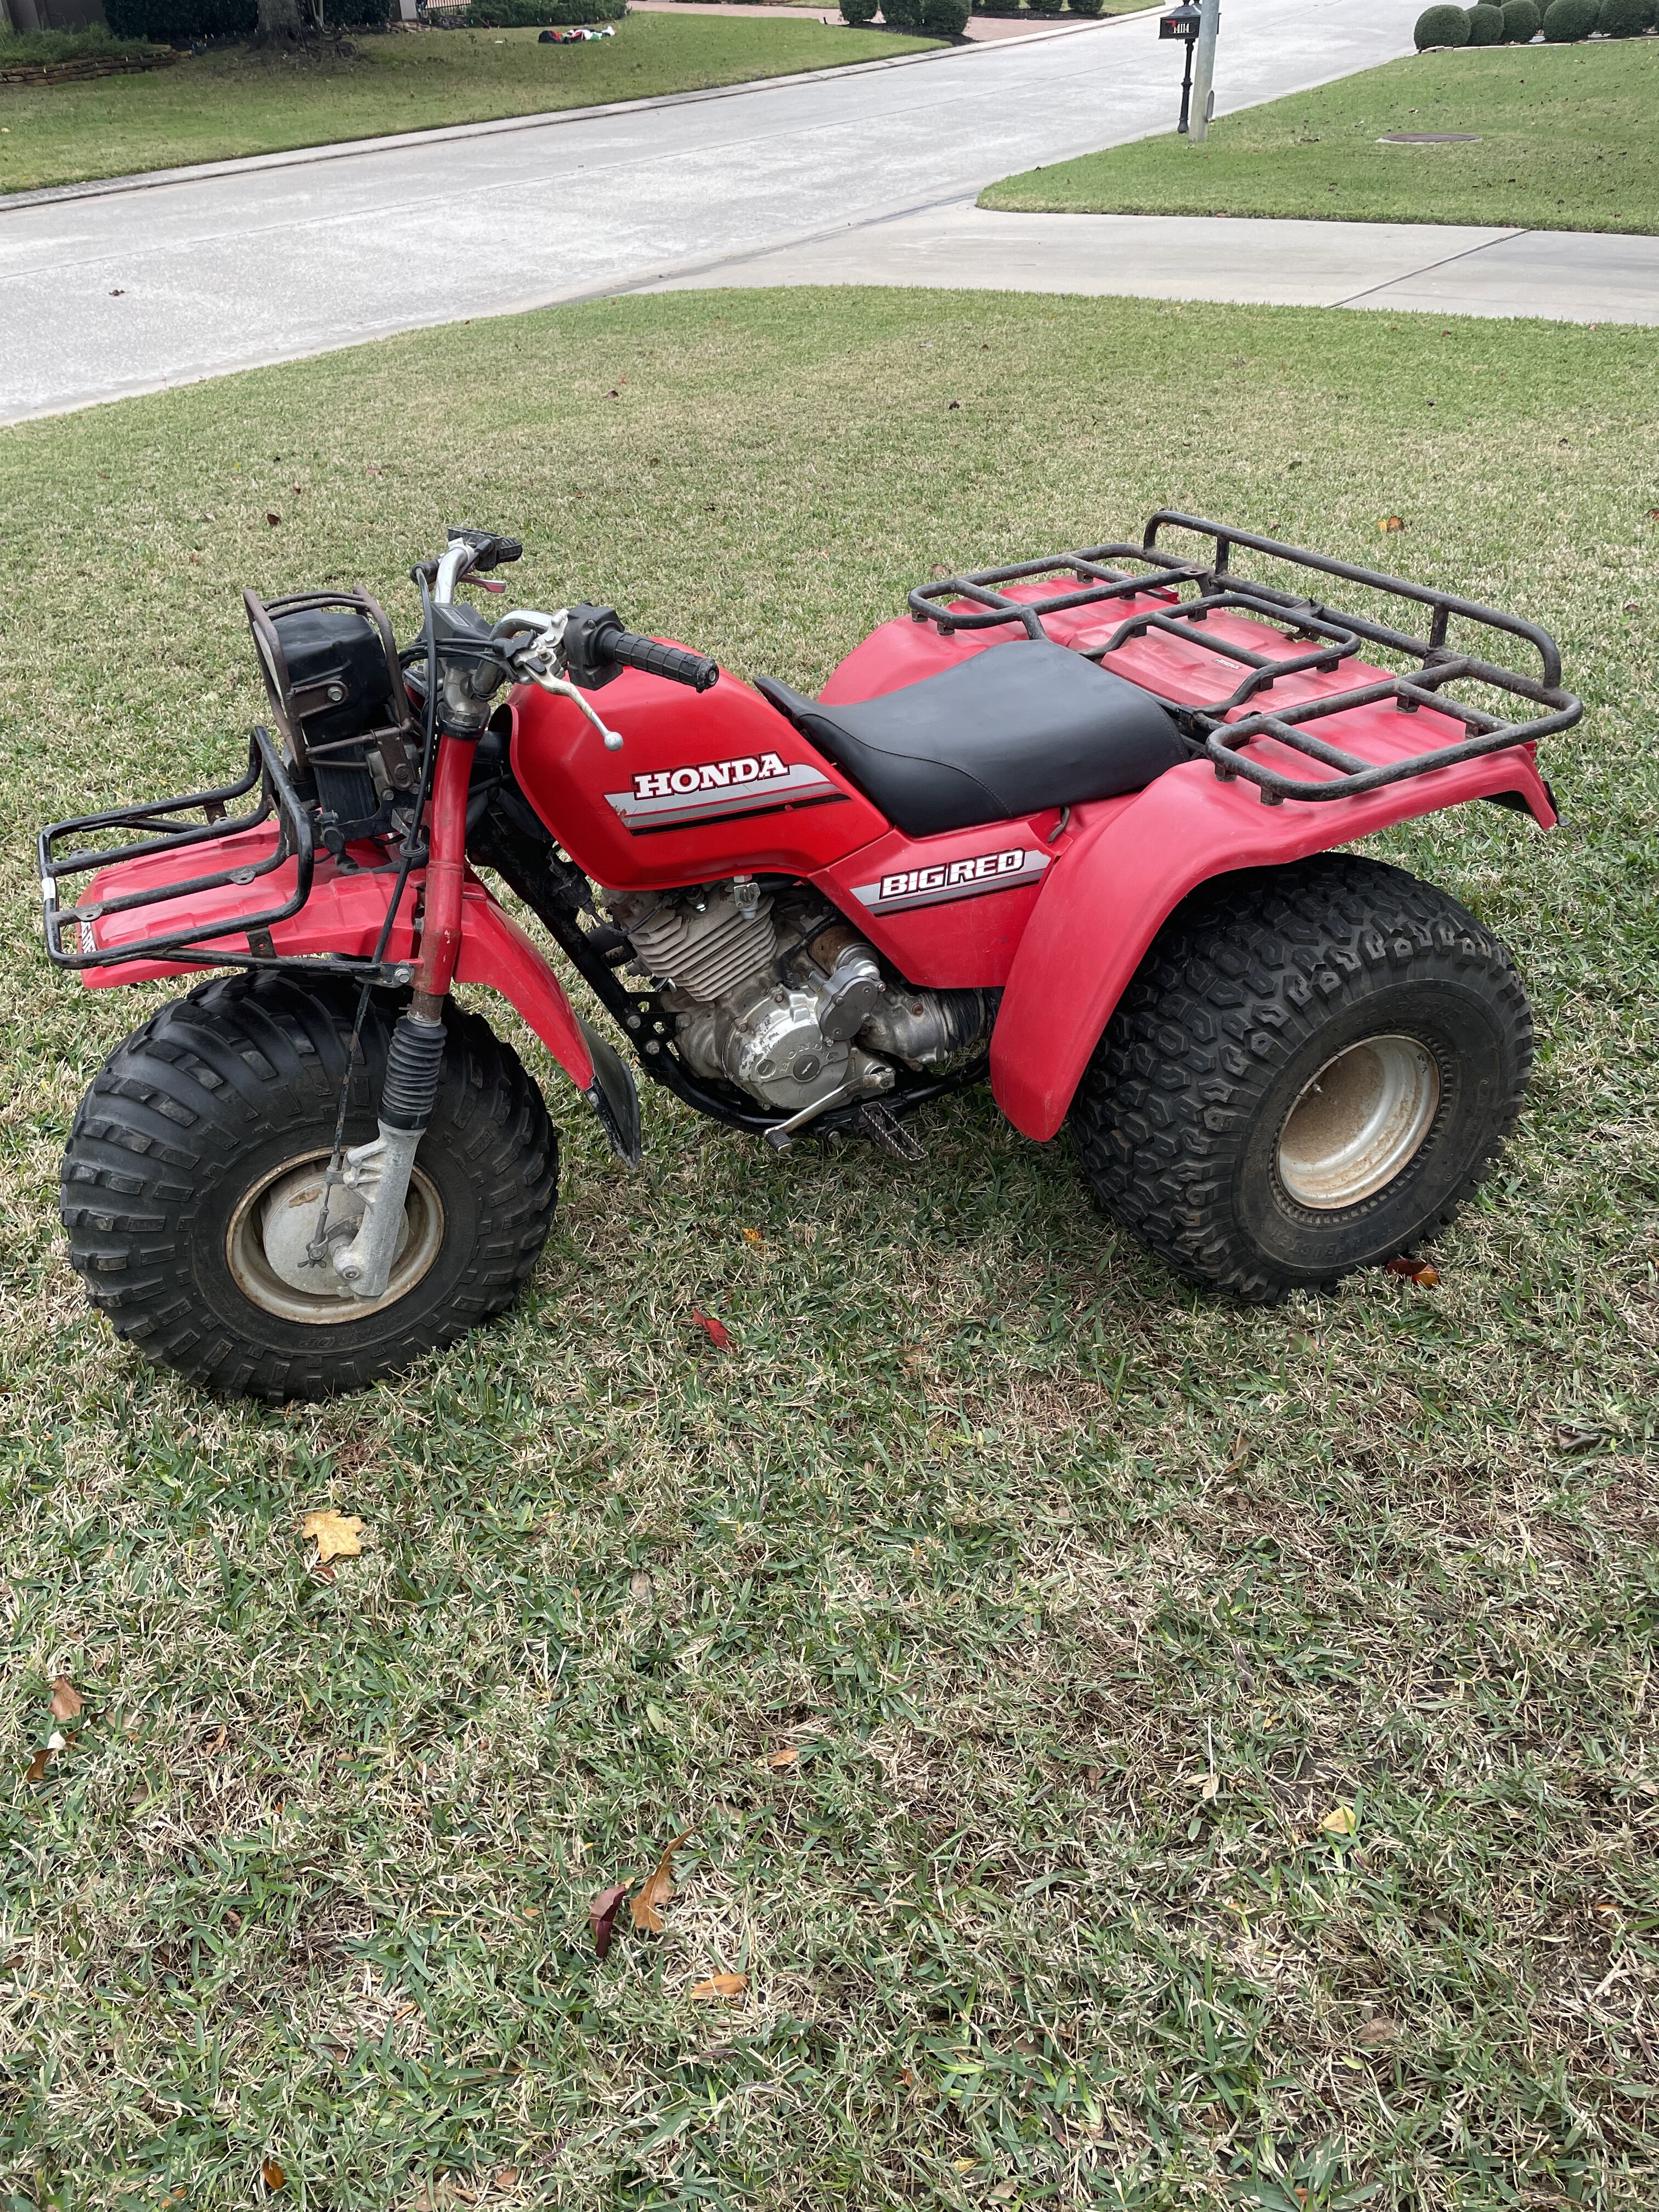
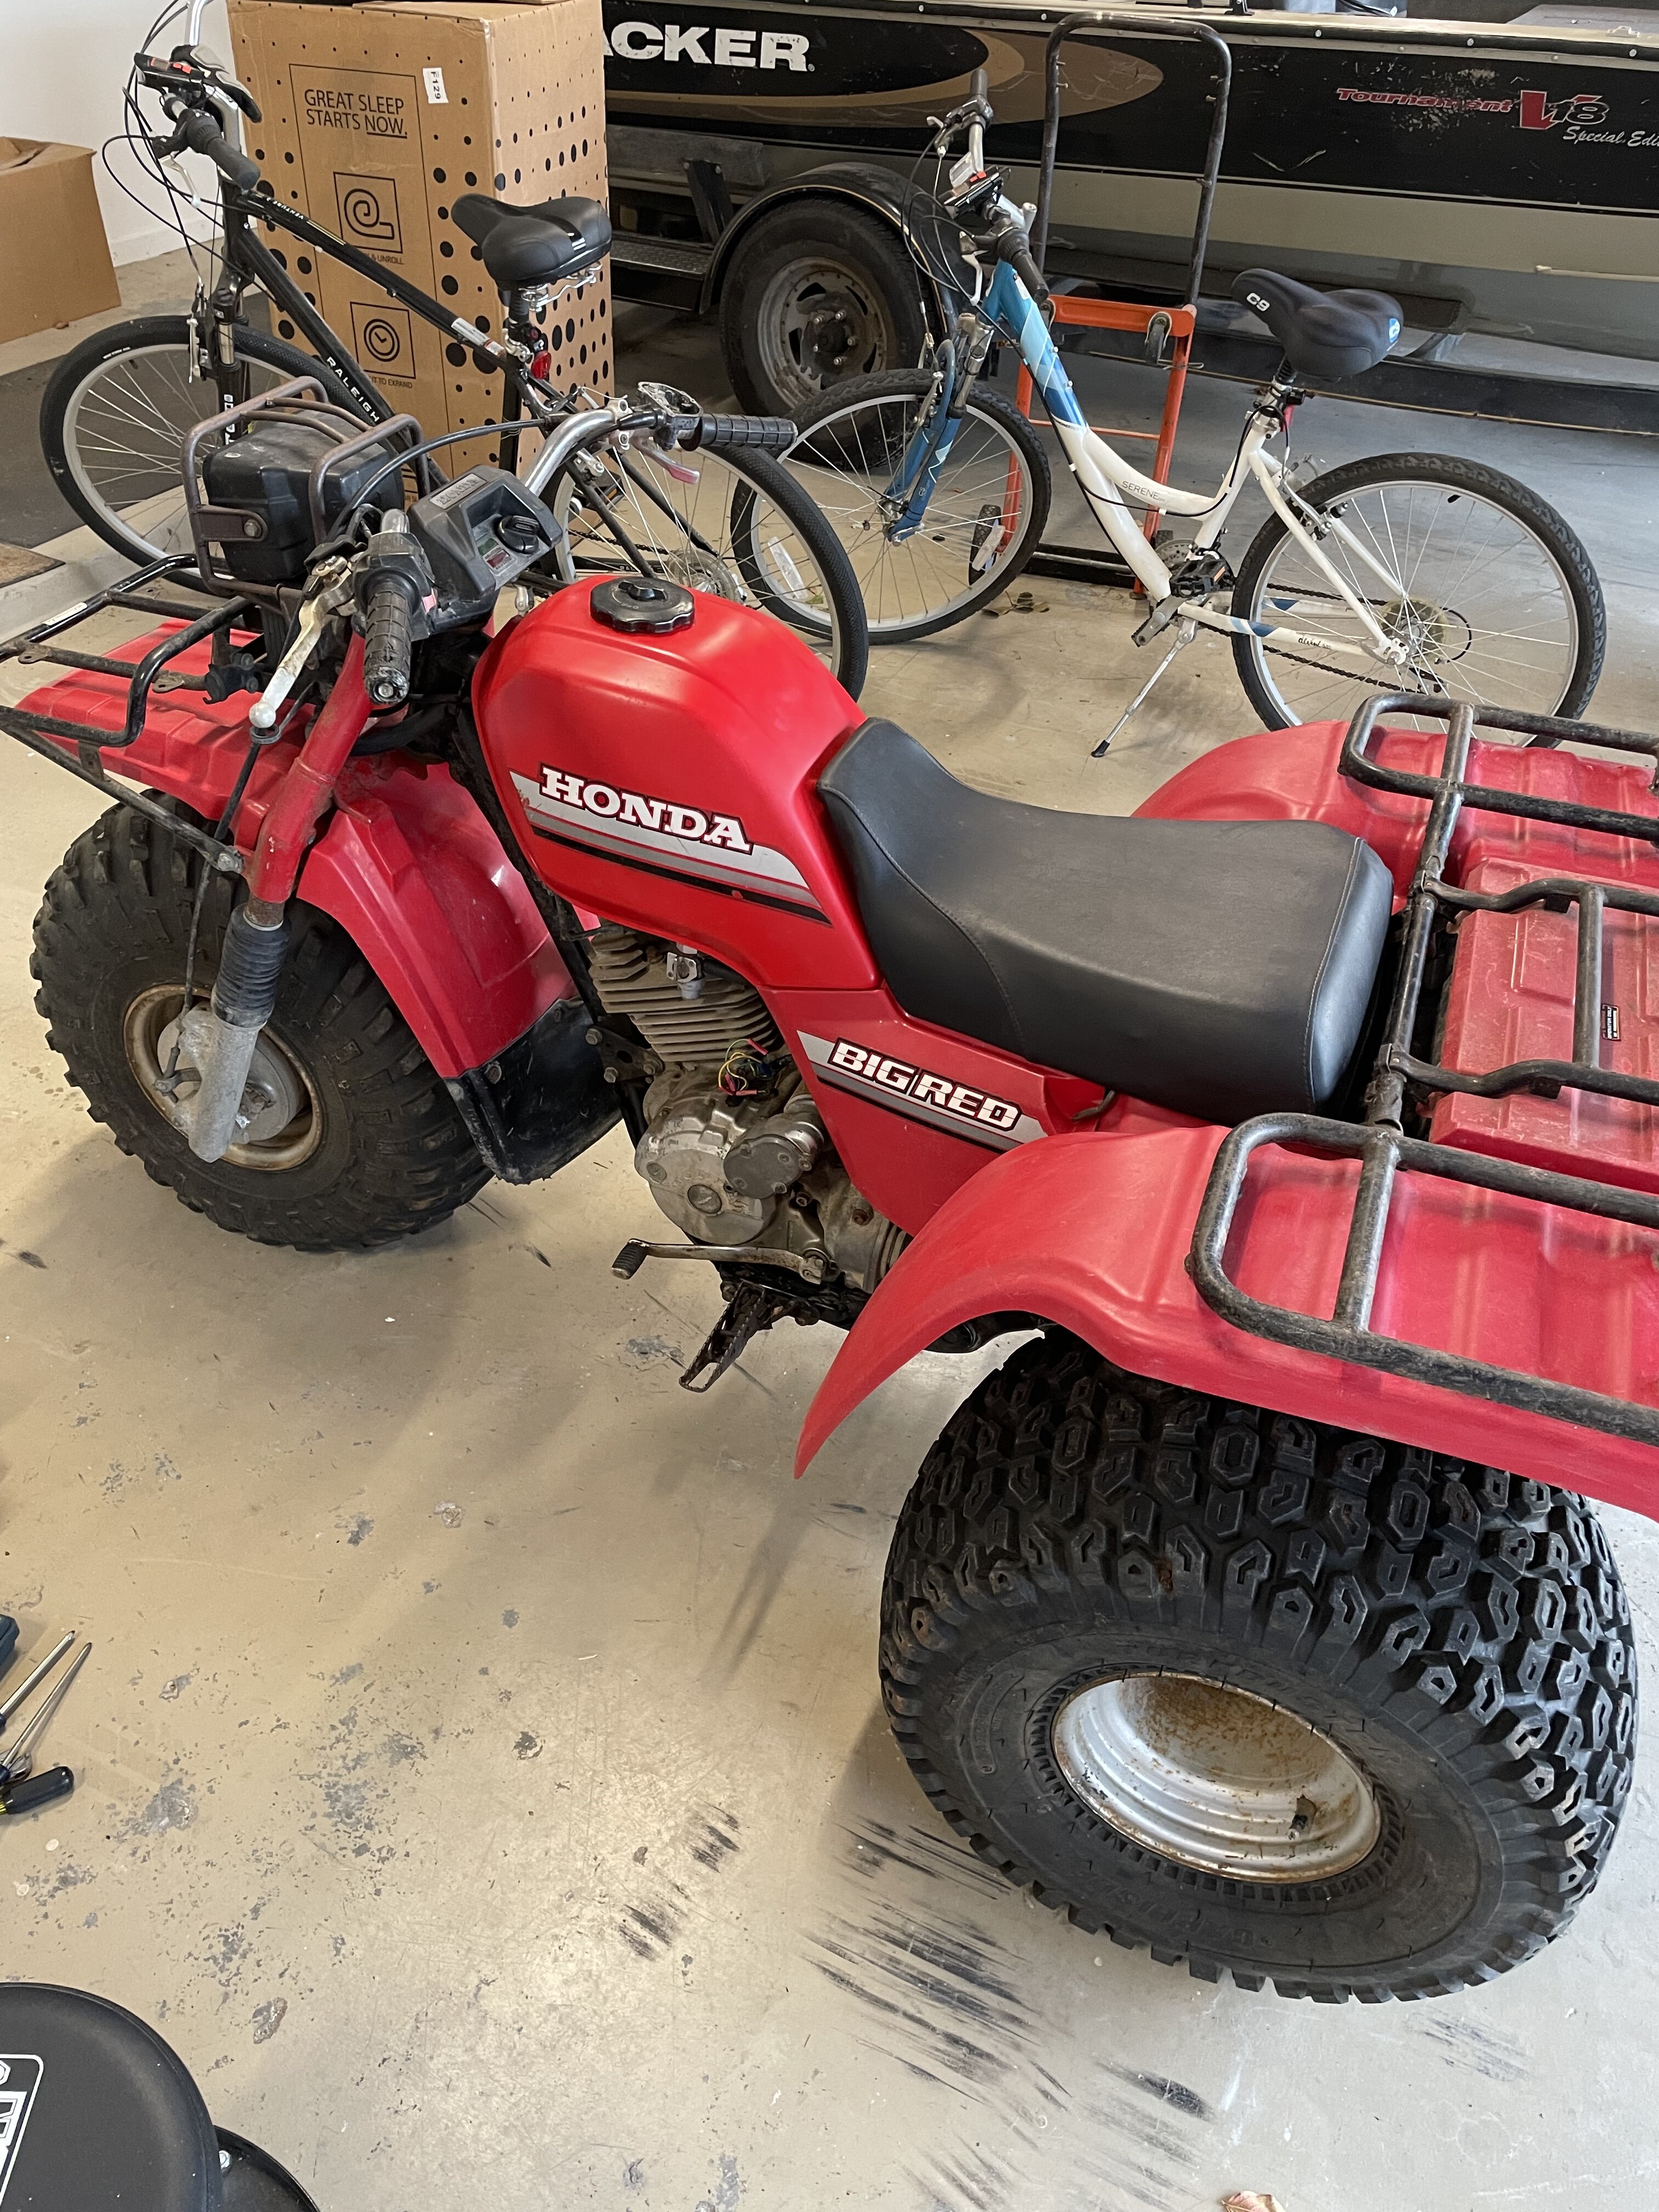
Well, I got the cover off, desoldered the alternator wires off, soldered the new wires, replaced the green/white wire, put the cover back on with the proper gasket and some Yamabond, and then made up barrel plug connections for the new to old wires. I used some compression wire wrap and covered it with self sealing silicone tape. If you haven’t discovered self sealing silicone tape, it is rated to 500 degrees and it seals water-tight. I attached the end product. I sold the 3-wheeler to a fellow who has a small collection of 3-wheelers after a flurry of interest on Facebook Market. I sold it for $2,000. I want to thank you for the advice on tilting it on its side. Also, I had to learn about soldering and ended up buying a goodmulti-range soldering system, but I’ll likely use that again. Happy trails to you.

-
 1
1
-
-
I’m in Cypress, TX. $2,100. It runs great, just needs the wires cleaned up.
-
1
-
-
I have a 1985 Big Red 250ES wiring problem where the alternator and pulser wires enter the crankcase. Before I bought this ATV over 25 years ago, there must have been an event that cut the wiring harness at the crankcase that cut two of the yellow alternator wires and the green/white pulser wire. While rebuilding the carb recently, I bumped the connectors from the old repair and two of them broke right at the crankcase. I need to open the crankcase cover and repair the wires right as I’m going to sell the ATV. I am ordering the OEM gasket for the left cover. Will I need any gasket sealer/lubricant? Will I need to replace any bushings, bearings or seals other than the gasket? I read elsewhere that I might need to remove the motor mounts to get the plate to clear the lower frame on removal, but I would take any advice on that as well.

1985 Big Red 250ES Alternator and Pulser Wire Repair
in Engine - Drivetrain
Posted
“Also”