
sled_22
-
Content Count
437 -
Joined
-
Last visited
-
Days Won
4
Posts posted by sled_22
-
-
9 hours ago, Misterclean said:Concerning the break in procedure.........if it were an OEM top end I would say just run it.........perhaps a little easy on the first cut tho. Since it's aftermarket it's impossible to say because you didn't measure the clearances.....or didn't mention it. Because it's aftermarket, play it safe and do heat cycles and easy cuts etc. for a tank of gas. 38 years doing this and a few years before that on dirt bikes for me.
I did 3 heatcycles before cutting. Seemed to make good power. Time will tell. I read the hyway piston is pretty decent. Caber rings too.
-
Johnson rod. Interesting. I figured it was some kind of cant hook.
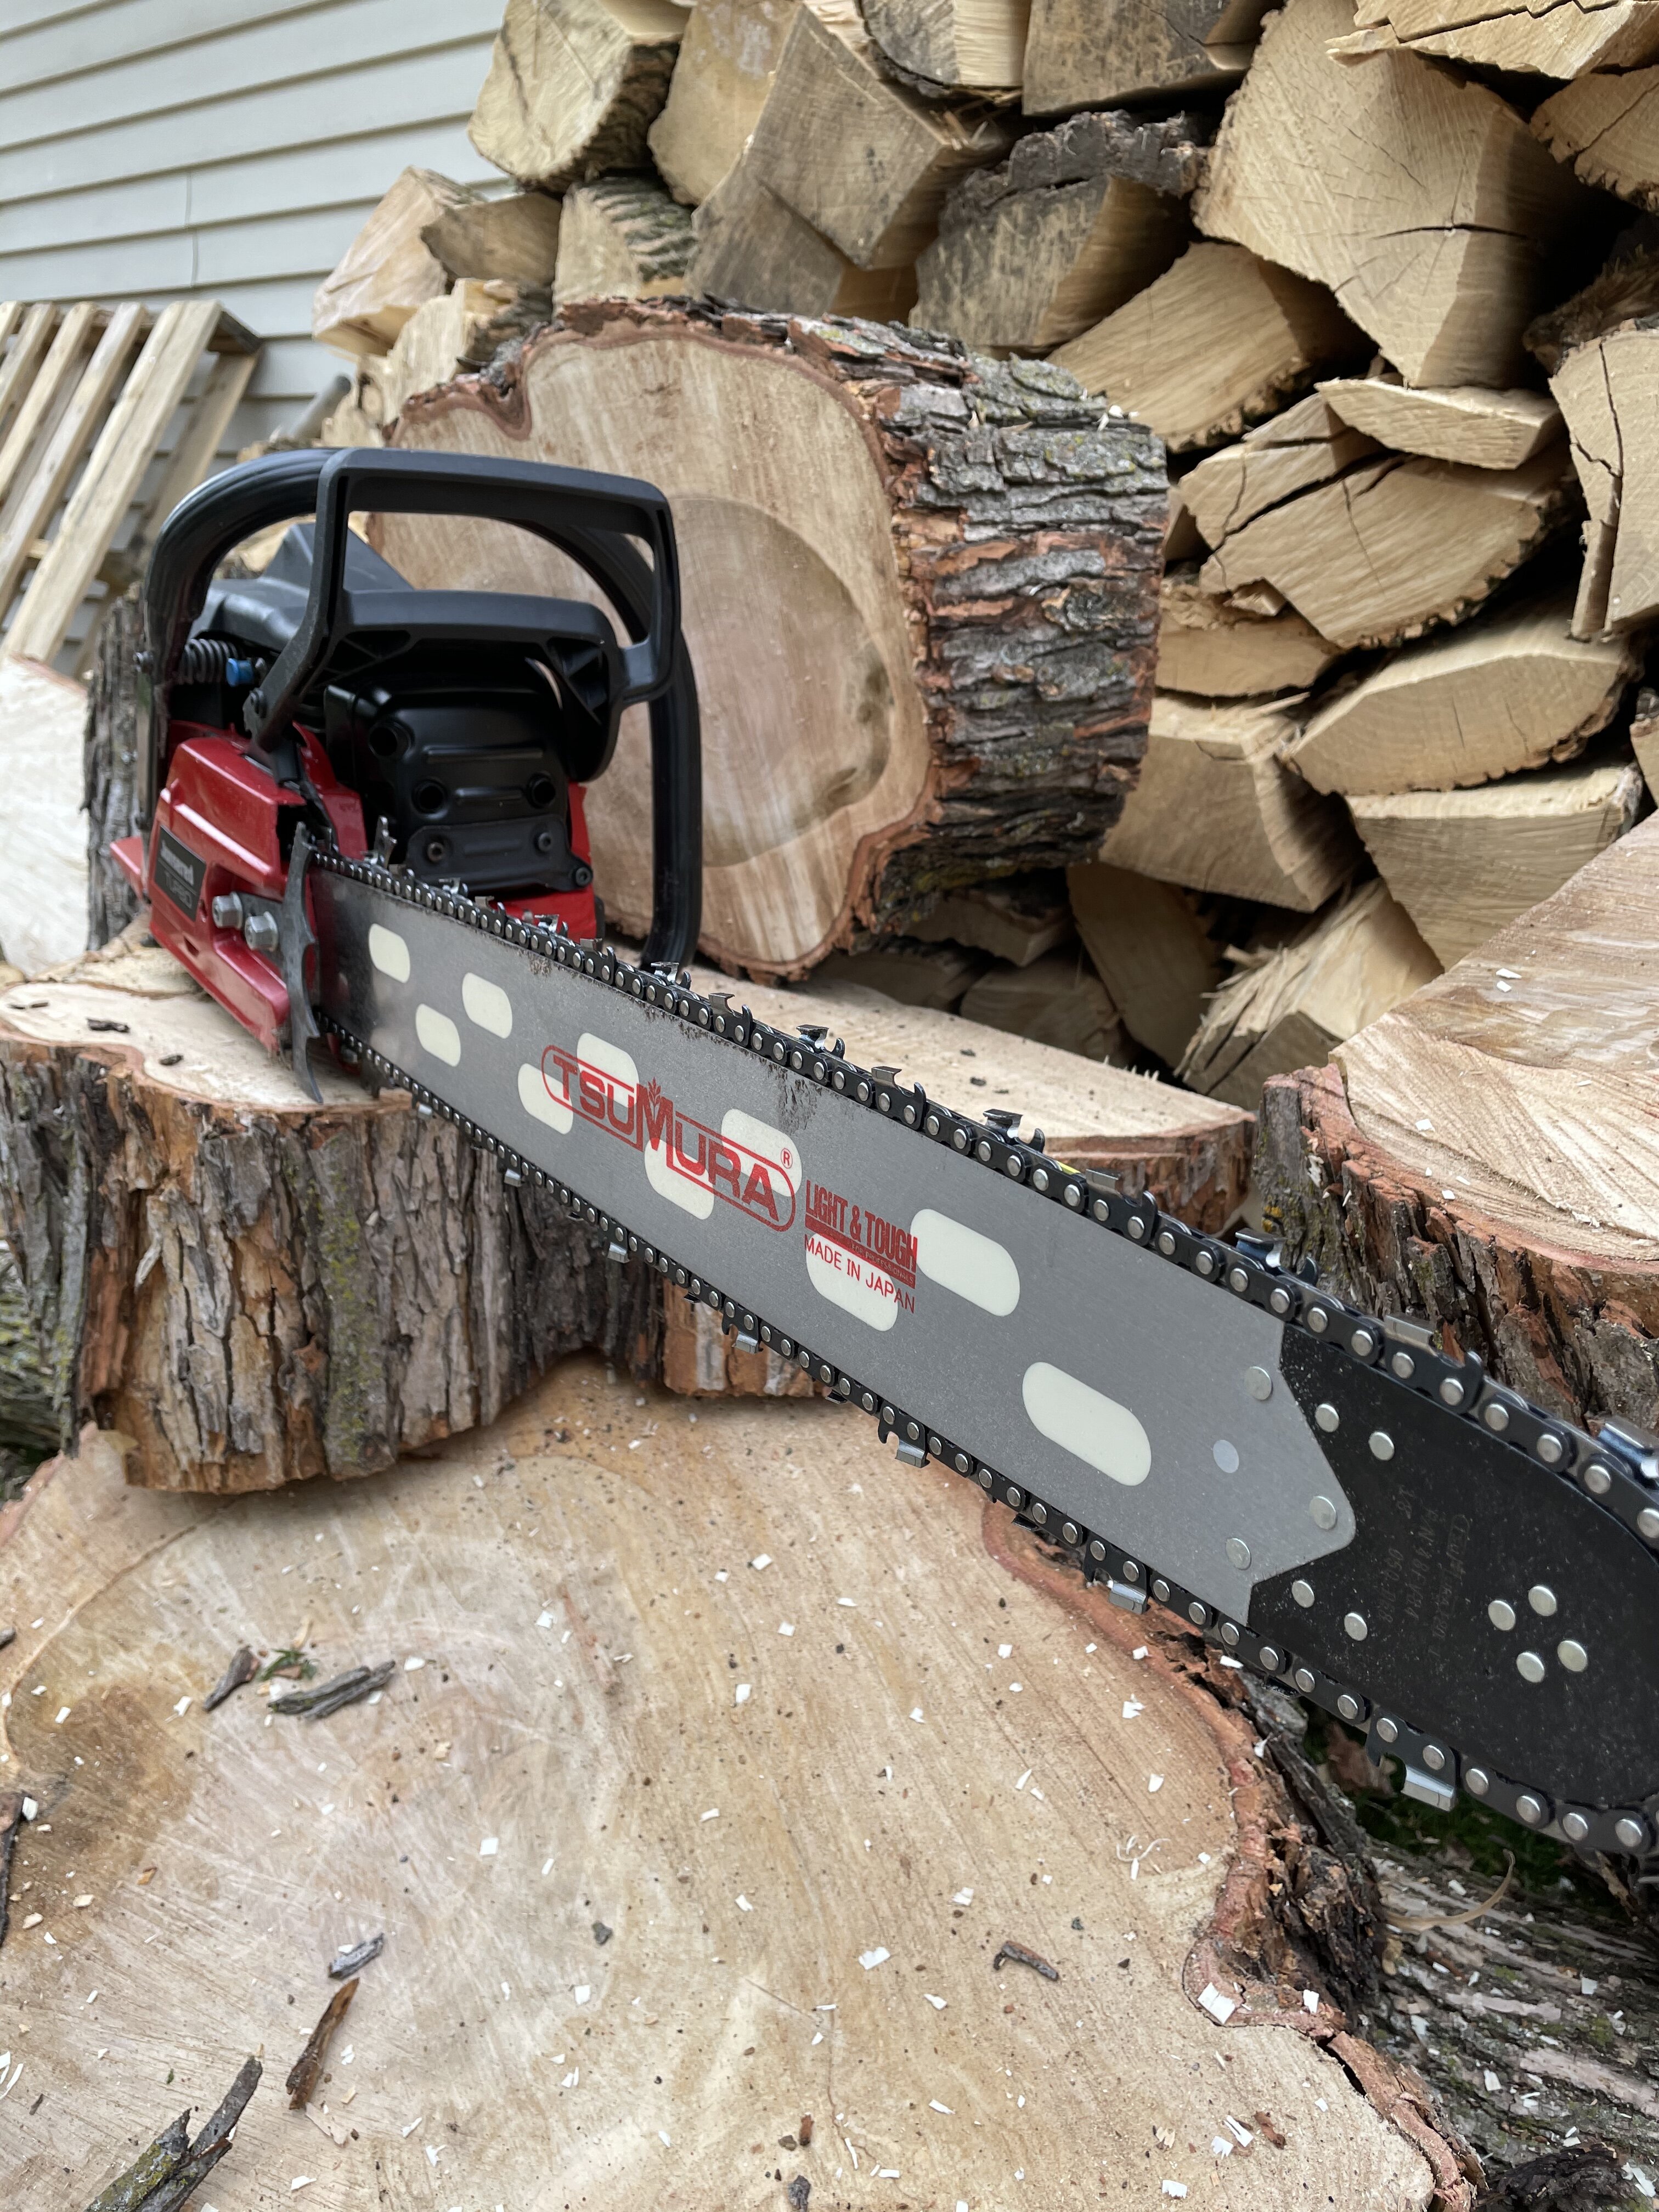
got the saw bar-Ed up today. Let it idle for about 10 minutes. I kind of had to babysit it or it wouldn’t run for more than a minute.
I mixed some gas oil around 32:1 too for the first tank. Just to keep everything extra lubed.
I left the carb fat and happy for about 5 minutes of cutting then leaned it out so it would four-stroke off and on through the cut.
near the end of the tank I leaned it out to four stroke when no load but clean up nice in the cut.
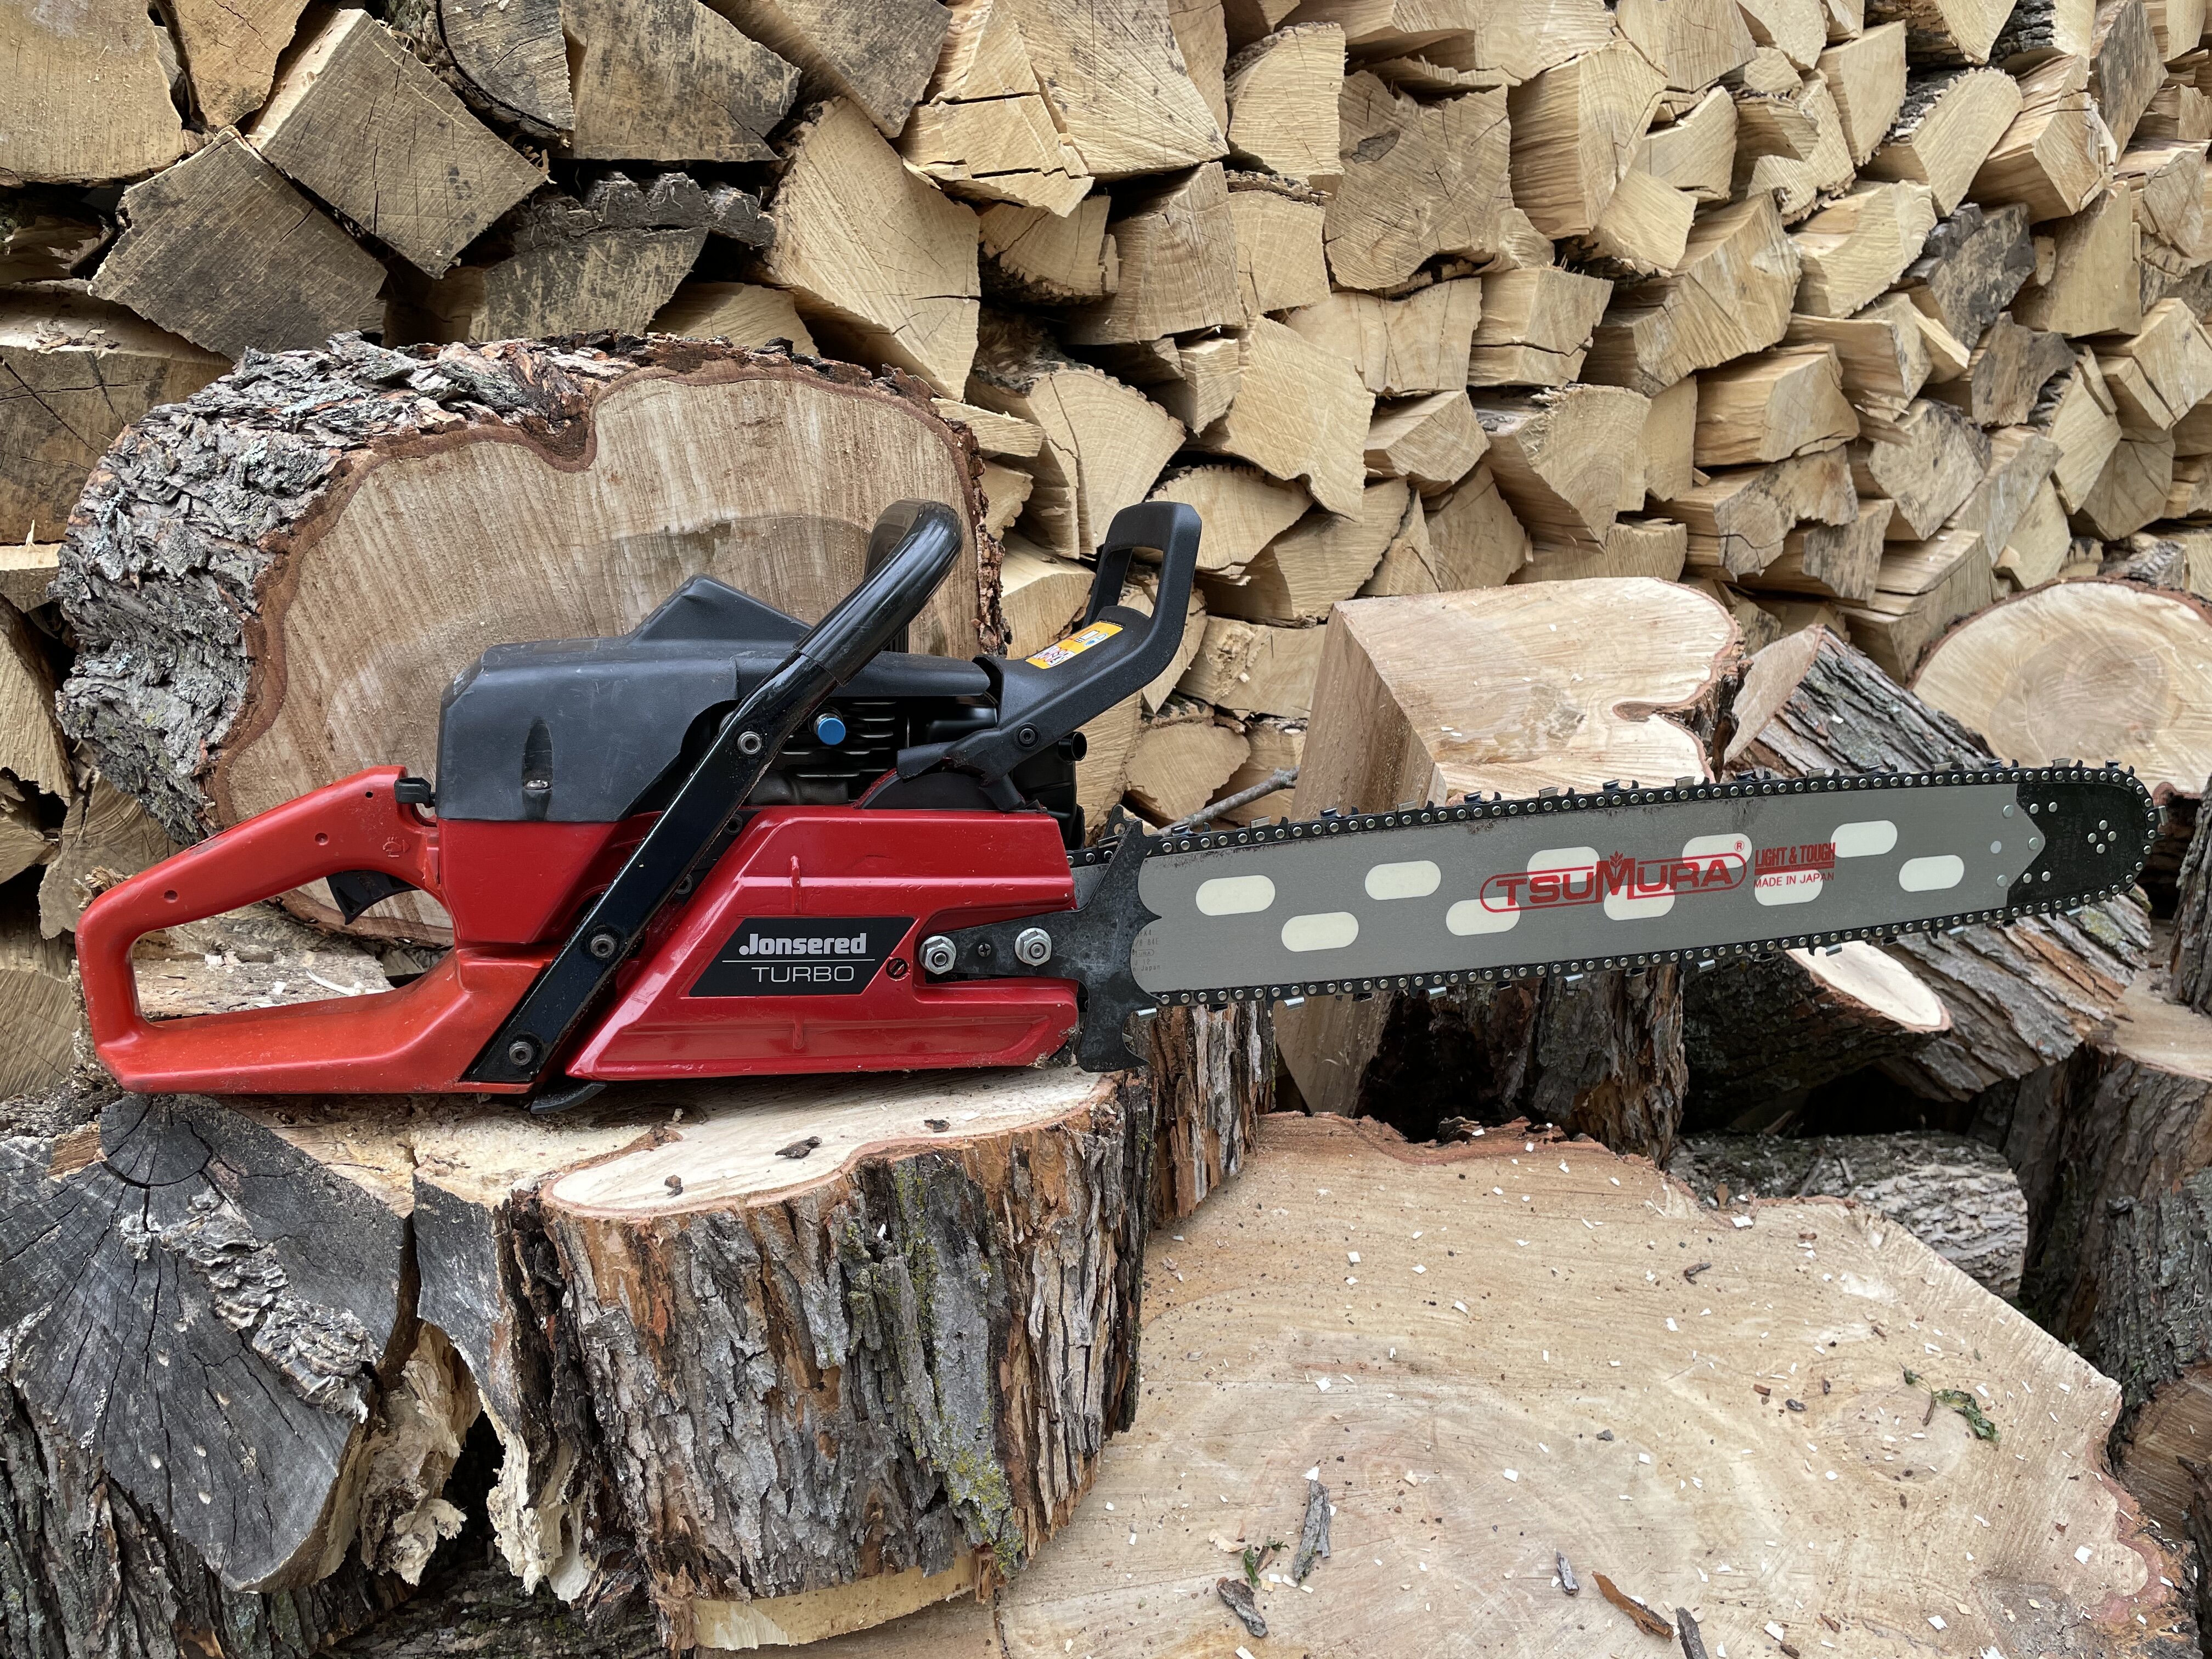
sure is a nice saw. Can’t wait to get to the woods with it. Still waiting on a NOS recoil and operator switch for the handle.
-
 6
6
-
-
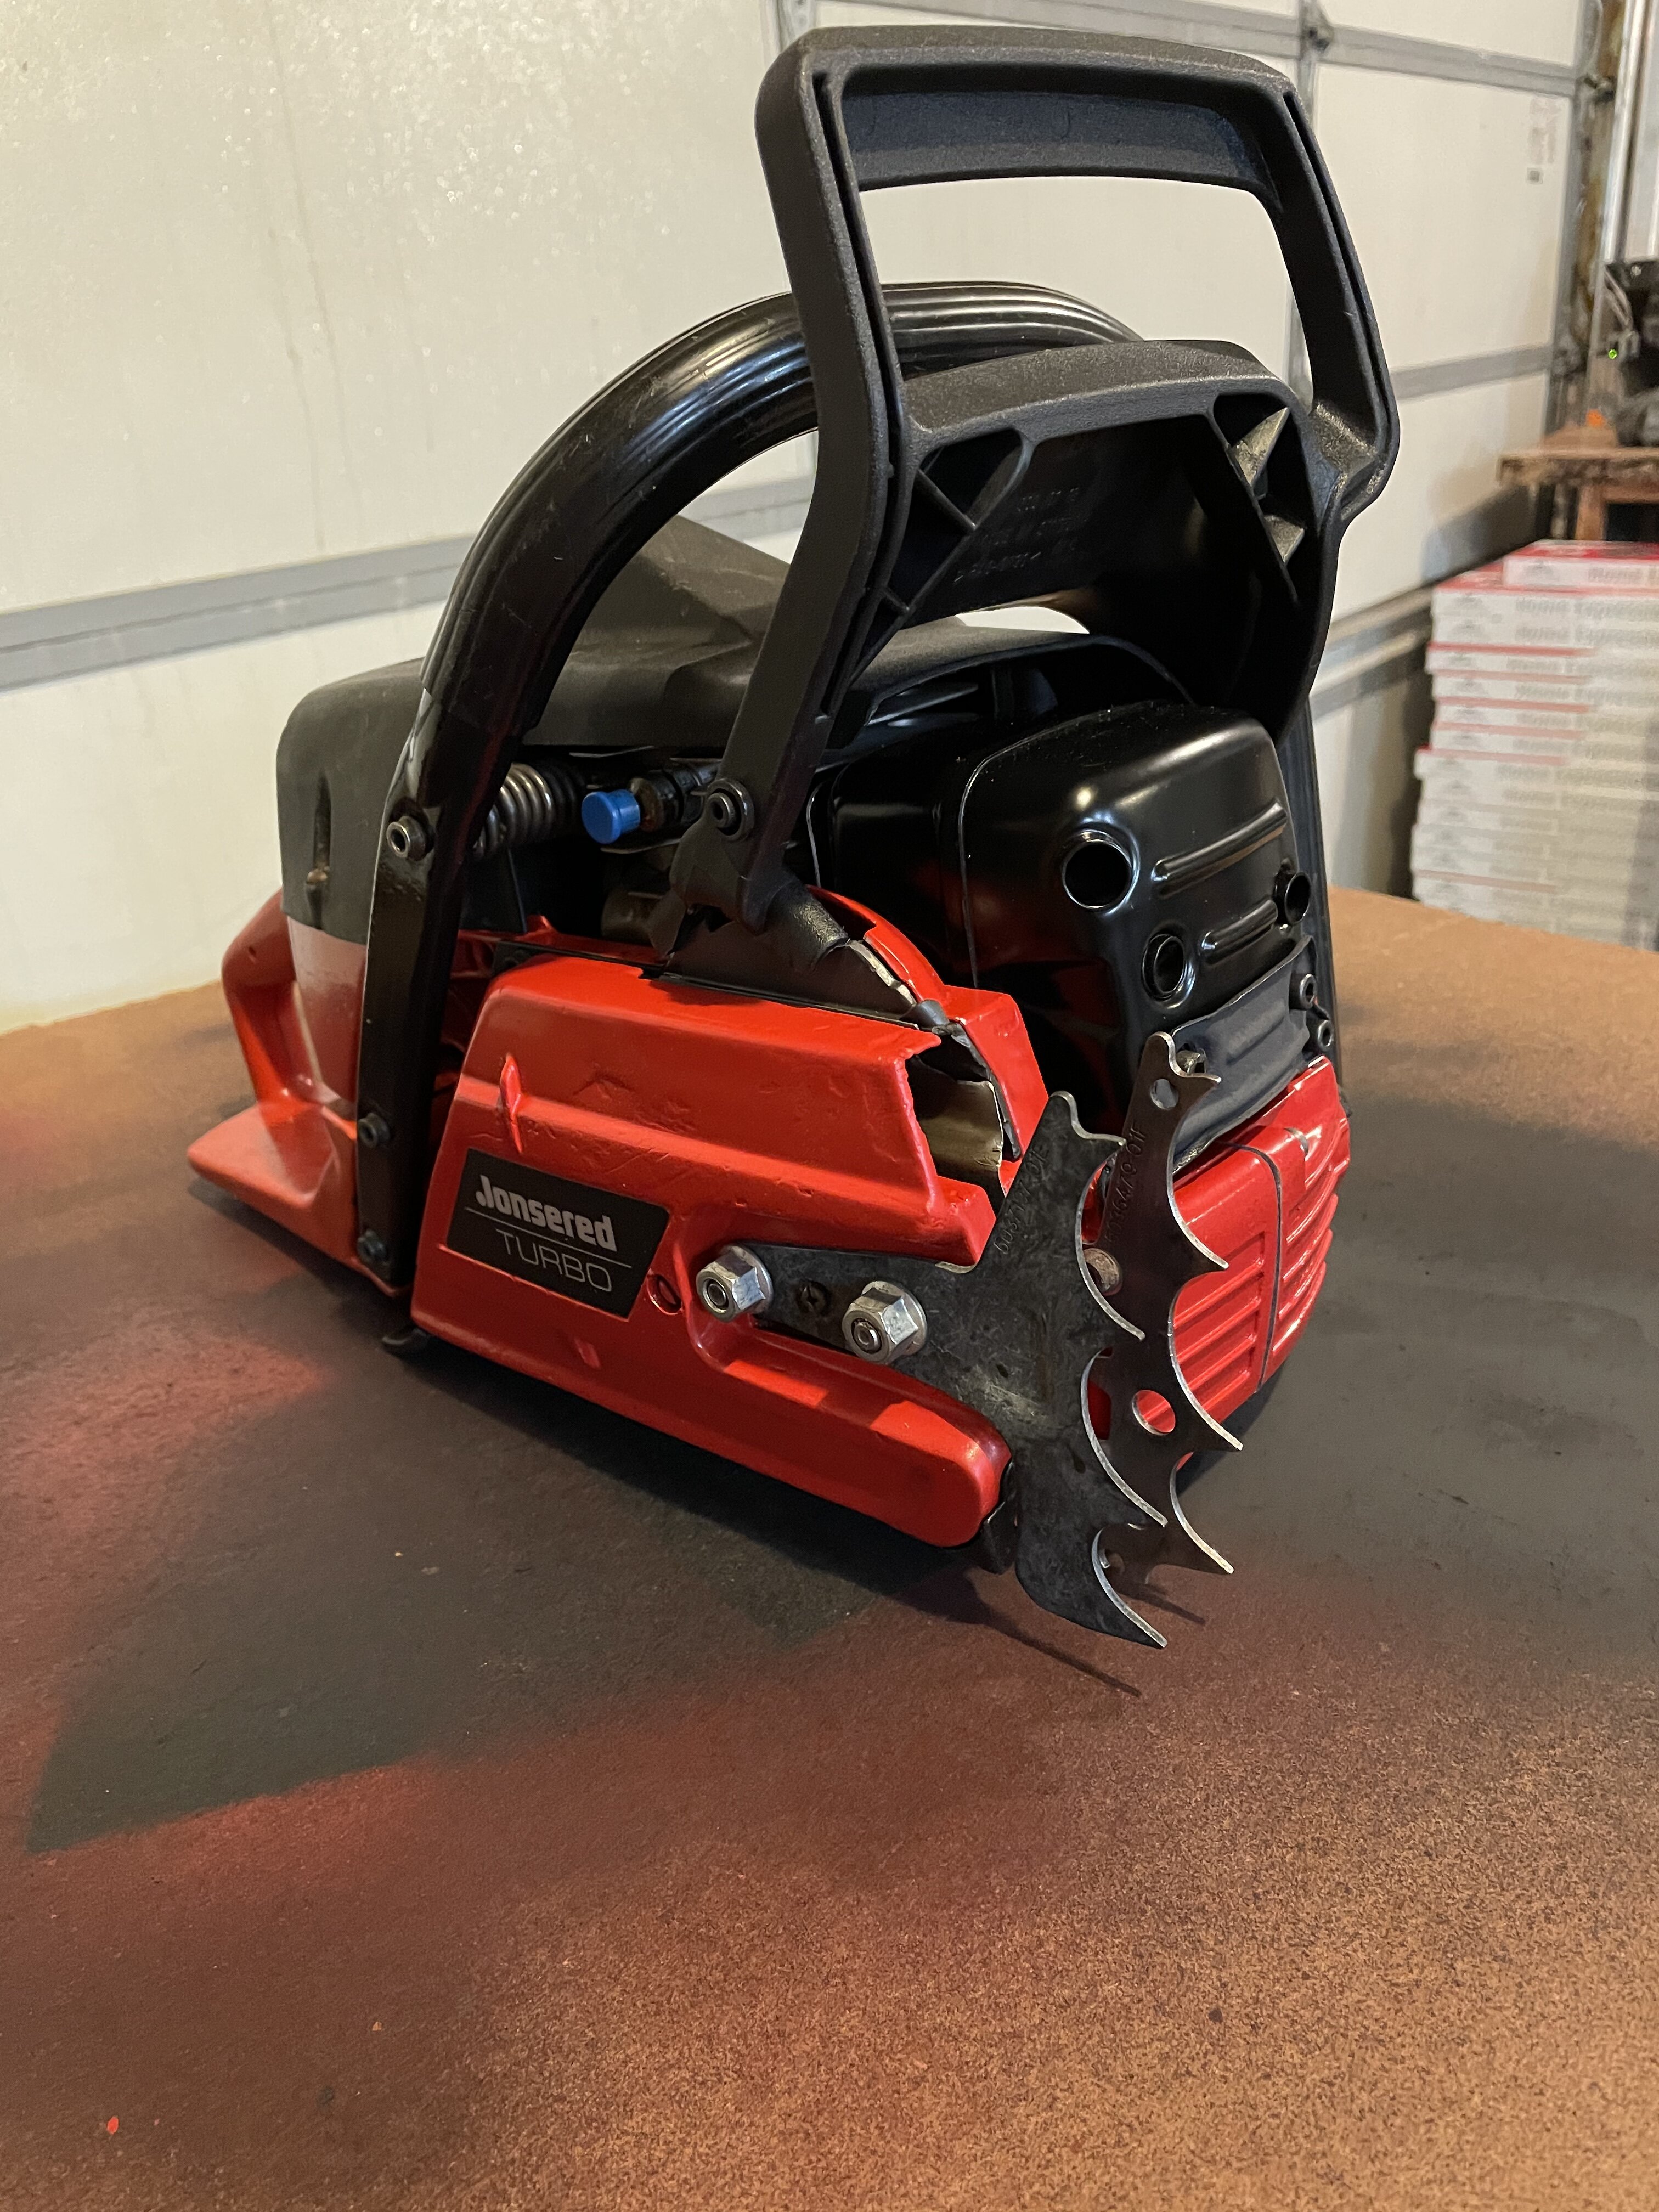
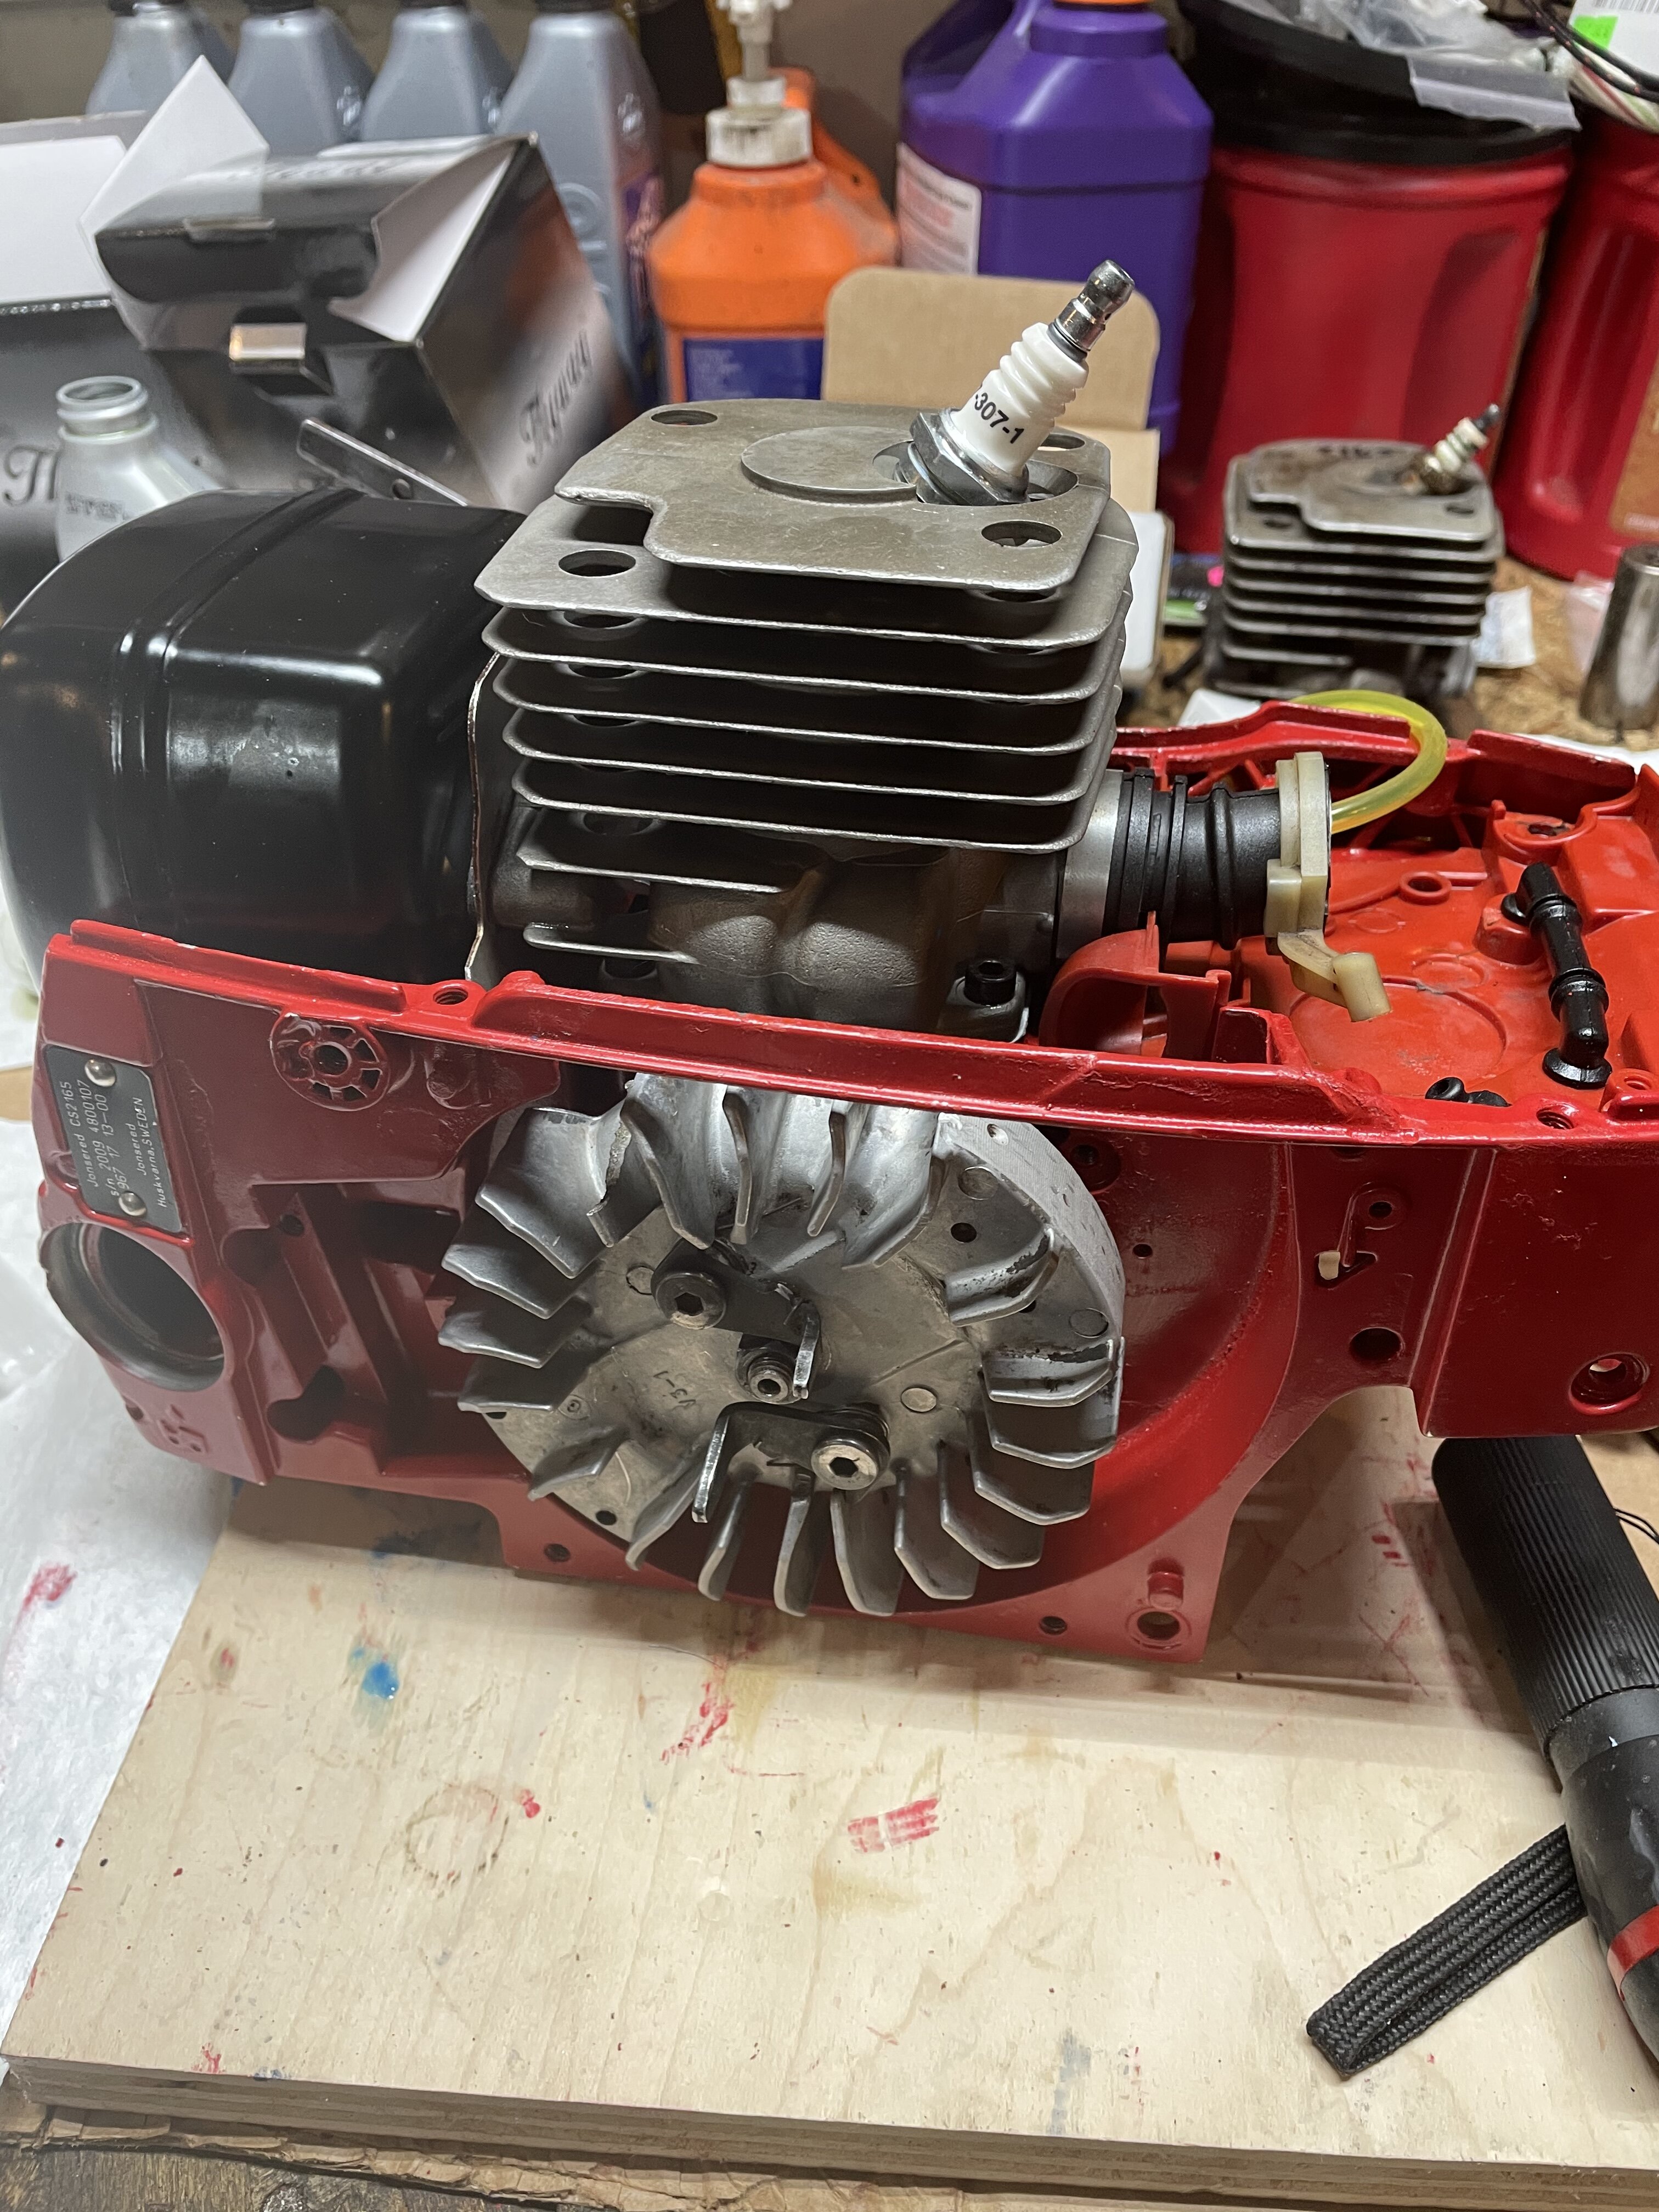
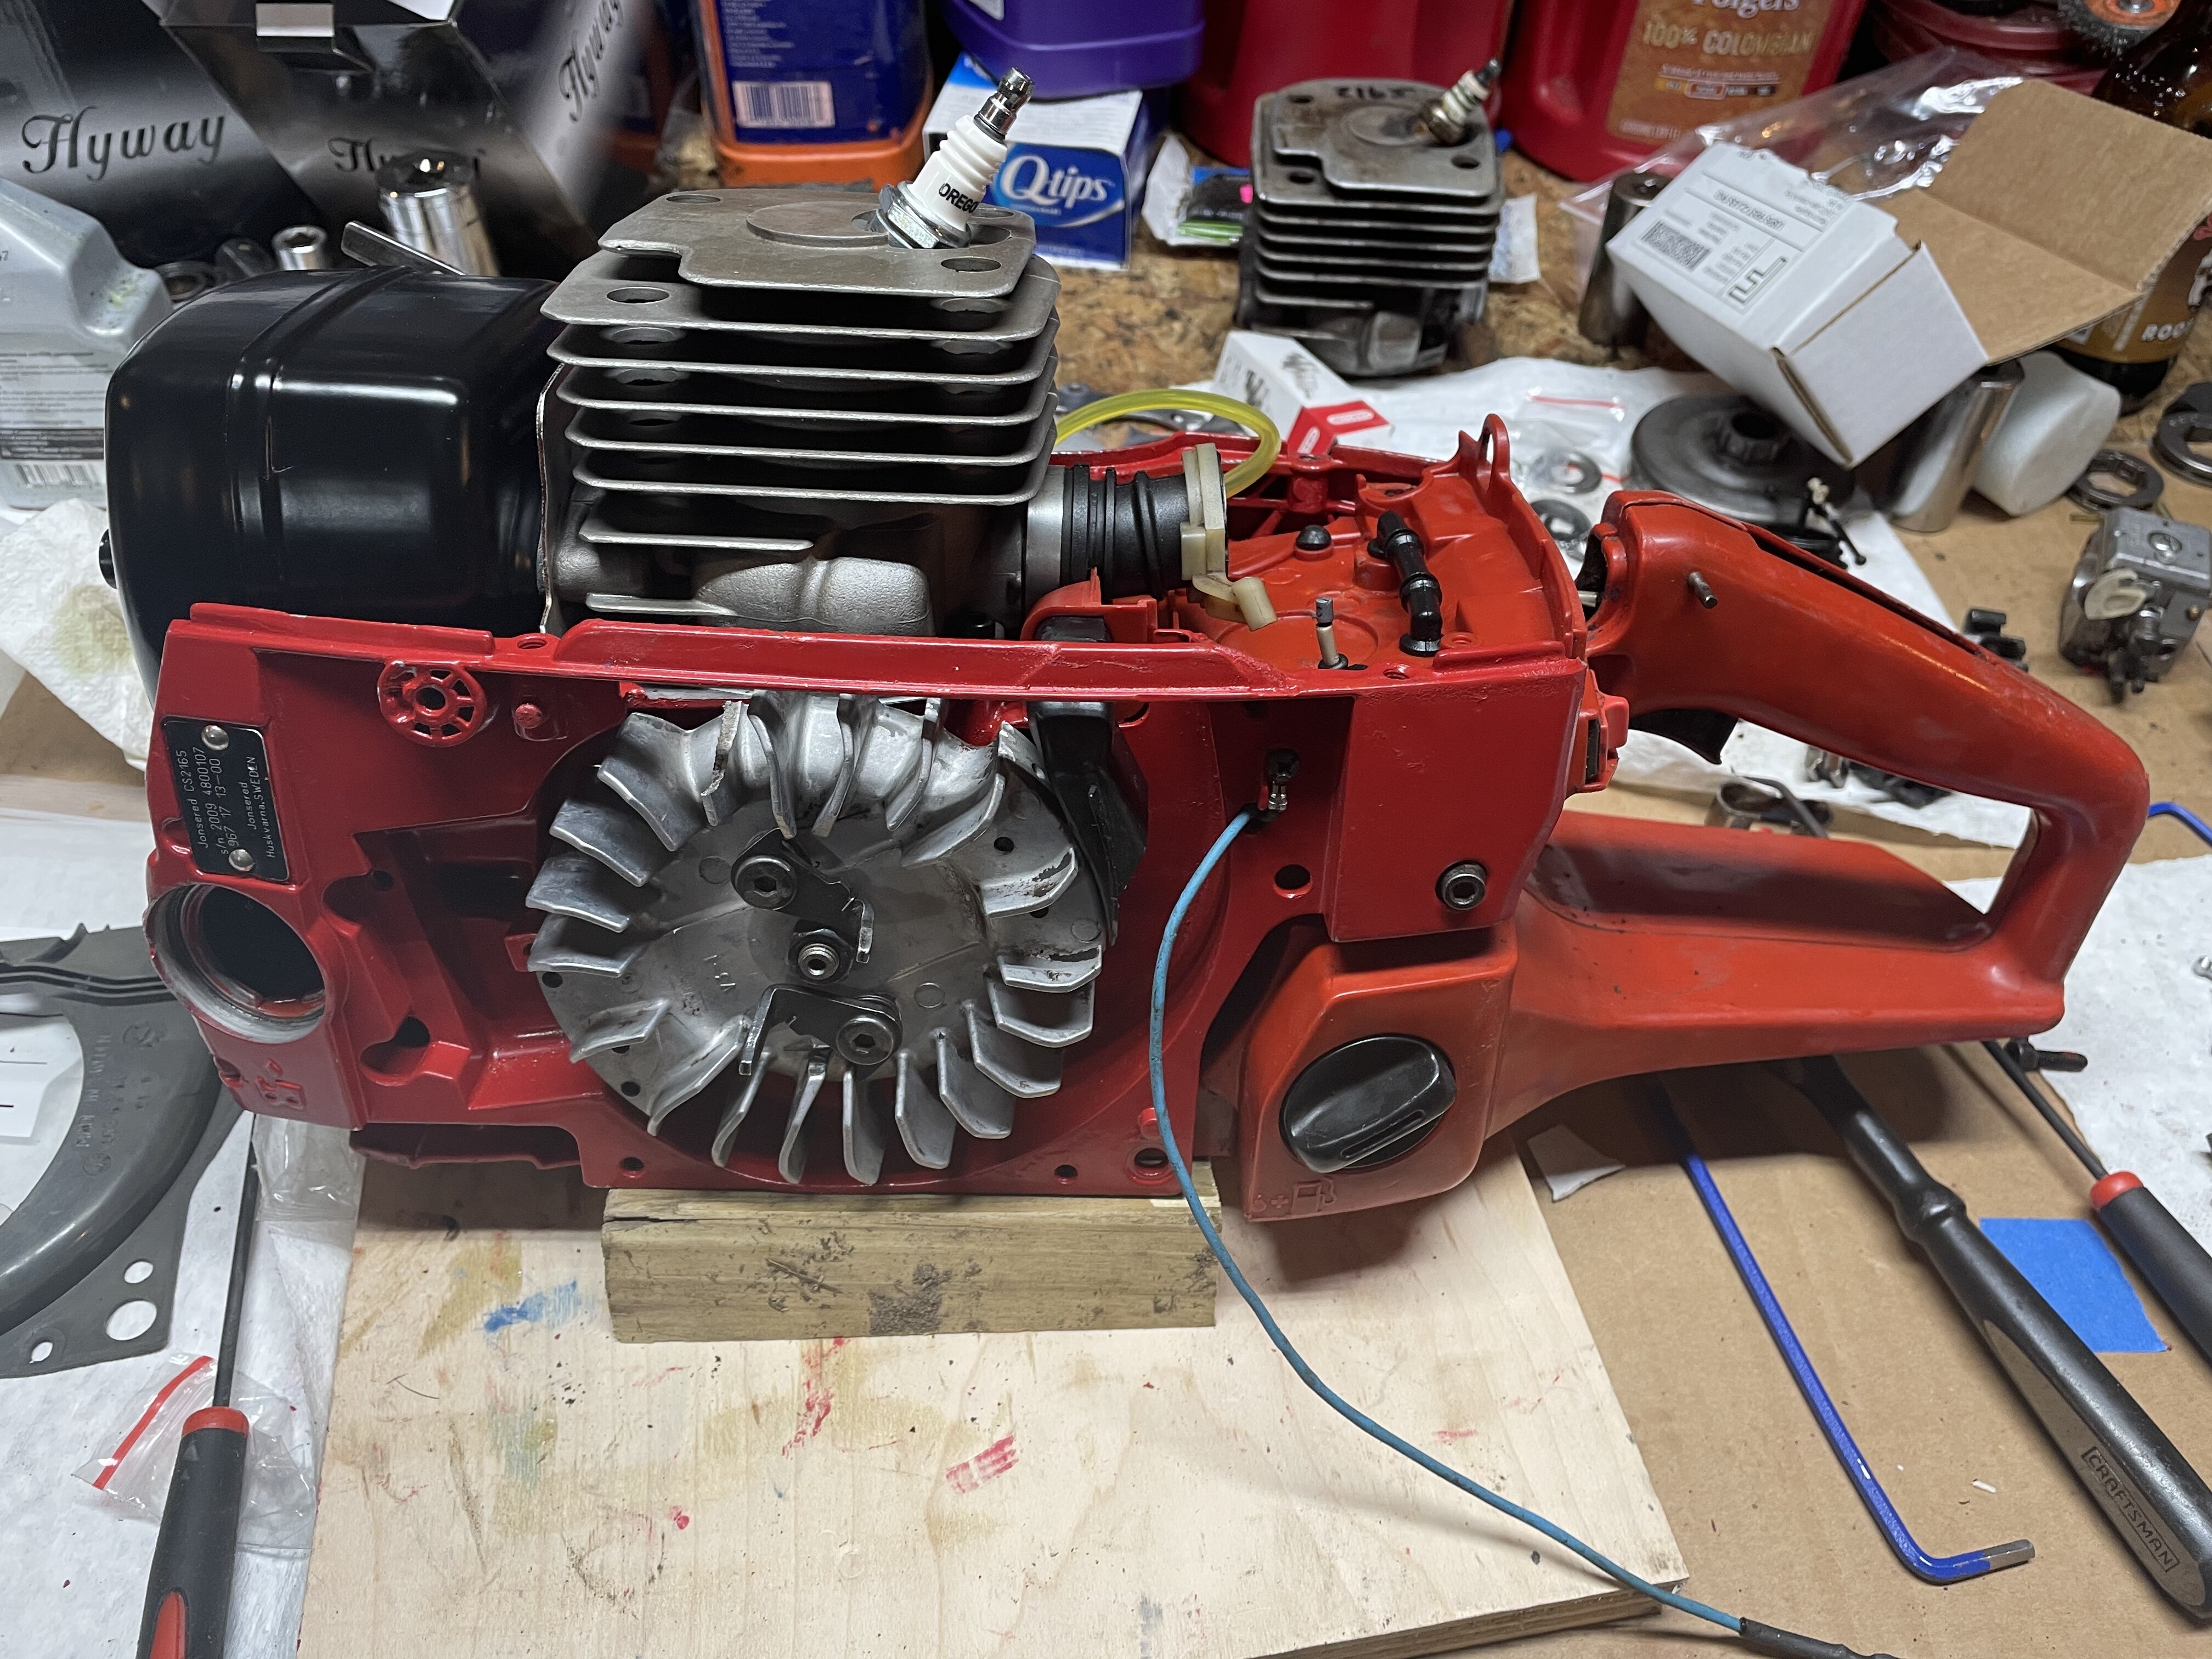
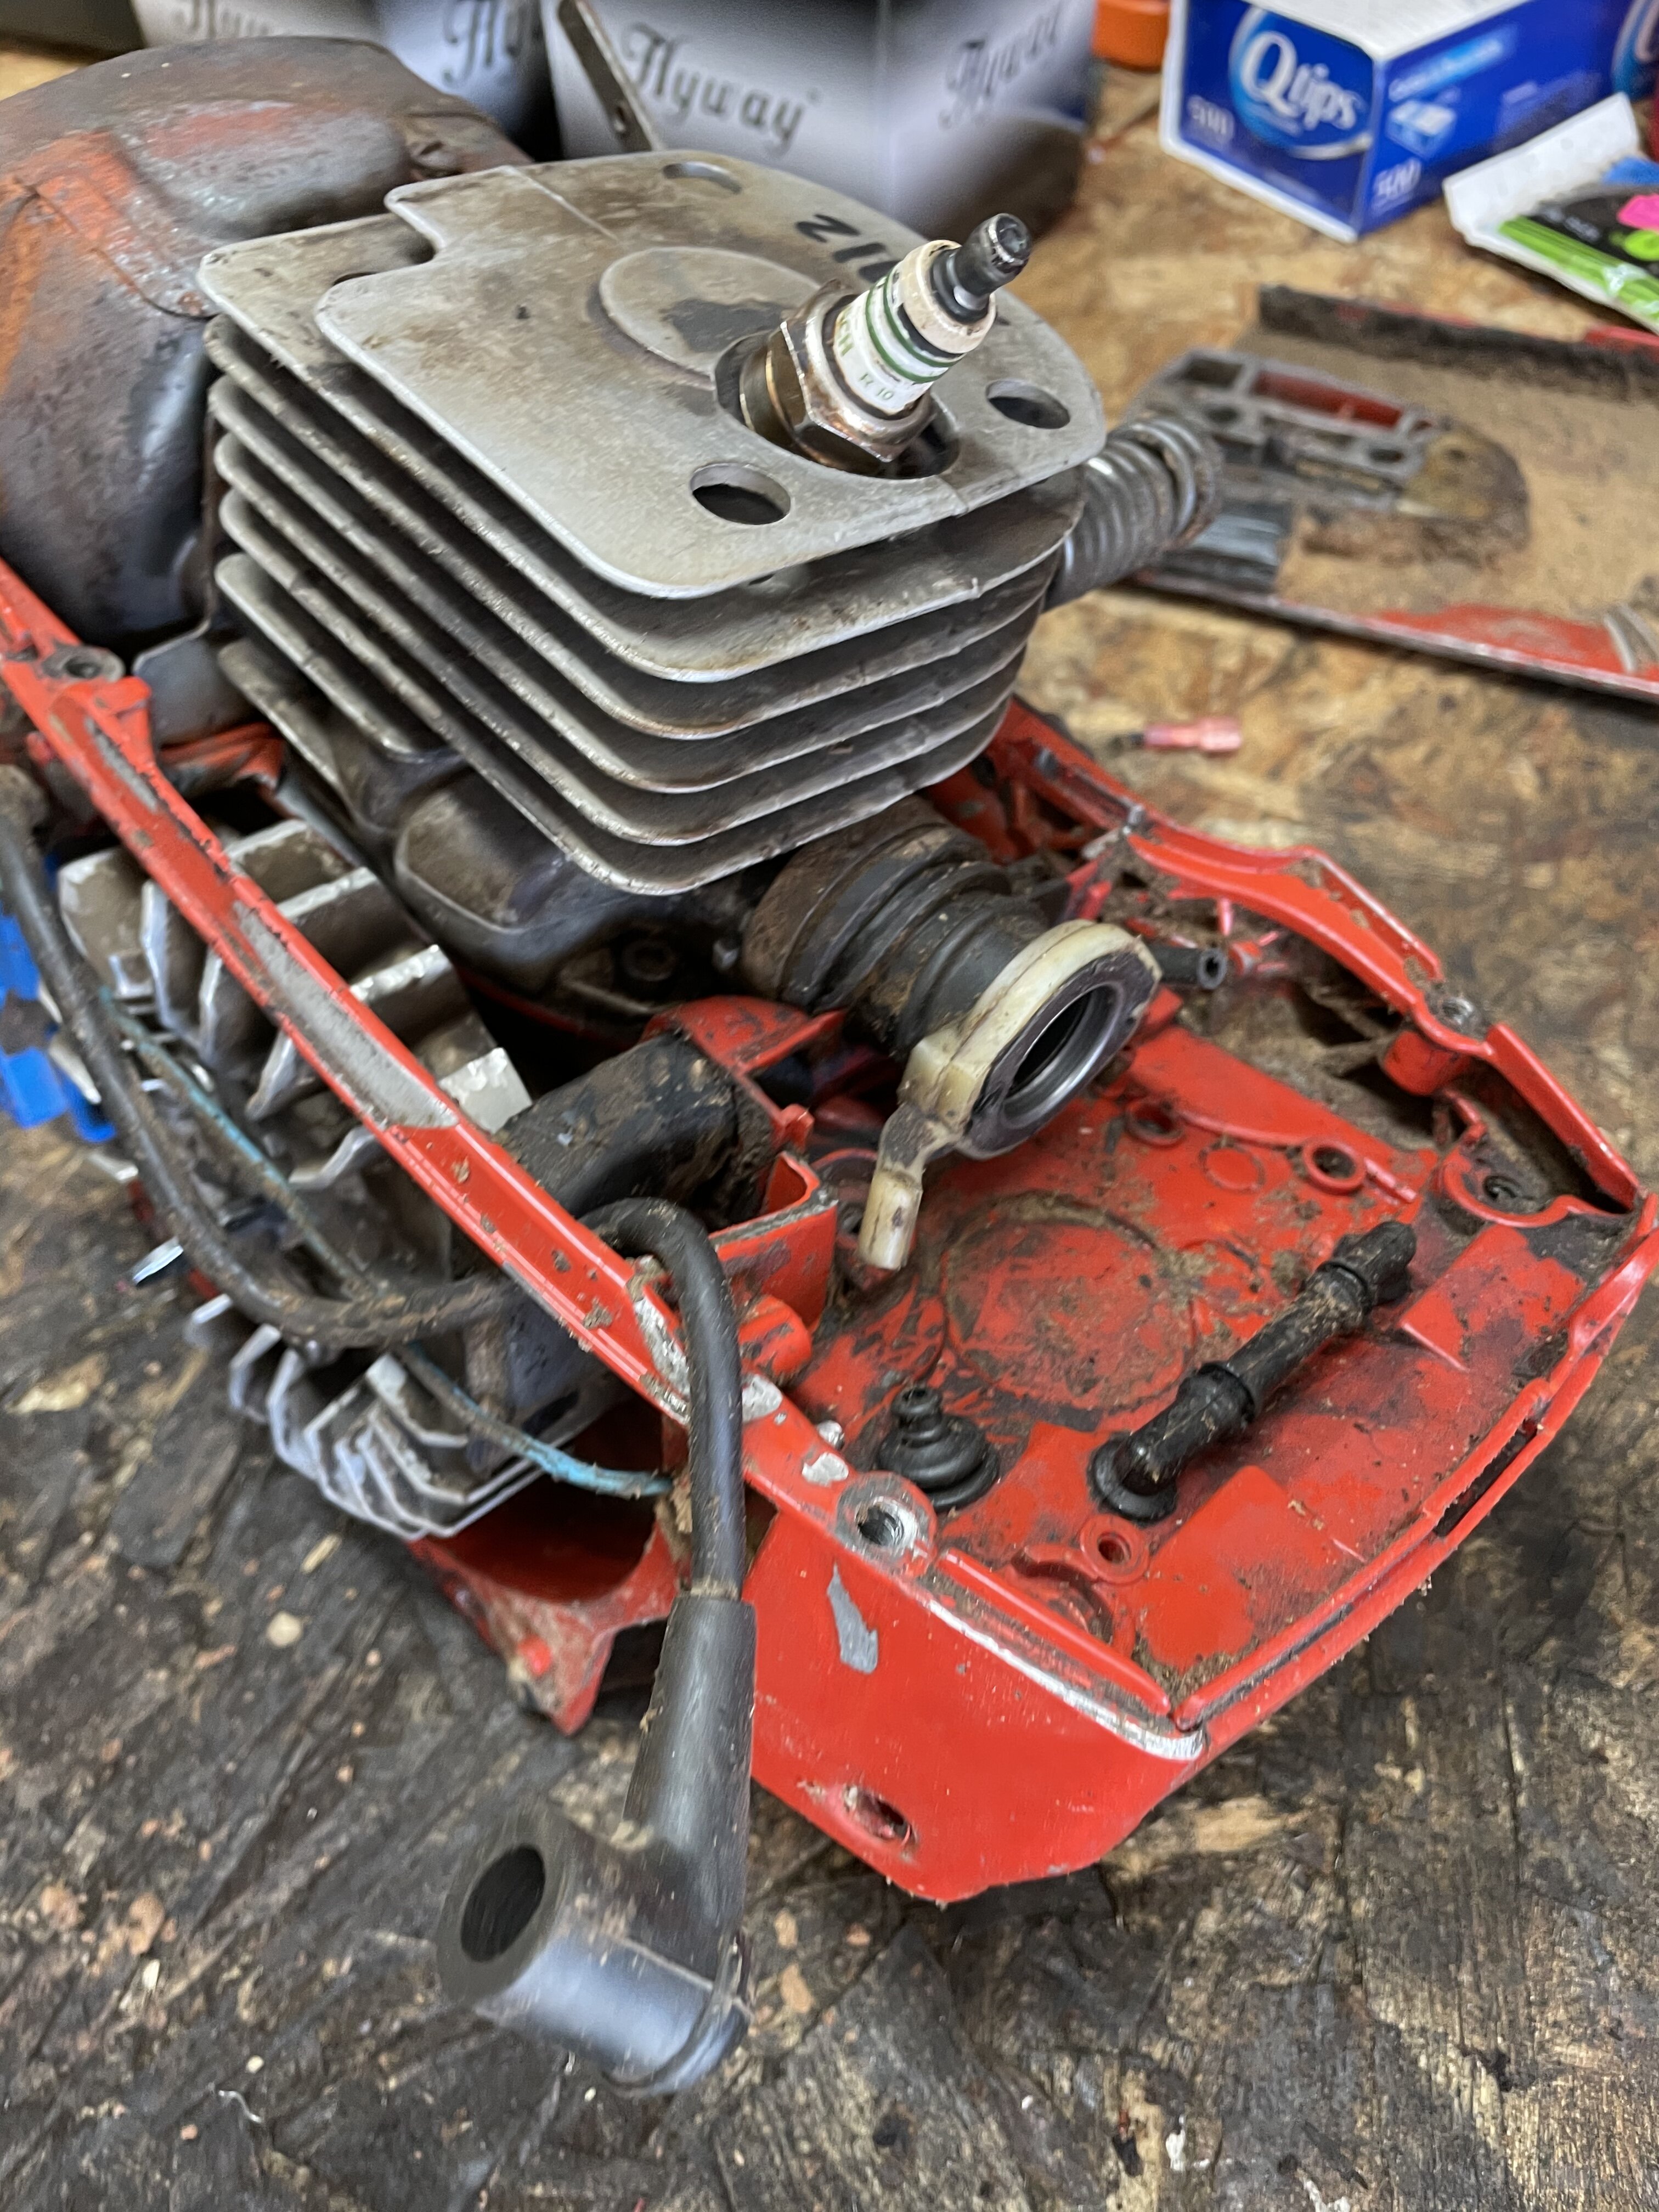
She runs. Bit to late to let it idle. Try her Out tomorrow.
the rest speaks for itself. New old stock recoil coming soon.
-
7
-
-
3 minutes ago, Misterclean said:The first picture in the last post has shiny yellow fuel hose. Chinese hose is shiny and will fail very quickly. Tygon is the only hose I've used professionally. Looks good otherwise!!!!
Yeah that’s a China hose. But that’s the impulse line. I’m trying to use that up on impulse line when I can.
thank you. I’m excited to hear it run.
anyone have break in recommendations? I was gonna mix 32:1 and let it idle for 10 minutes then make some easy straight cuts for its first heat cycle. I’ve read a lot of different ideas.
-
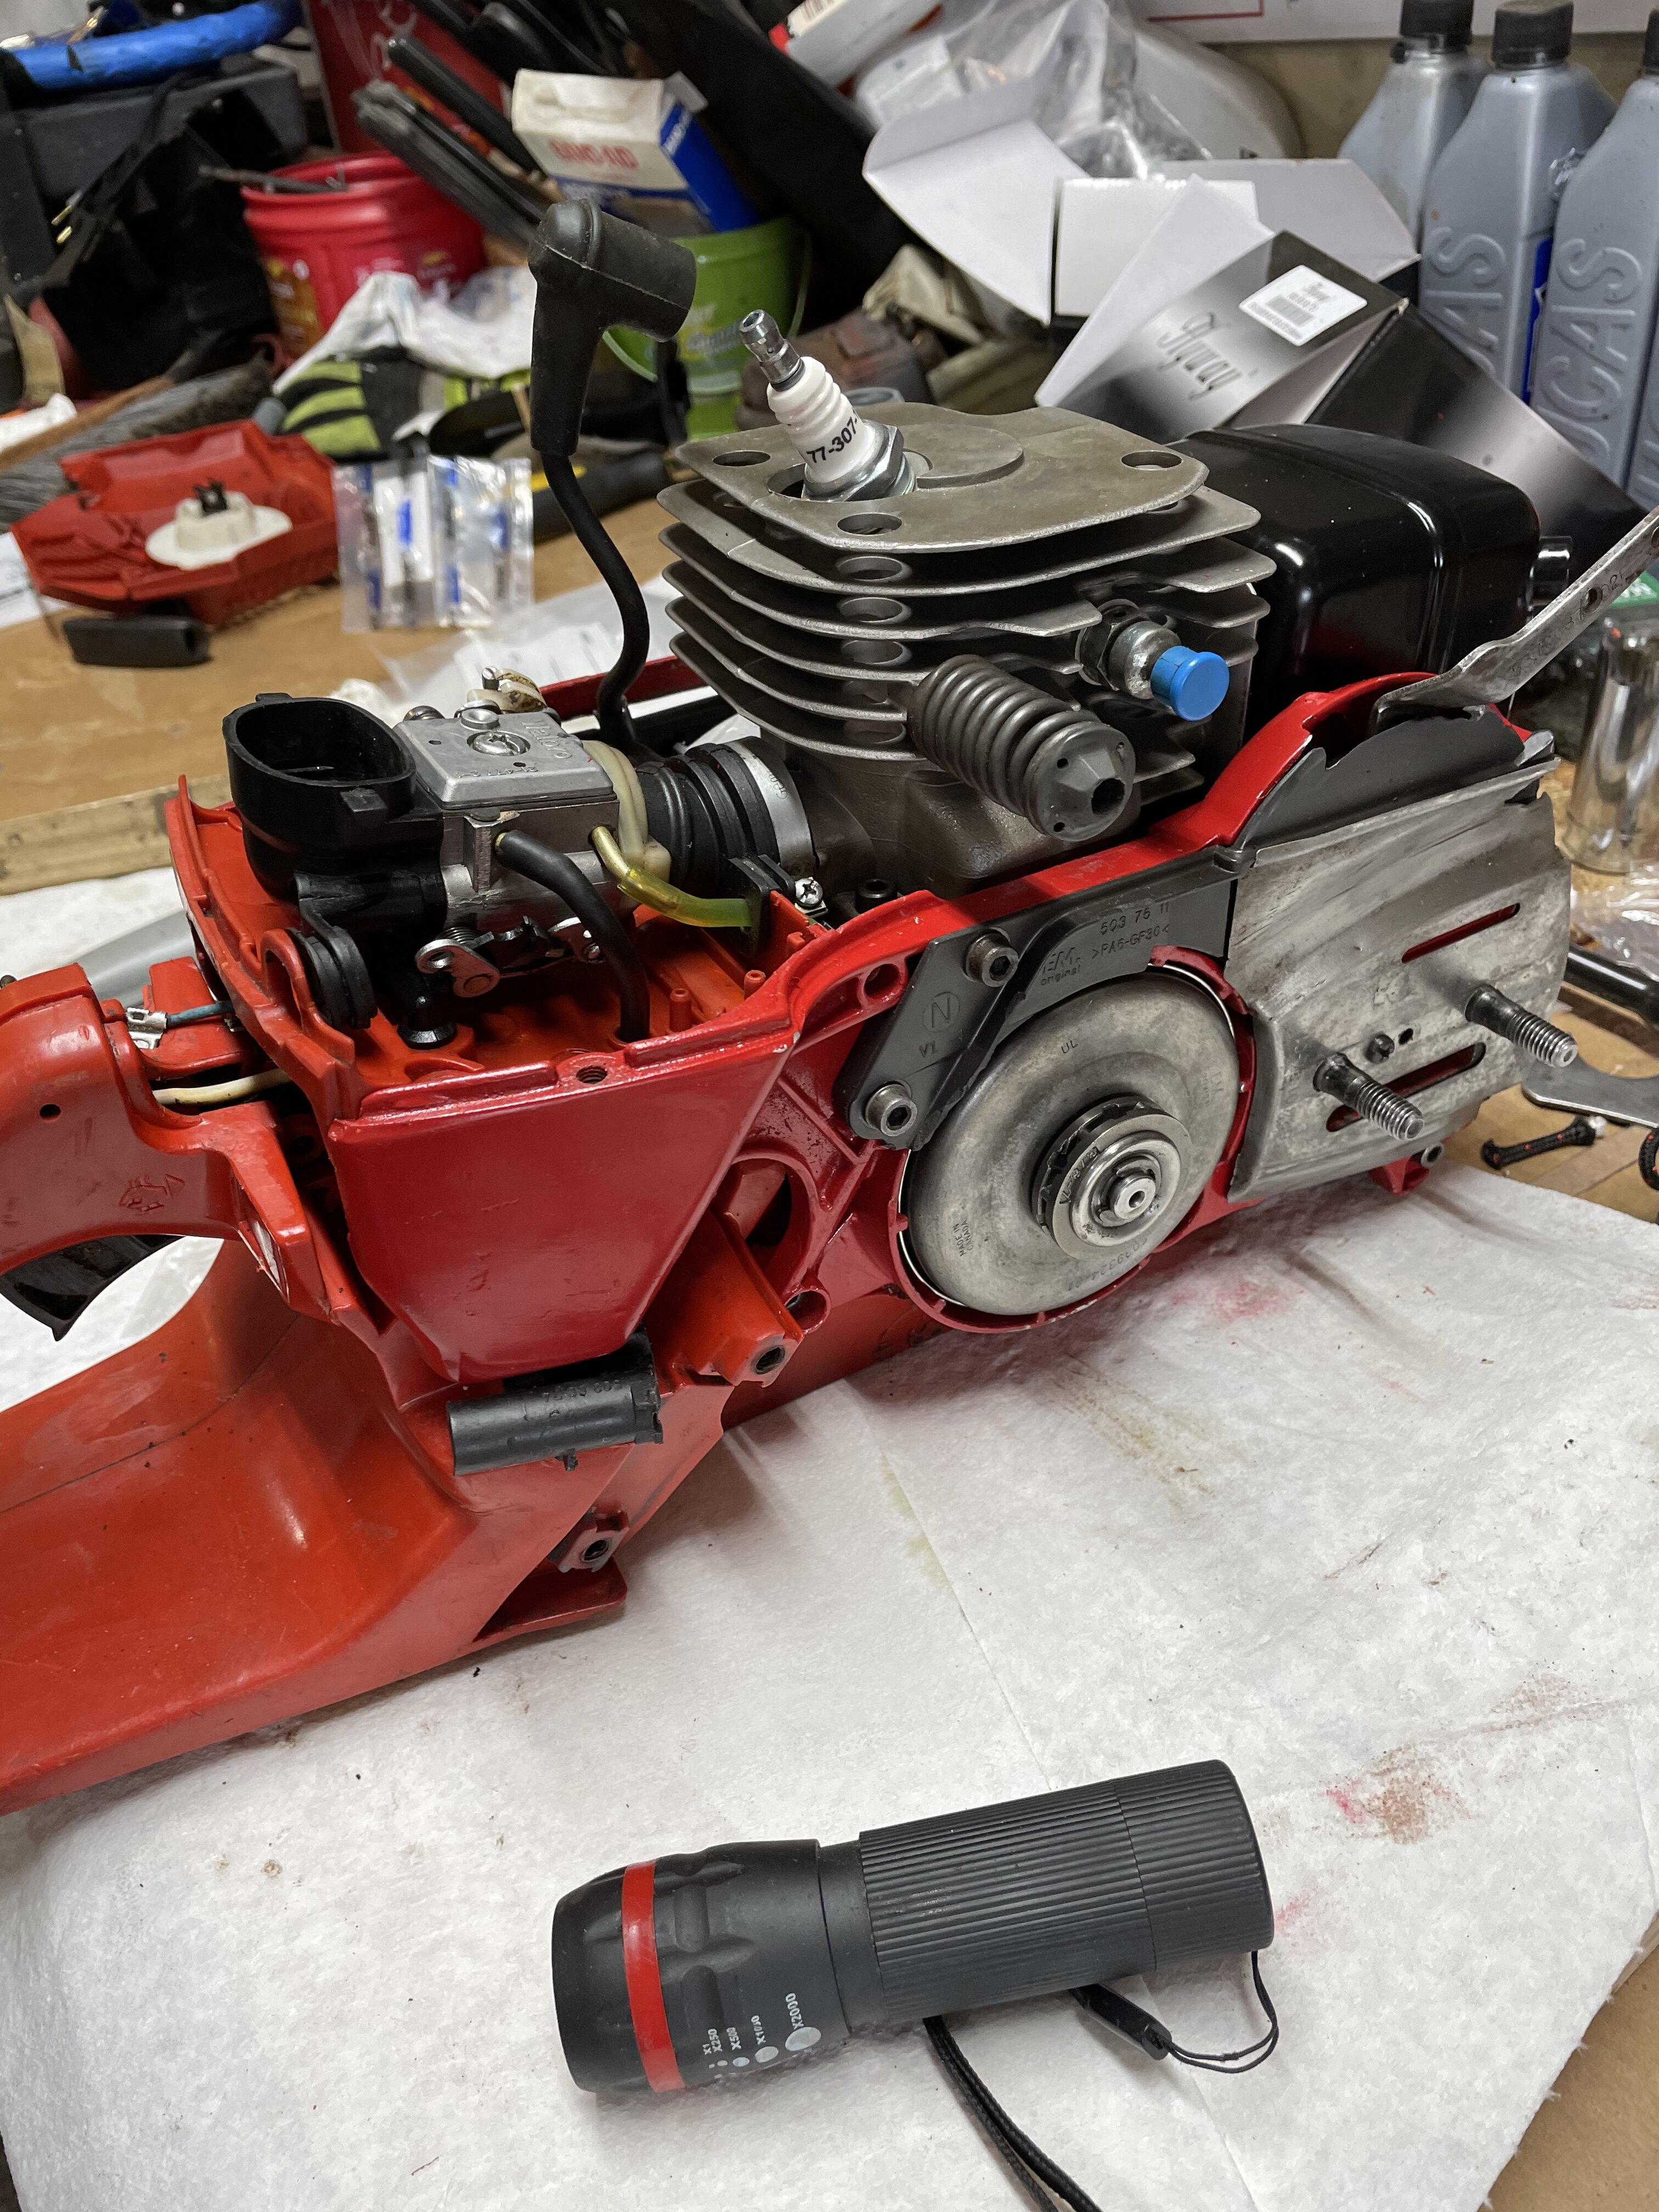
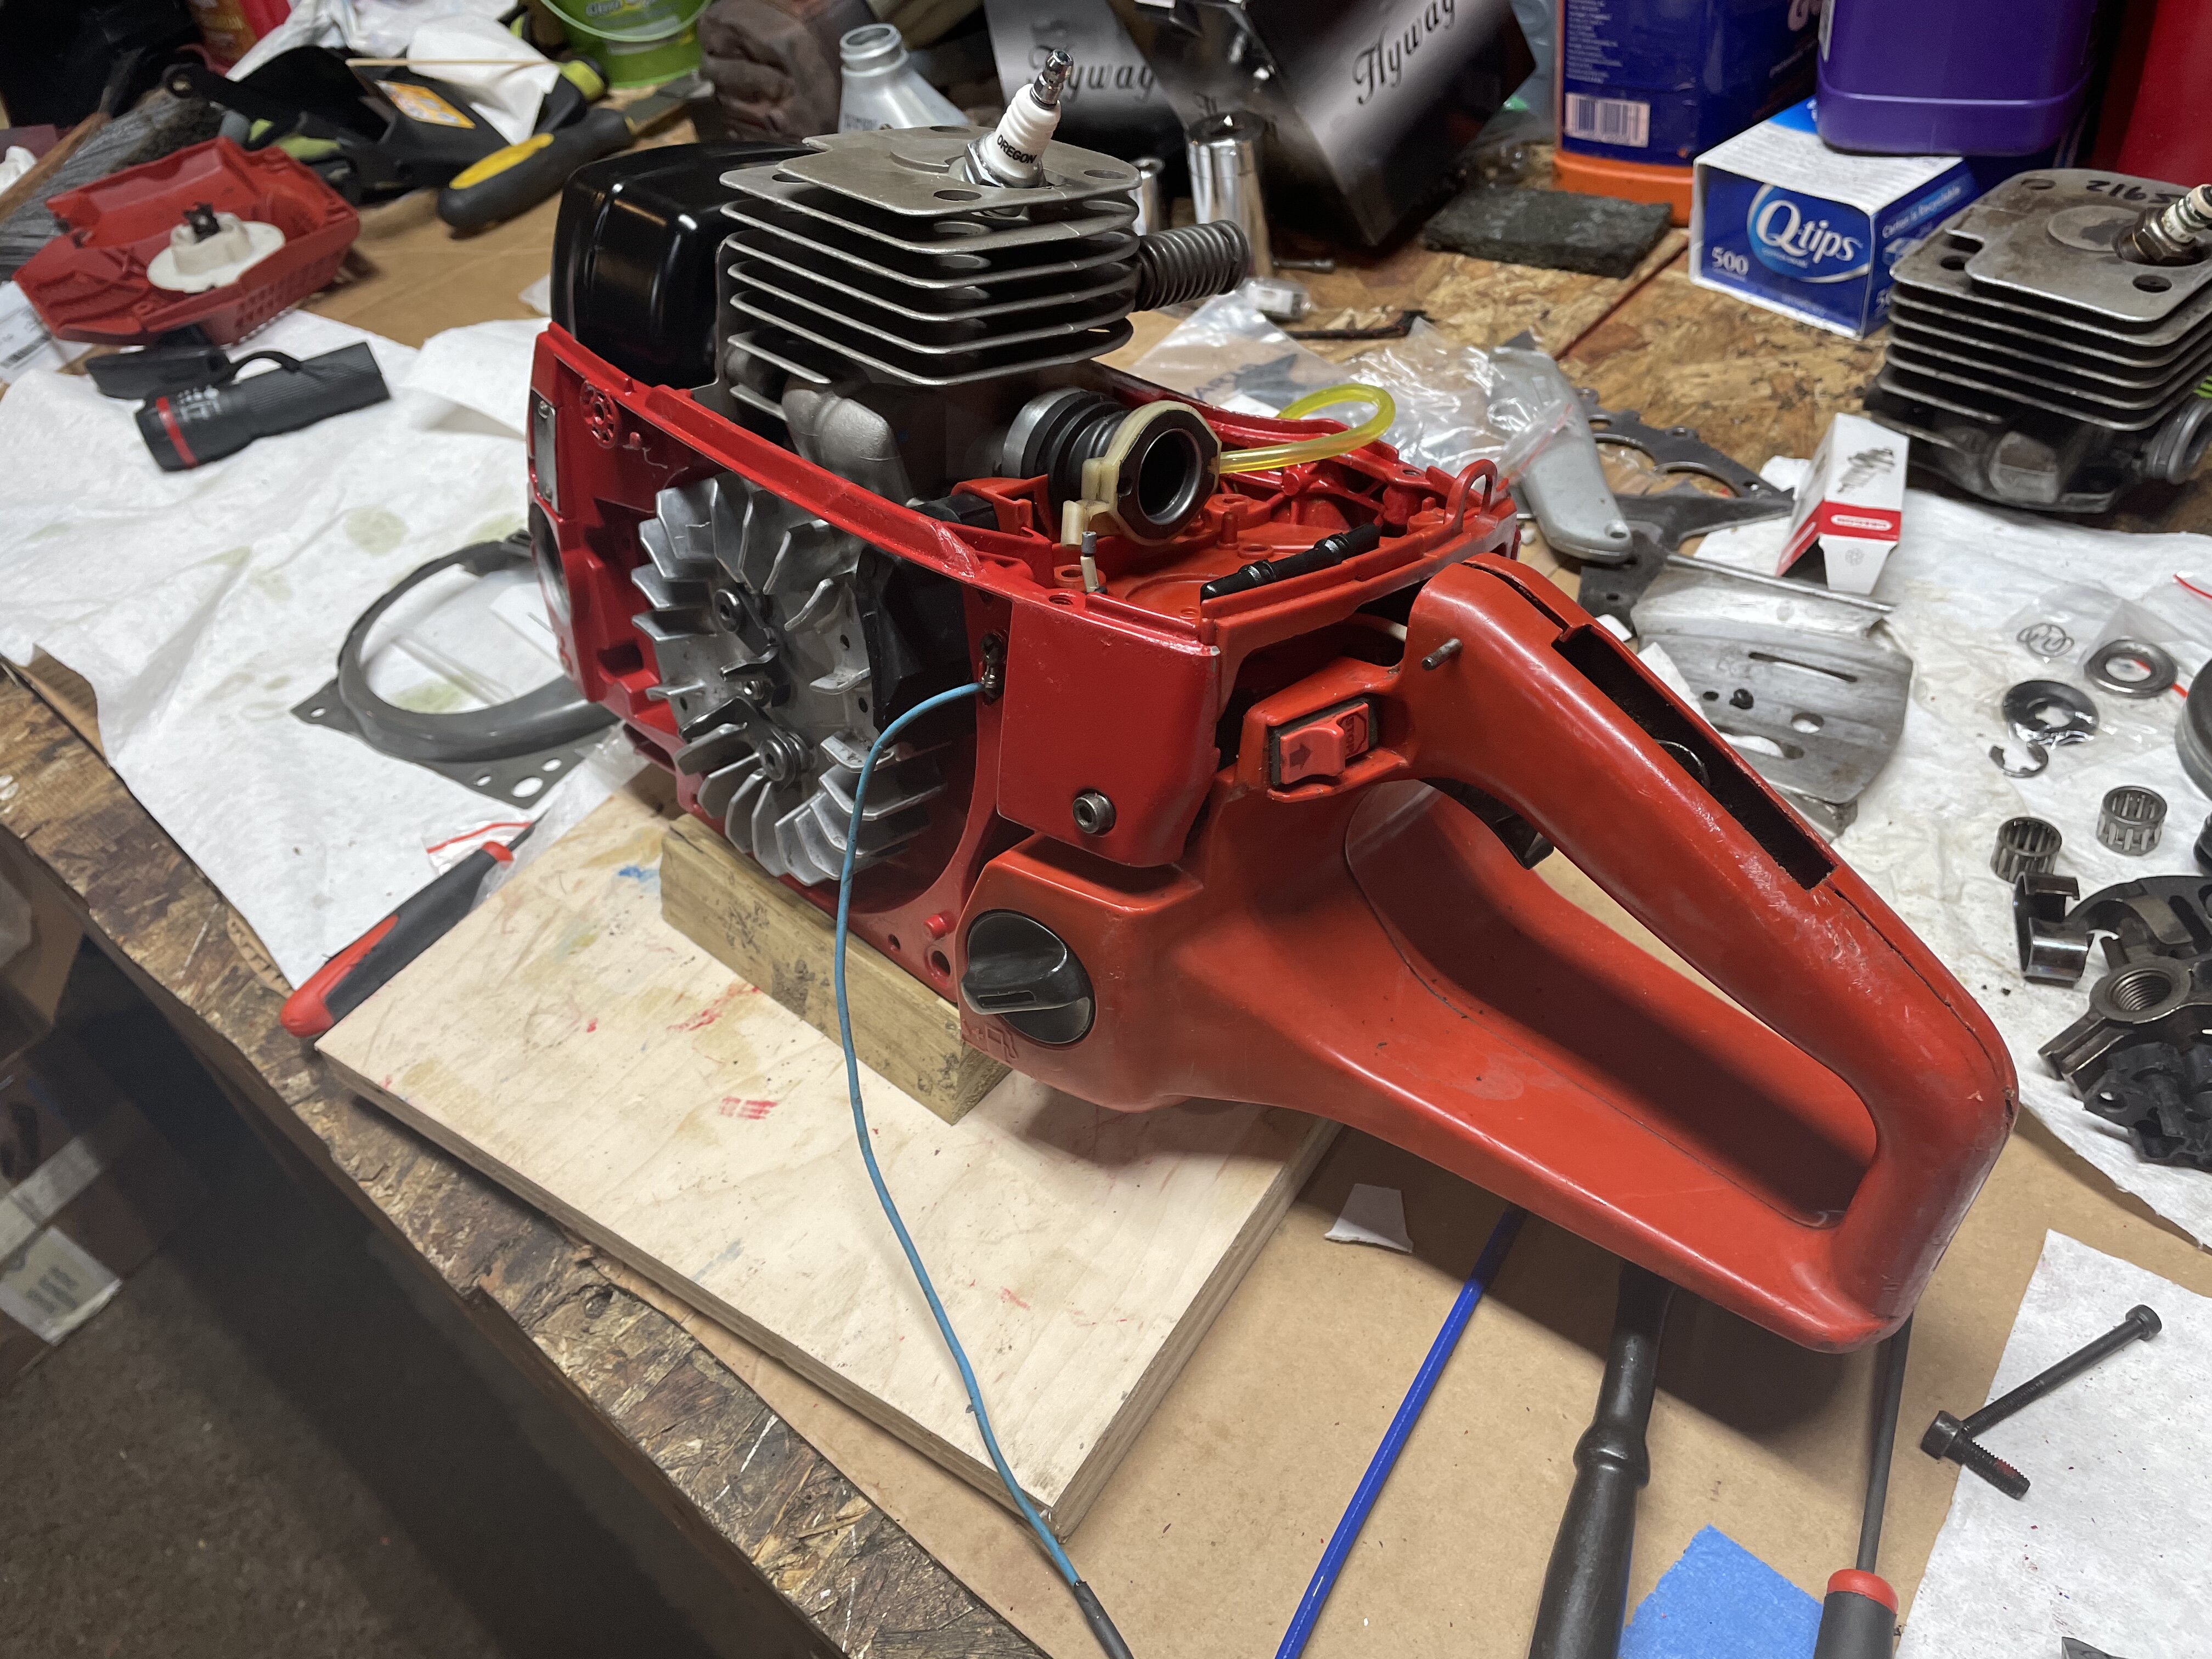
Closer. Crank seal came today. Got the clutch together and in. Carb cleaned and mounted. Had to put the tools down and hang out for my grandpas birthday party tonight.
-
5
-
-
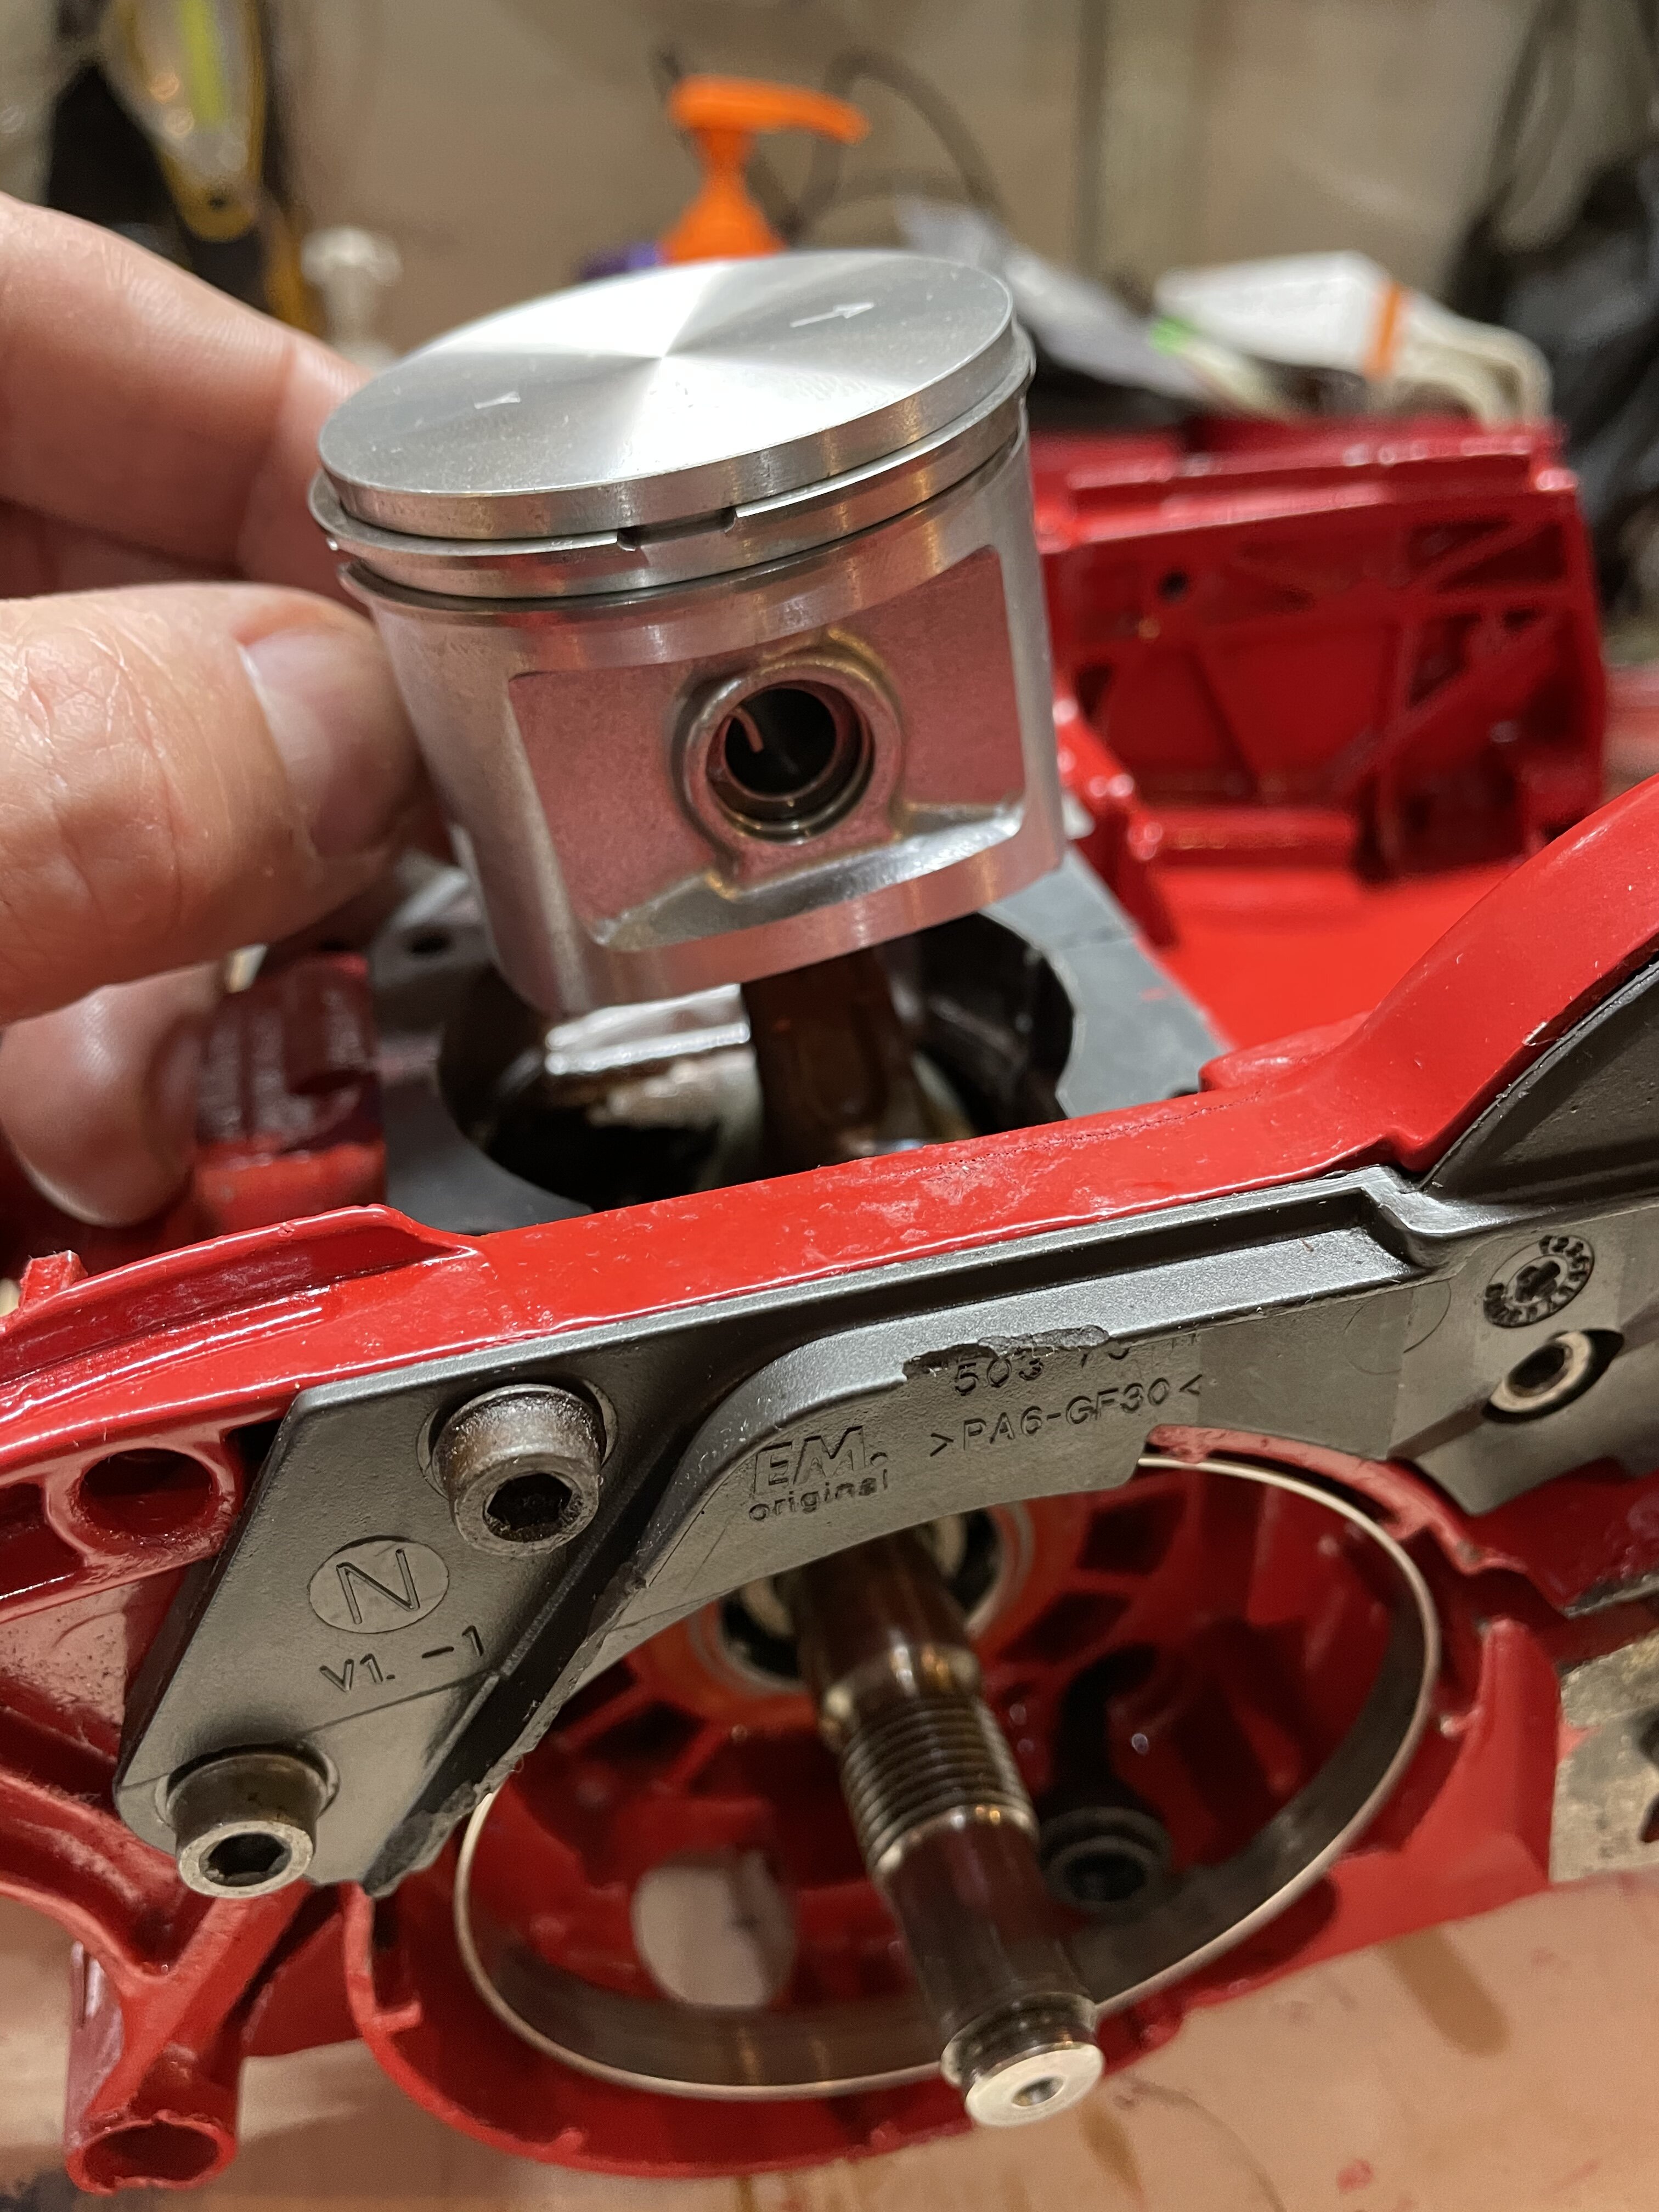
Piston was mounted. Plenty of 2 stroke lube. Make sure the wrist pins point up. Lube the cylinder then carefully set the cylinder. Don’t forget a new gasket before the cylinder. Before I pushed the piston all the way in I poured some more 2 stroke lube down the spark plug hole and worked it around to cost the cylinder walls.
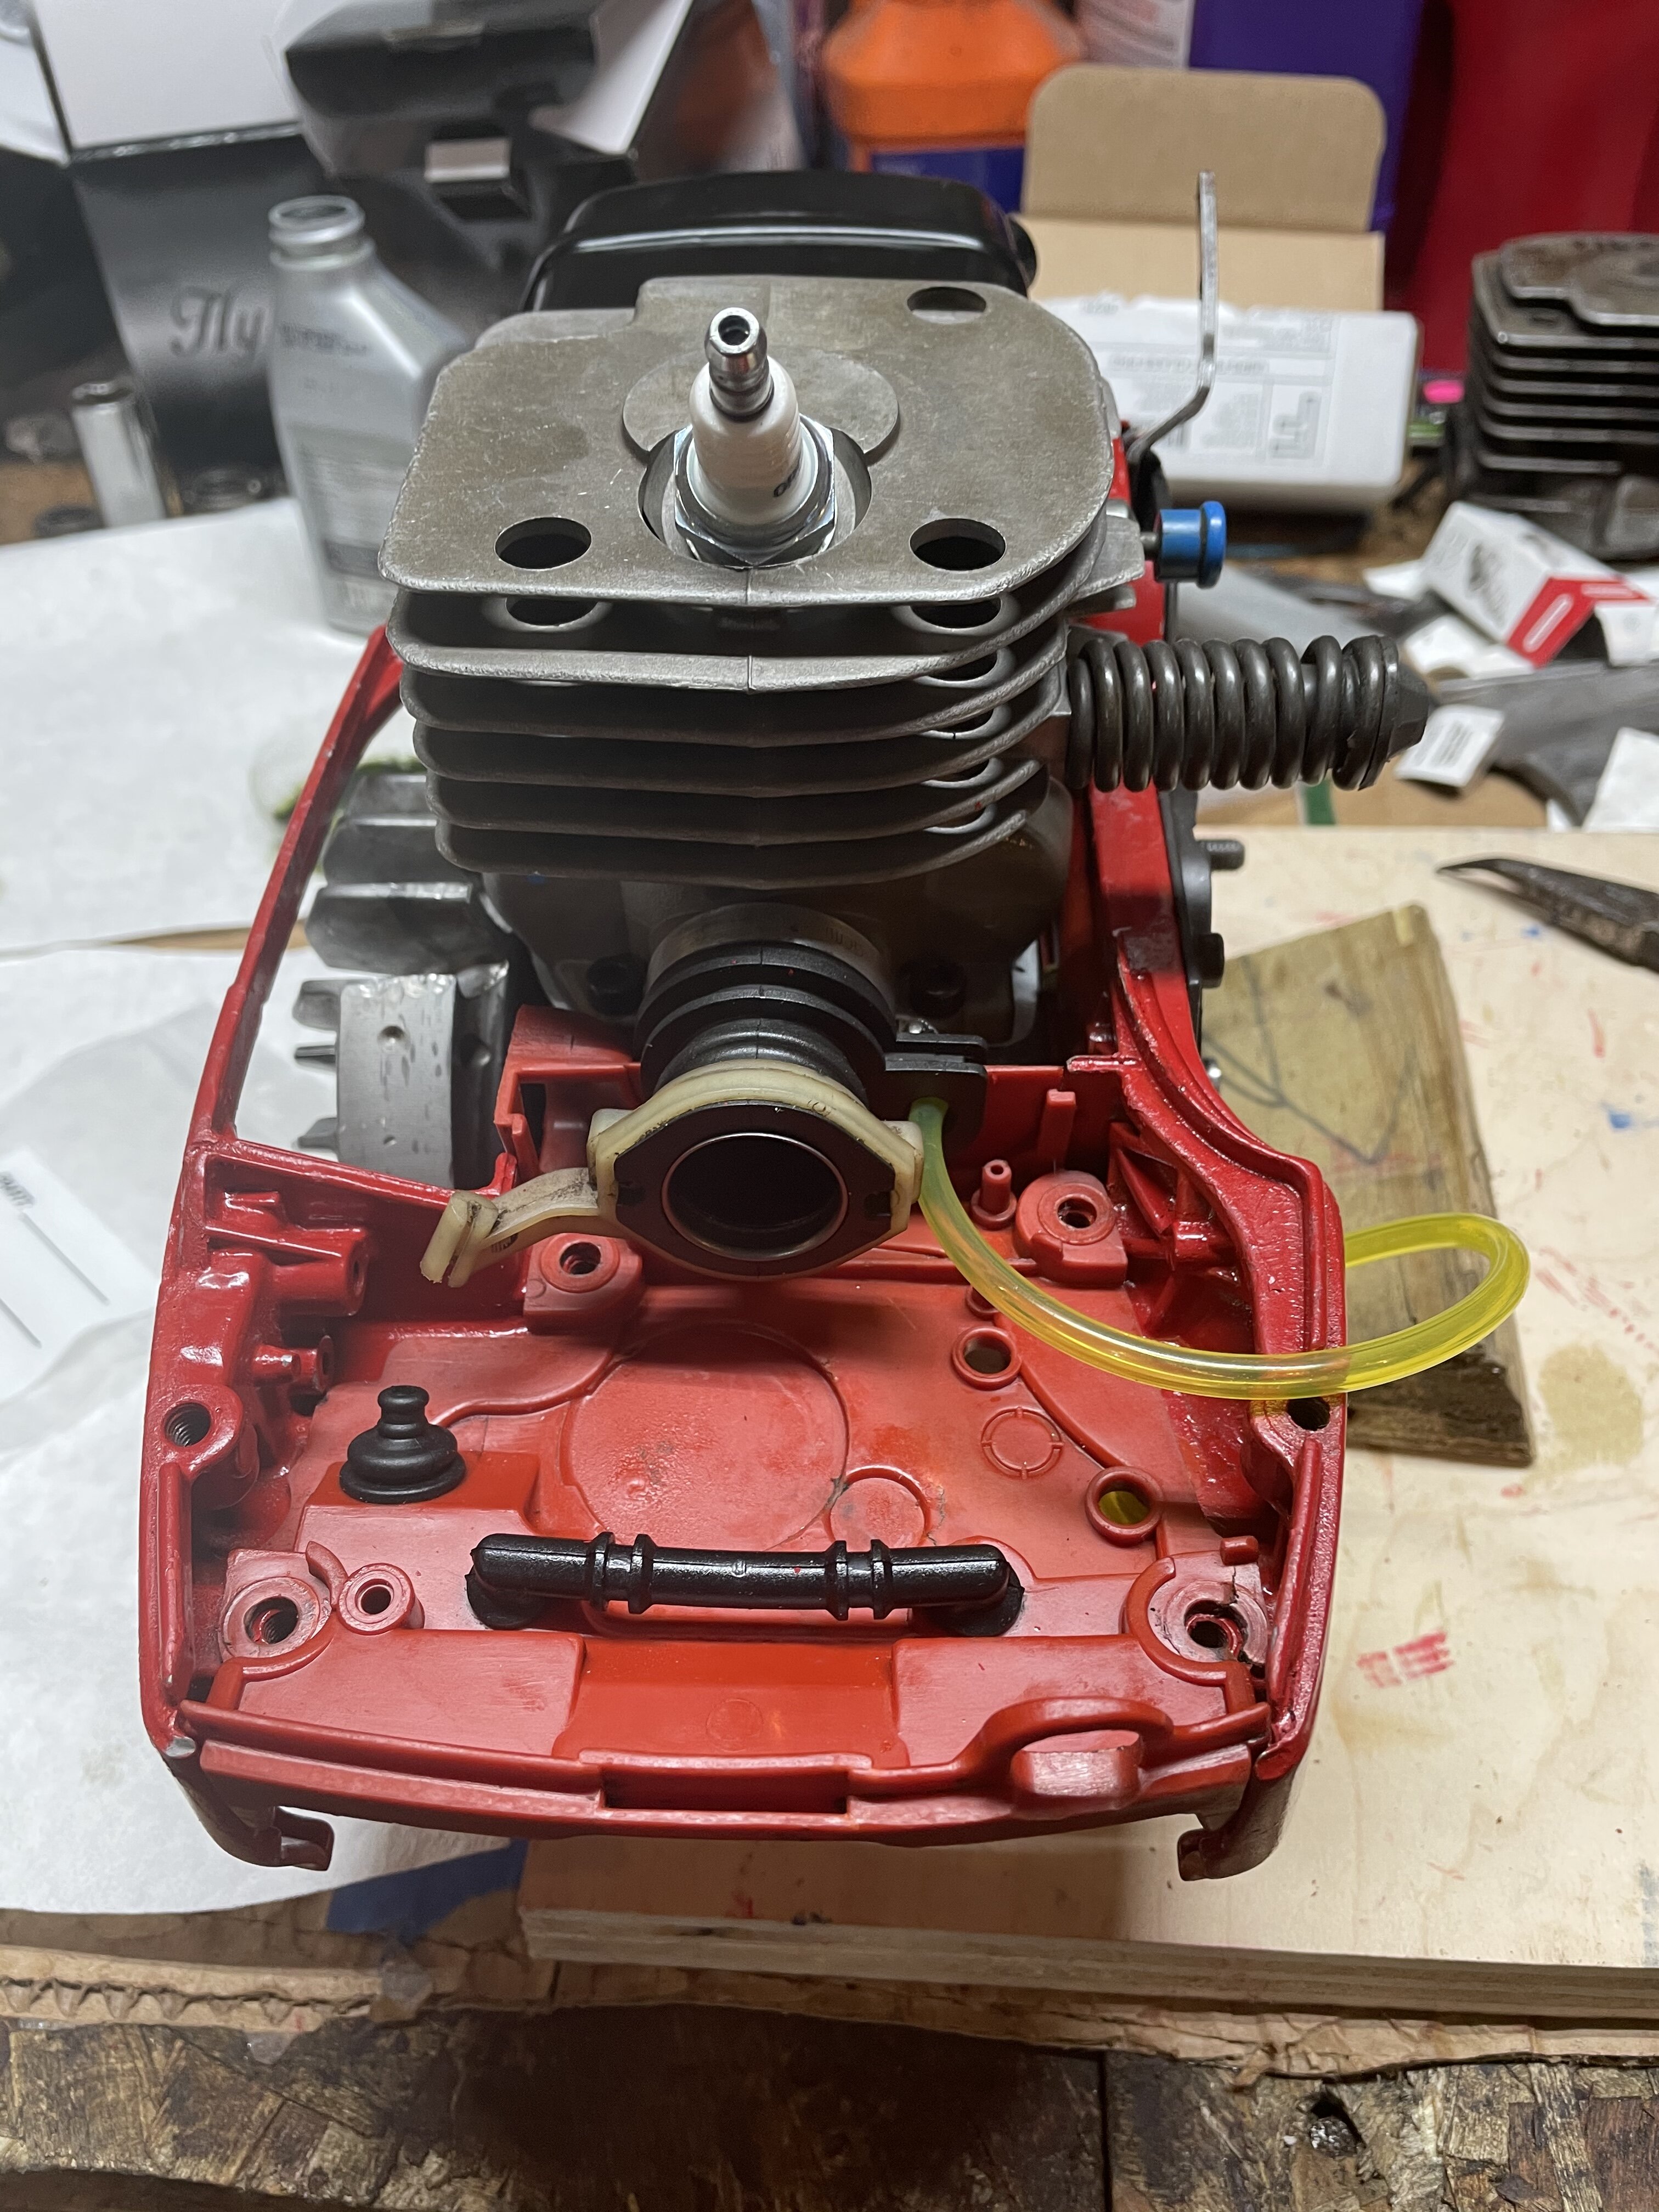
after that I started mounting the carb plate and tank. Ran new fuel and impulse lines. I put a new fuel filter in the tank and mounted the tank/handle. I also had to put the kill wires in.
hopefully tomorrow my new seal for the pto shows up and it can be finished.-
7
-
-
-
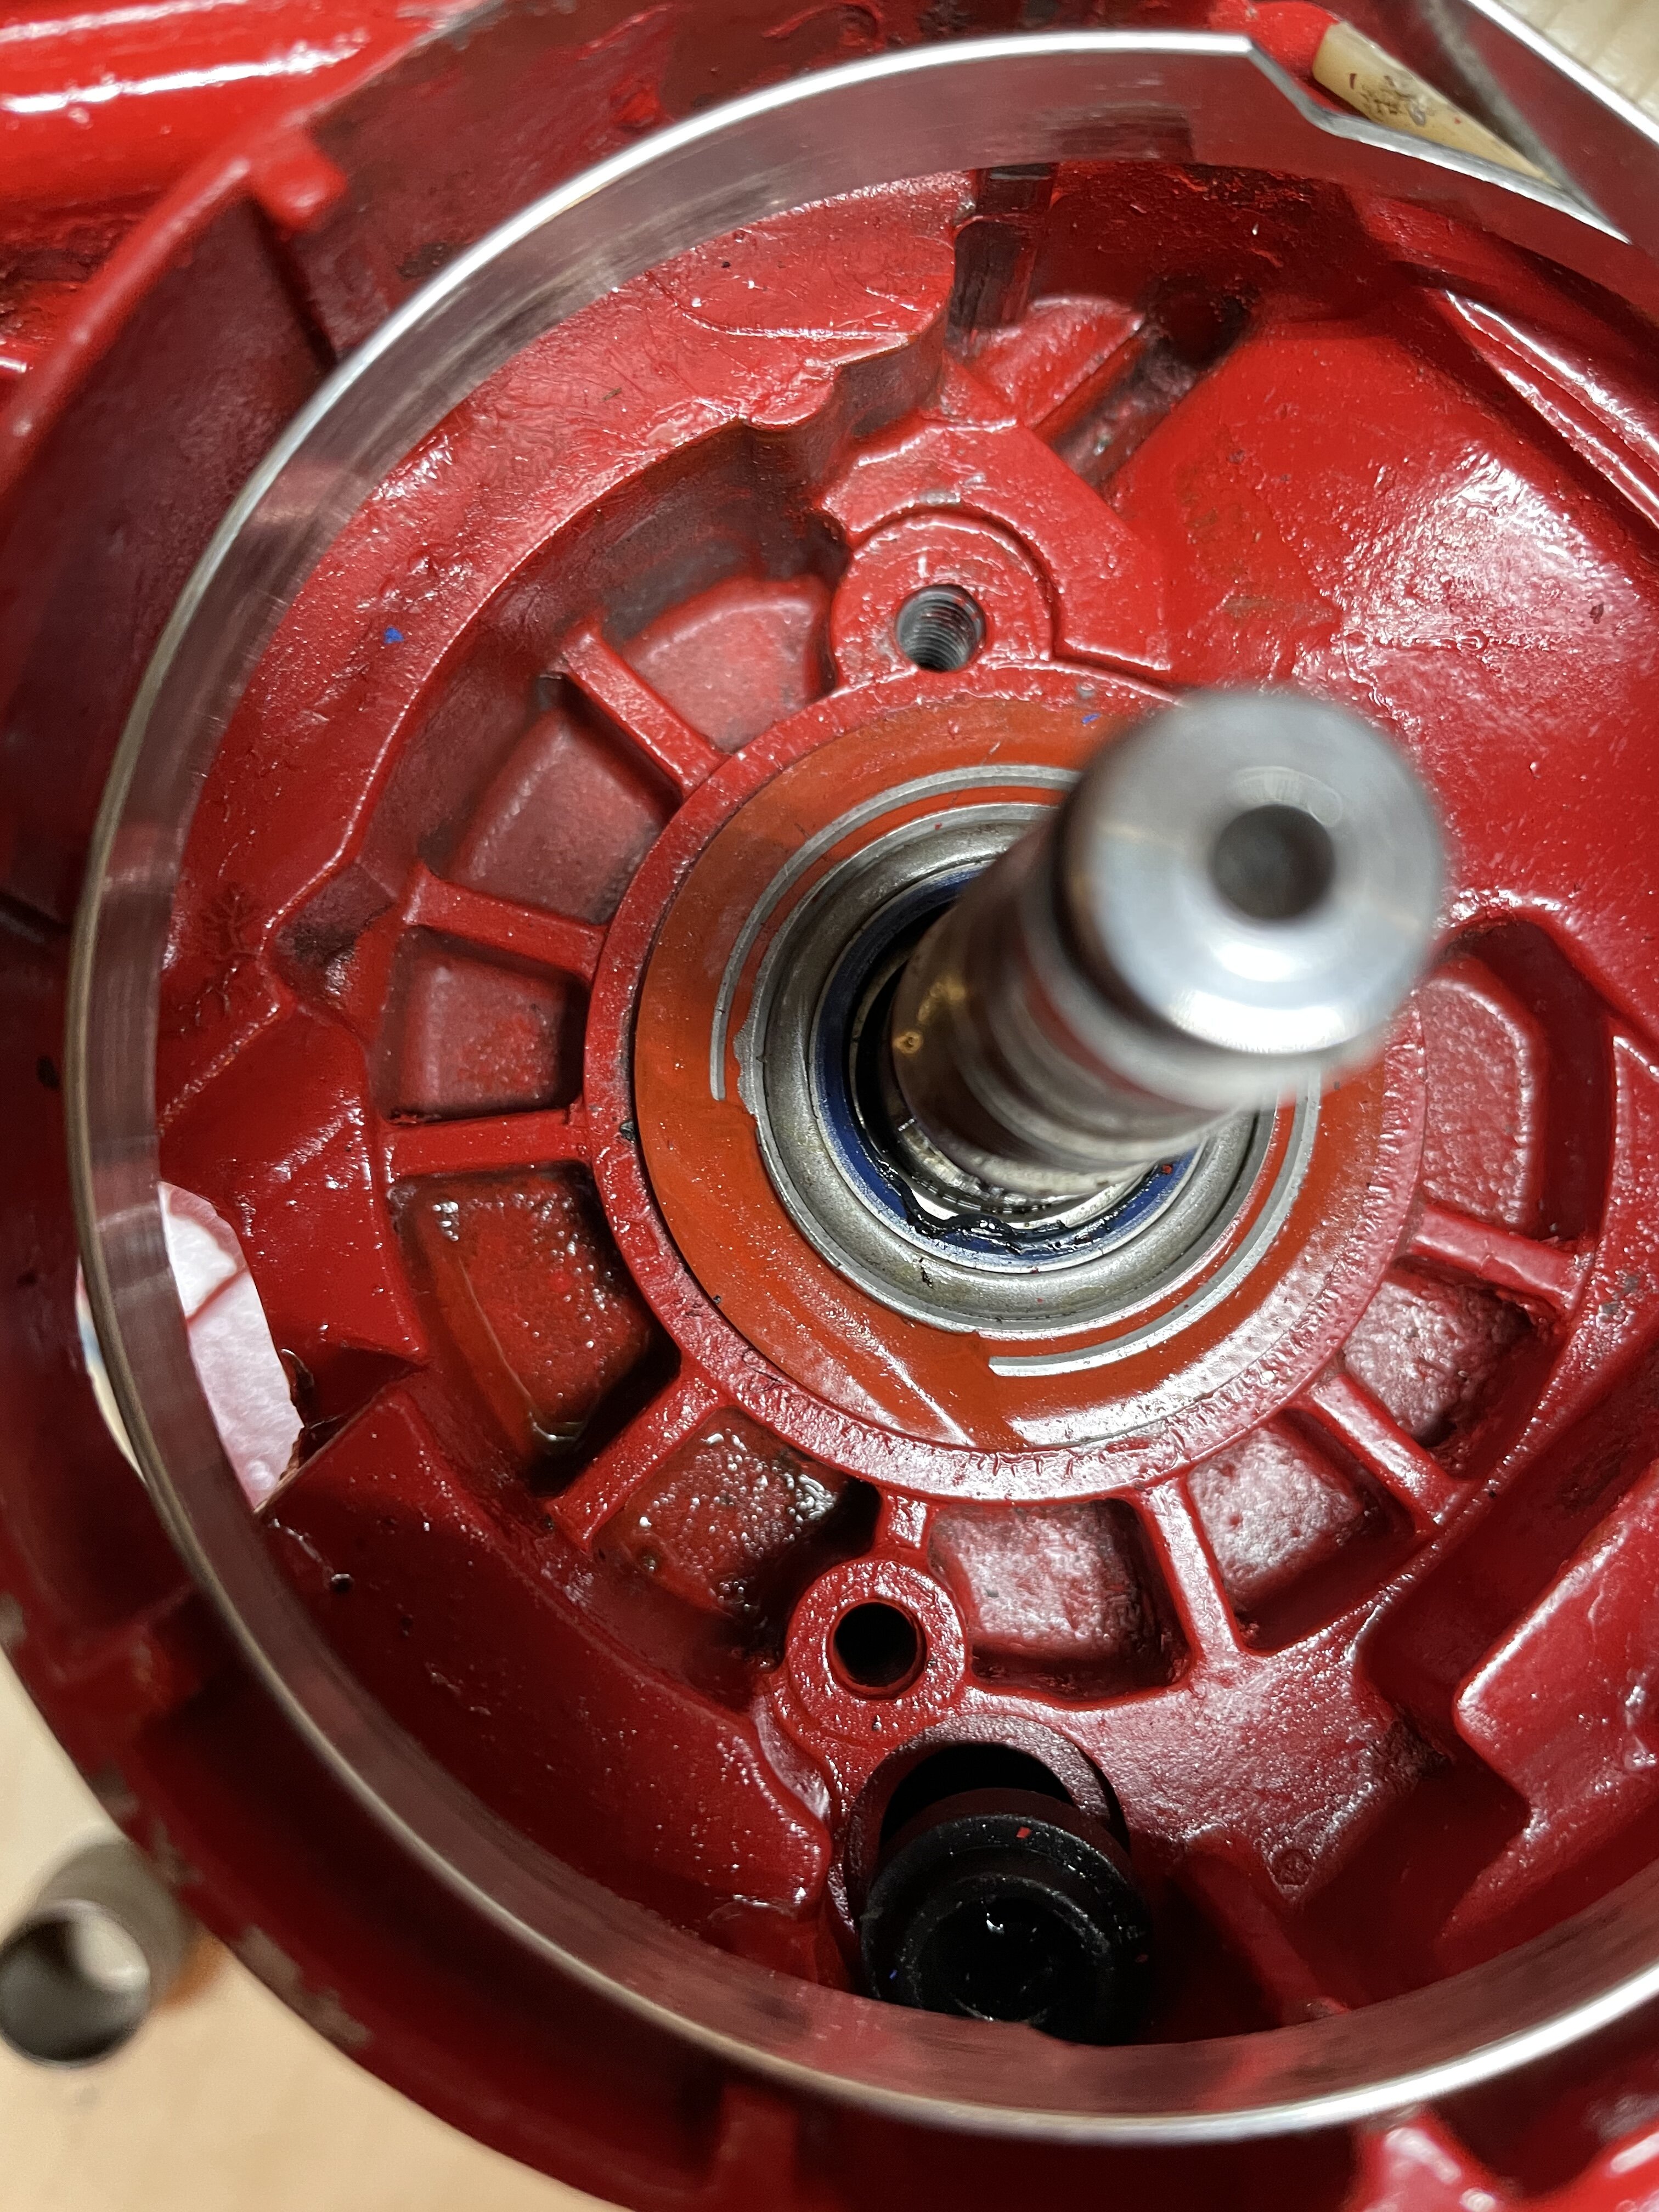
Yeah there is an oring In there. Good call on the bushing installed first. I’ll try again in a couple days. 😞 better right than twice.
-
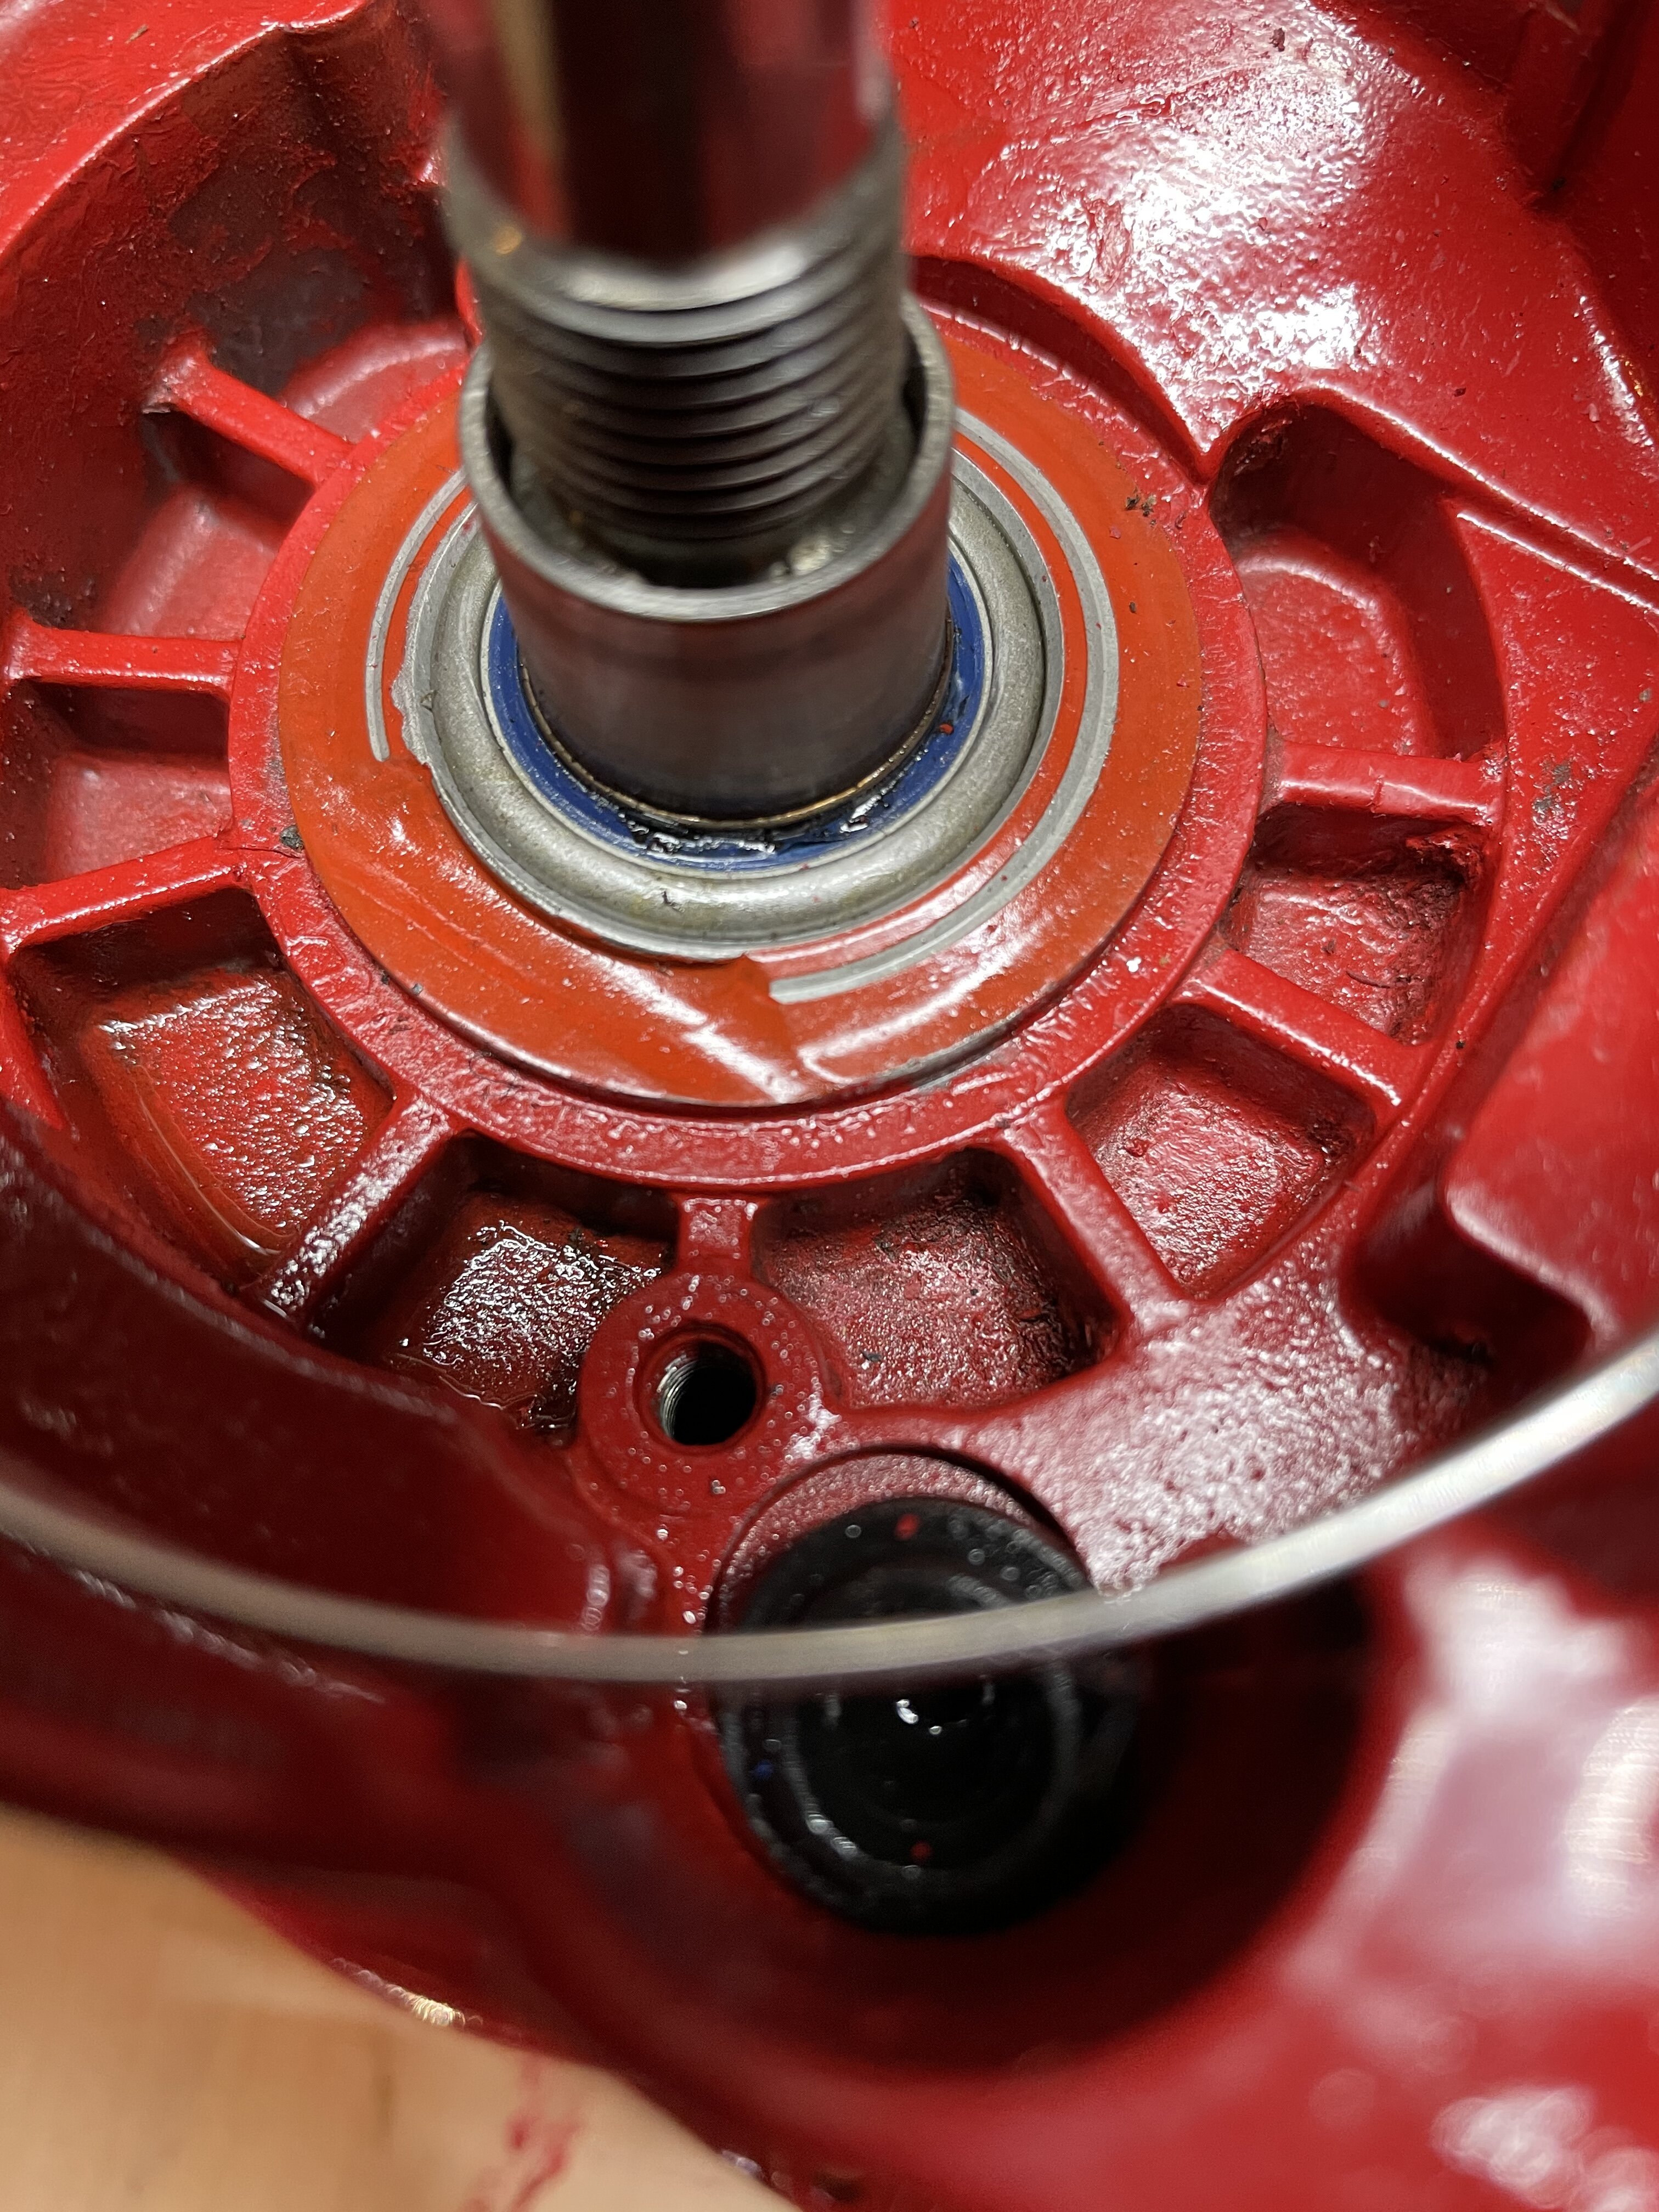
Well I checked the one seal tonight. It looks like it tore some when putting the bushing in. I think I’ll have to get a new one. Anyone have experience with shaft seals and what they can handle or expect? It looks a little tore up. Seems tight though with the bushing installed.
I did order a new one so I’m gonna put that in but sucks that it tore just sliding the part in that needs to be in there. -
And here this entire time I thought it was supposed to be self ITCHING primer.
I'm sure the friendly associates at o'reileys would have figured out what itching primer was.
-
 1
1
-
-
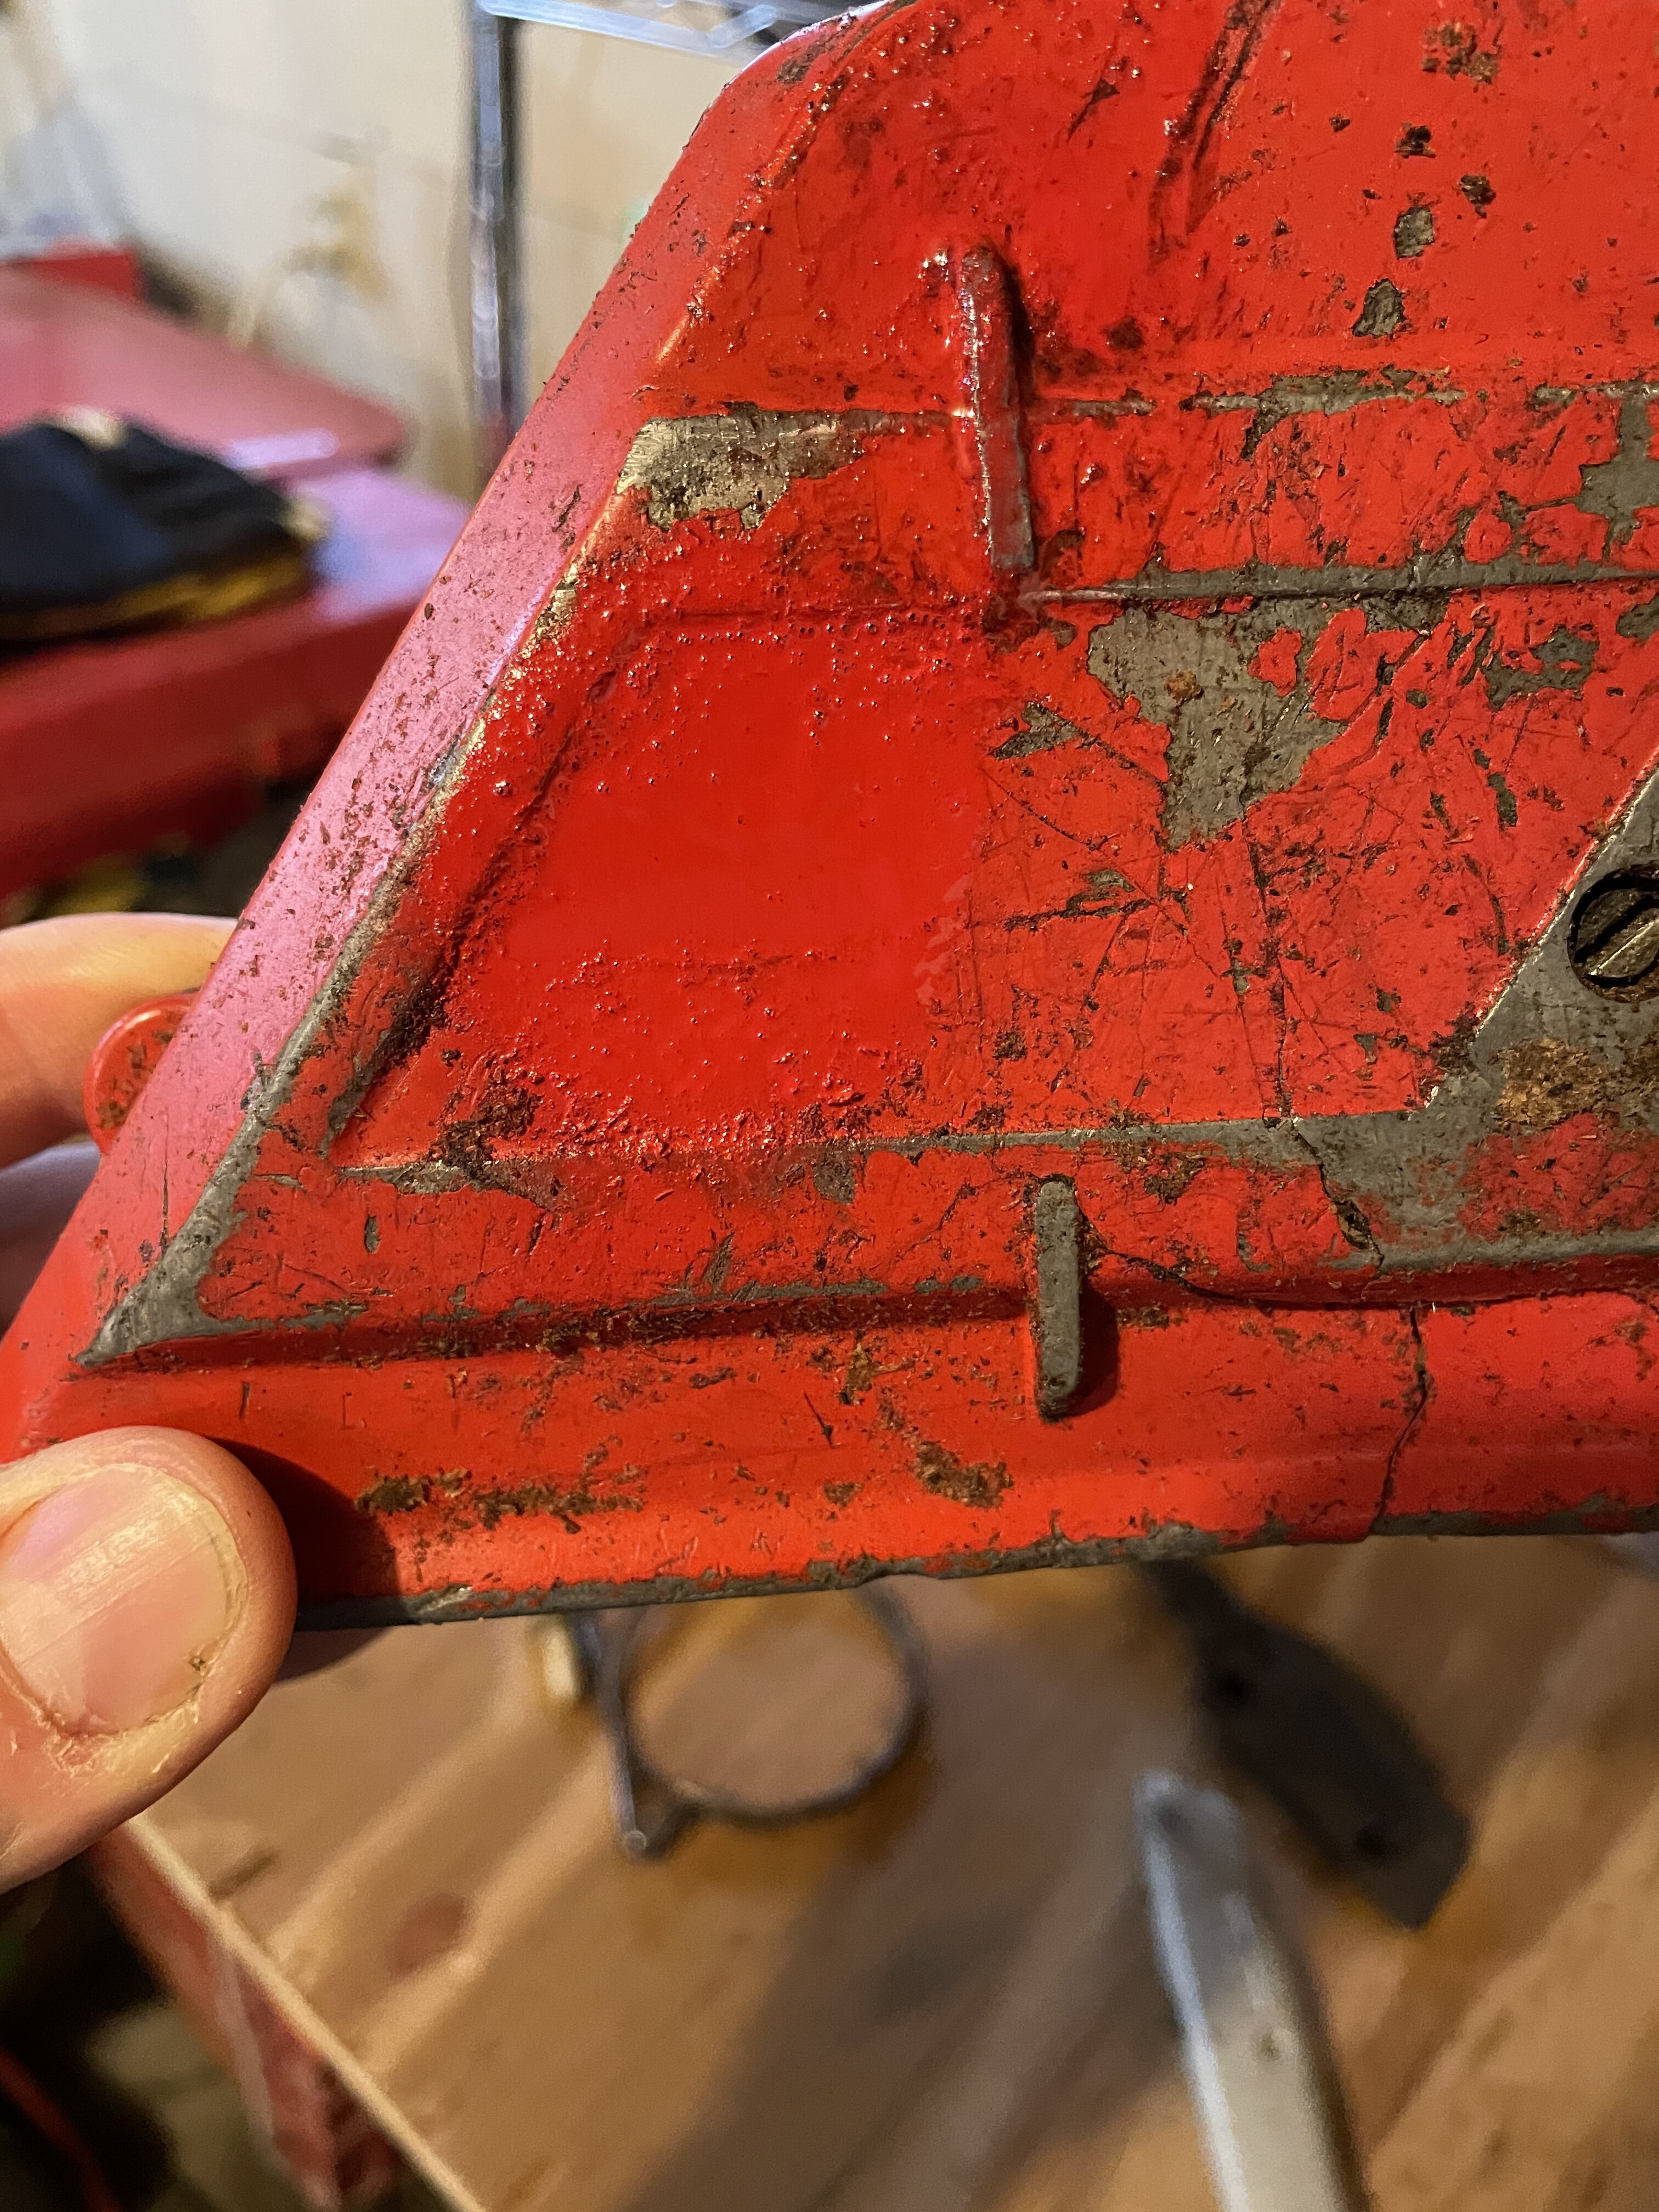
11 minutes ago, Fishfiles said:Looking good sled !!
Did you ever try Self-Itching Primer by Rustoleum , I see on your cover there are scratches and gouges , like uneven paint ---- the self-itching will level it's self out and fill a lot of that up , amazing stuff and it holds the paint to it very well , I love the stuff ---- works good on aluminum and steel ---- on steel it protects from rust much better than regular primer , if I prime a piece of metal , with no paint on it , it will last a very long time before showing any signs of rust , regular primer will rust pretty quick
You are correct, there was uneven paint which i just sanded out flat and called it good. I didn't want to sand the entire thing flat only to have the original dings and scratches show through... But this Self-Itching primer sounds interesting. I'll have to look into that. The engine paint I used supposedly didn't need primer. I'll check that stuff out though for whenever I do another project.
I don't foresee this saw seeing too many elements that will induce a premature paint failure/rust. It'll be my "fun" work saw.
Just ordered the bar for it yesterday too... 24" TsuMura Light bar. Stihl full chisel chain. Hopefully it has a little power.
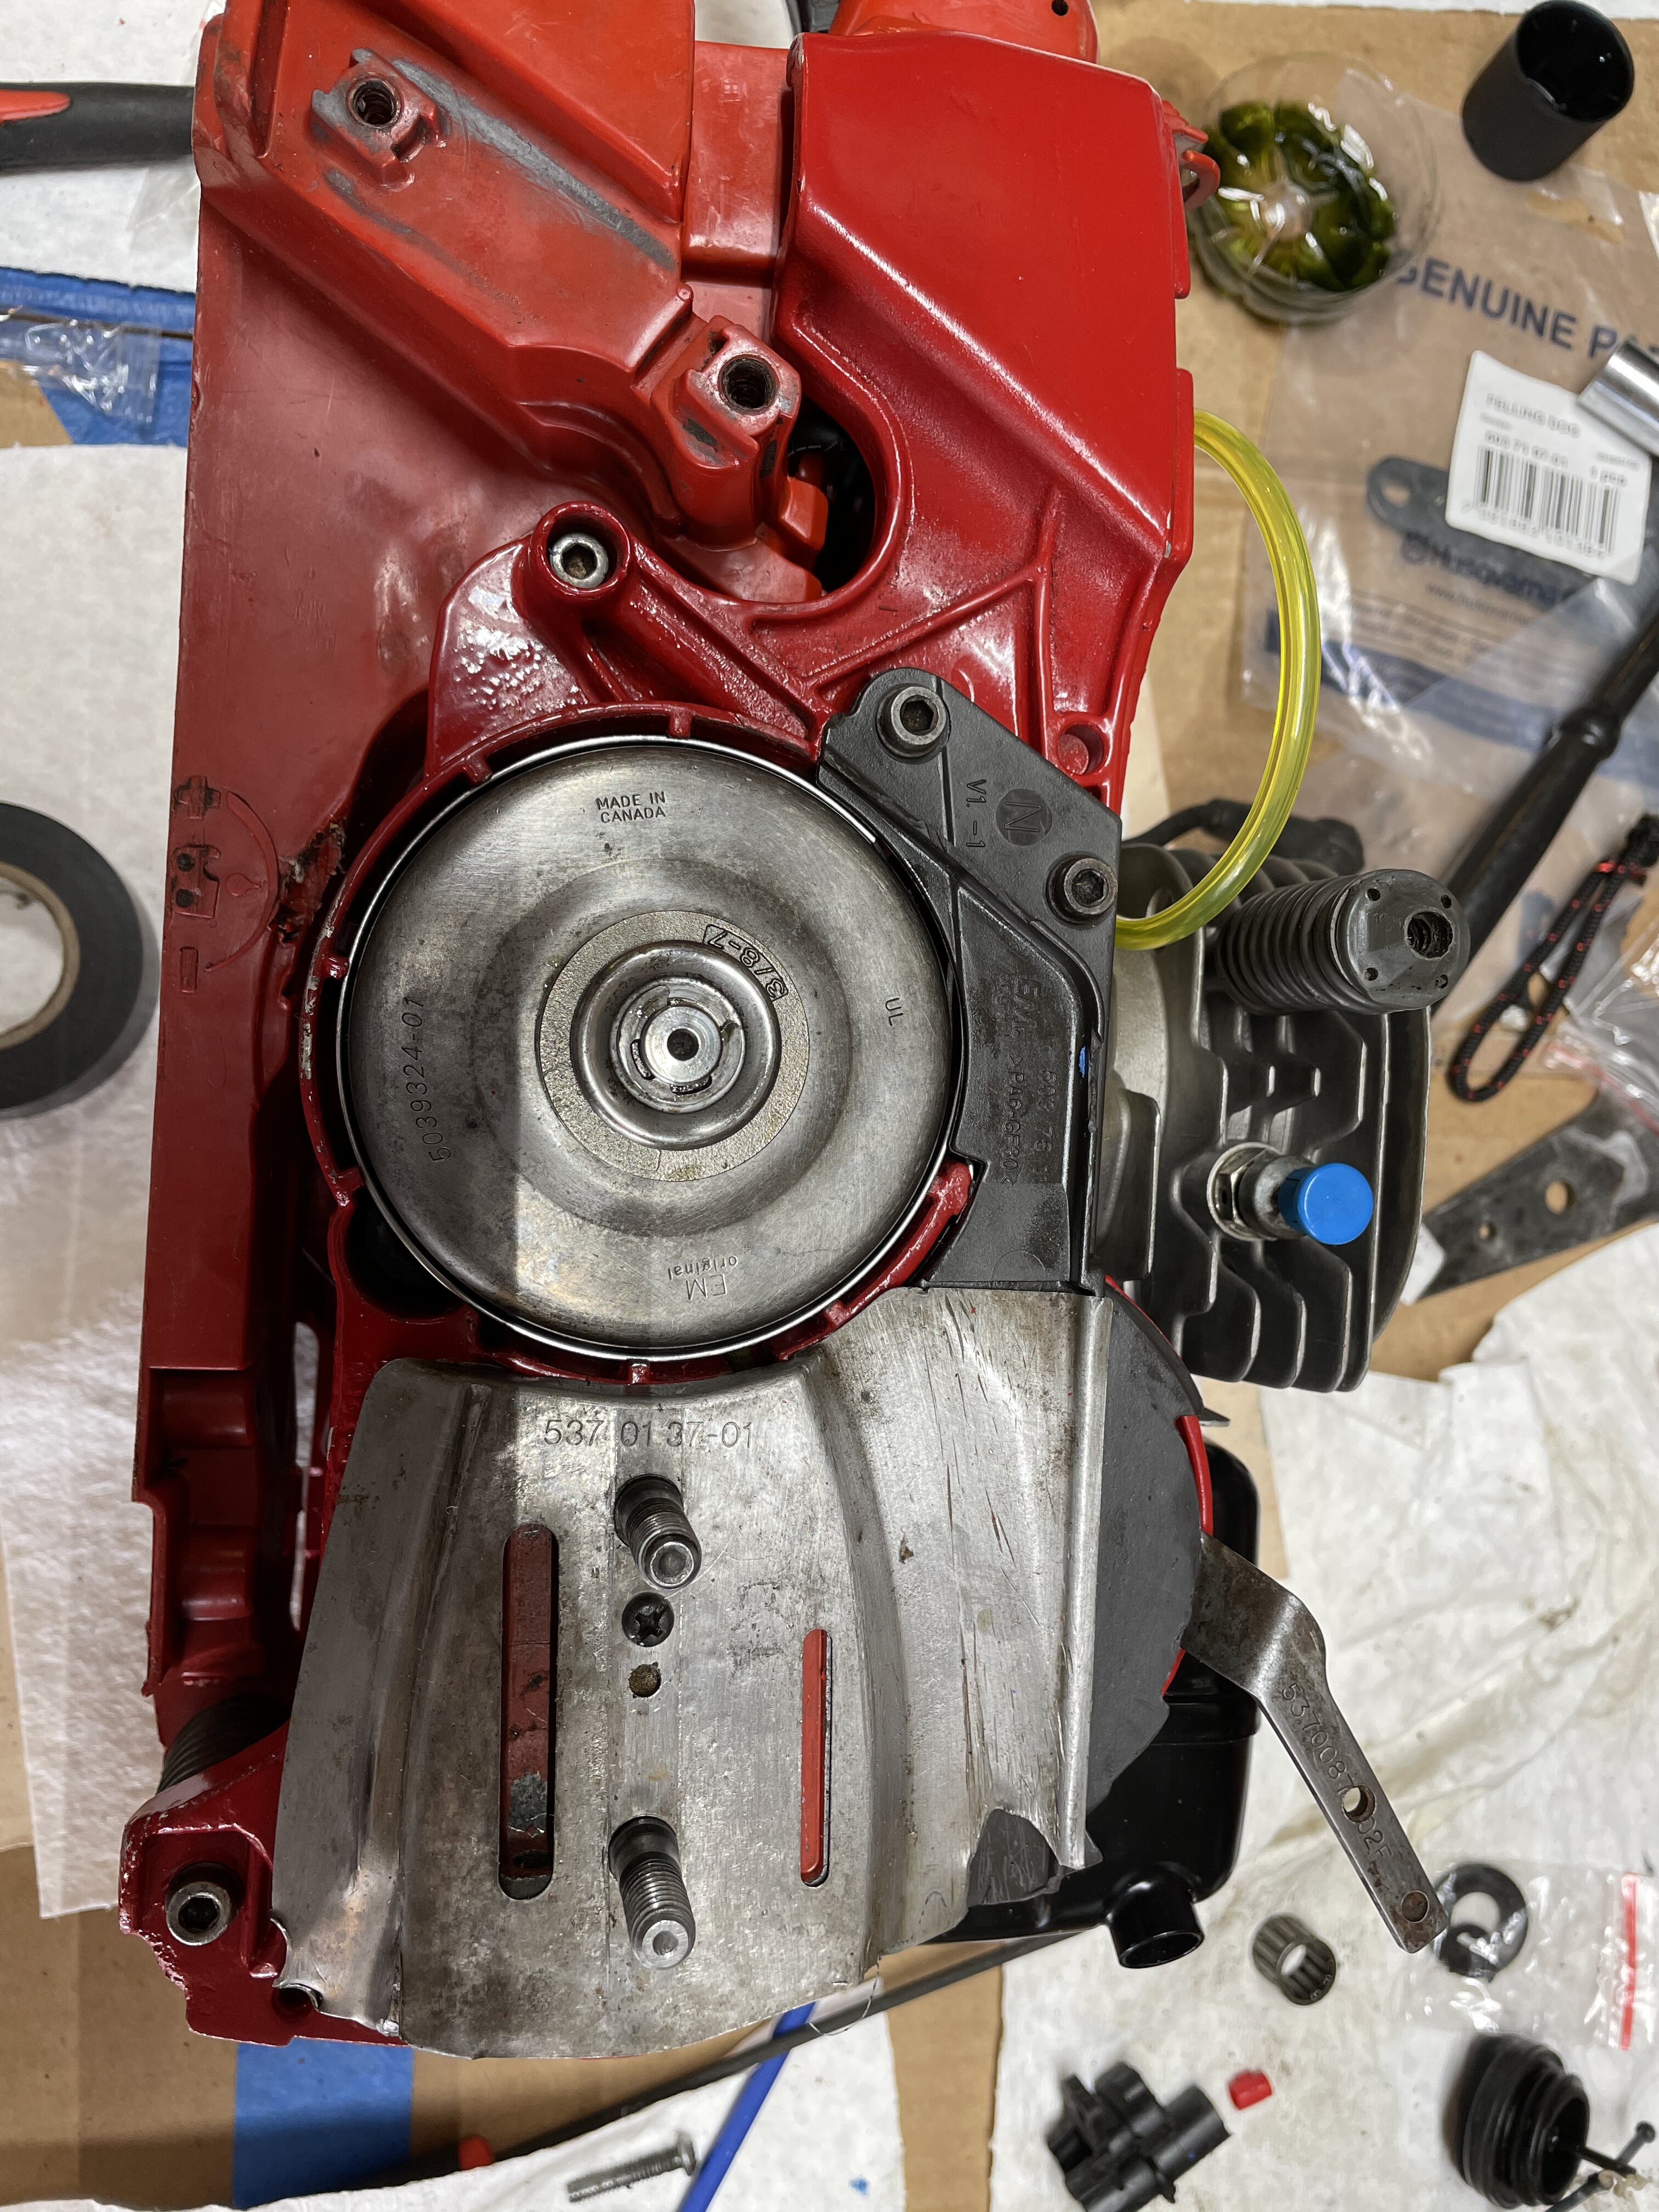
On another note, I did putz with the saw a little last night. I dropped the flywheel side crank seal in. Which went perfect.
The pto side is a little different and I kind of screwed it up. I put the seal in and started tappin it down. But it doesn't seal on the crank itself so there was little pressure. I accidentally hit it too hard and it dropped in too far. I think it's pushing against the bearing because the crank went from free spooling to needing pressure to rotate it. Still smooth, there's just pressure on it.
The way it seals the pto side is (from inside out) bearing, tiny o-ring slid over crankshaft pressed against the inner race of bearing, then a two step bushing. The higher step of the bushing seals against the seal and the oring seals the inside of the bushing against the bearing race. Then there's a washer, oil pump parts then those are held down via the clutch.
So I'm going to have to see if I can use a seal pick and push the seal out some to eliminate the drag without ruining it. Otherwise, I'm gonna need a new pto side seal. I also ordered a new o-ring because the one I had looked a little flat spotted. I'll try and get some more pictures of that tonight. I figured i've Put this many new parts in thus far, why skimp on a $3 o-ring that could cause a leak/lean condition. "Do it right or do it twice" - some guy named @shadetree
-
2
-
-
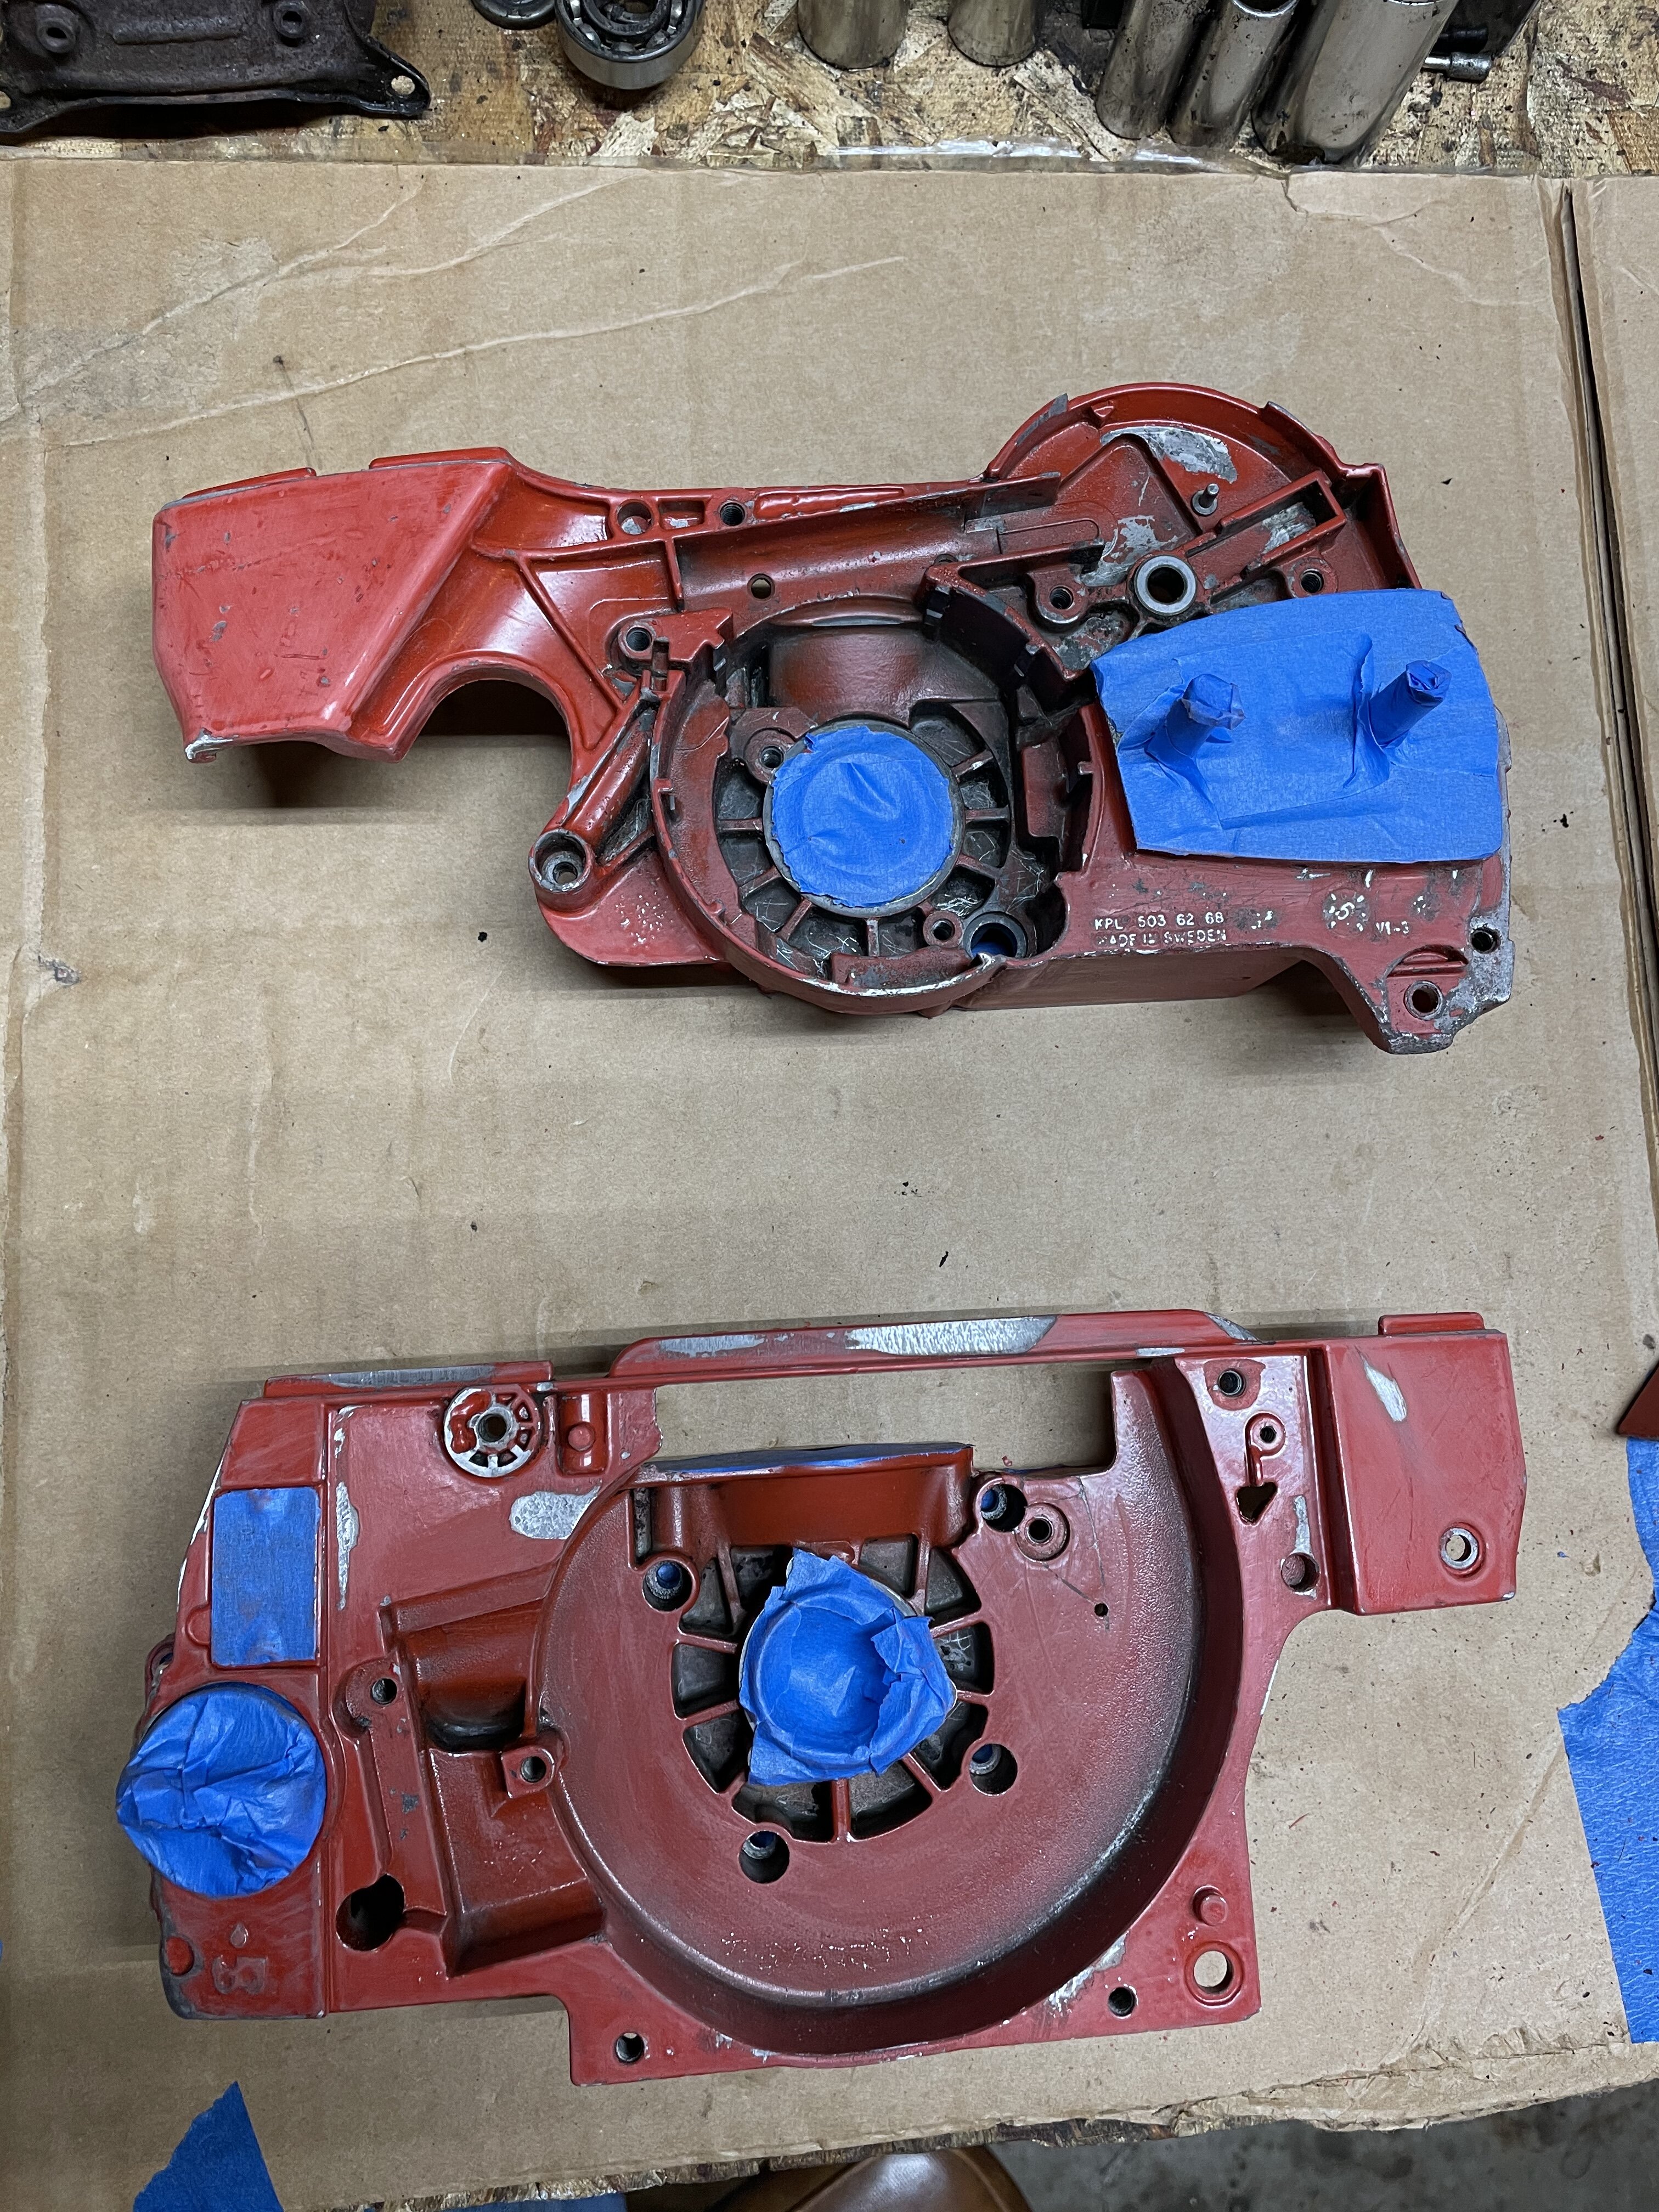
Clutch cover is finished.
-
4
-
-
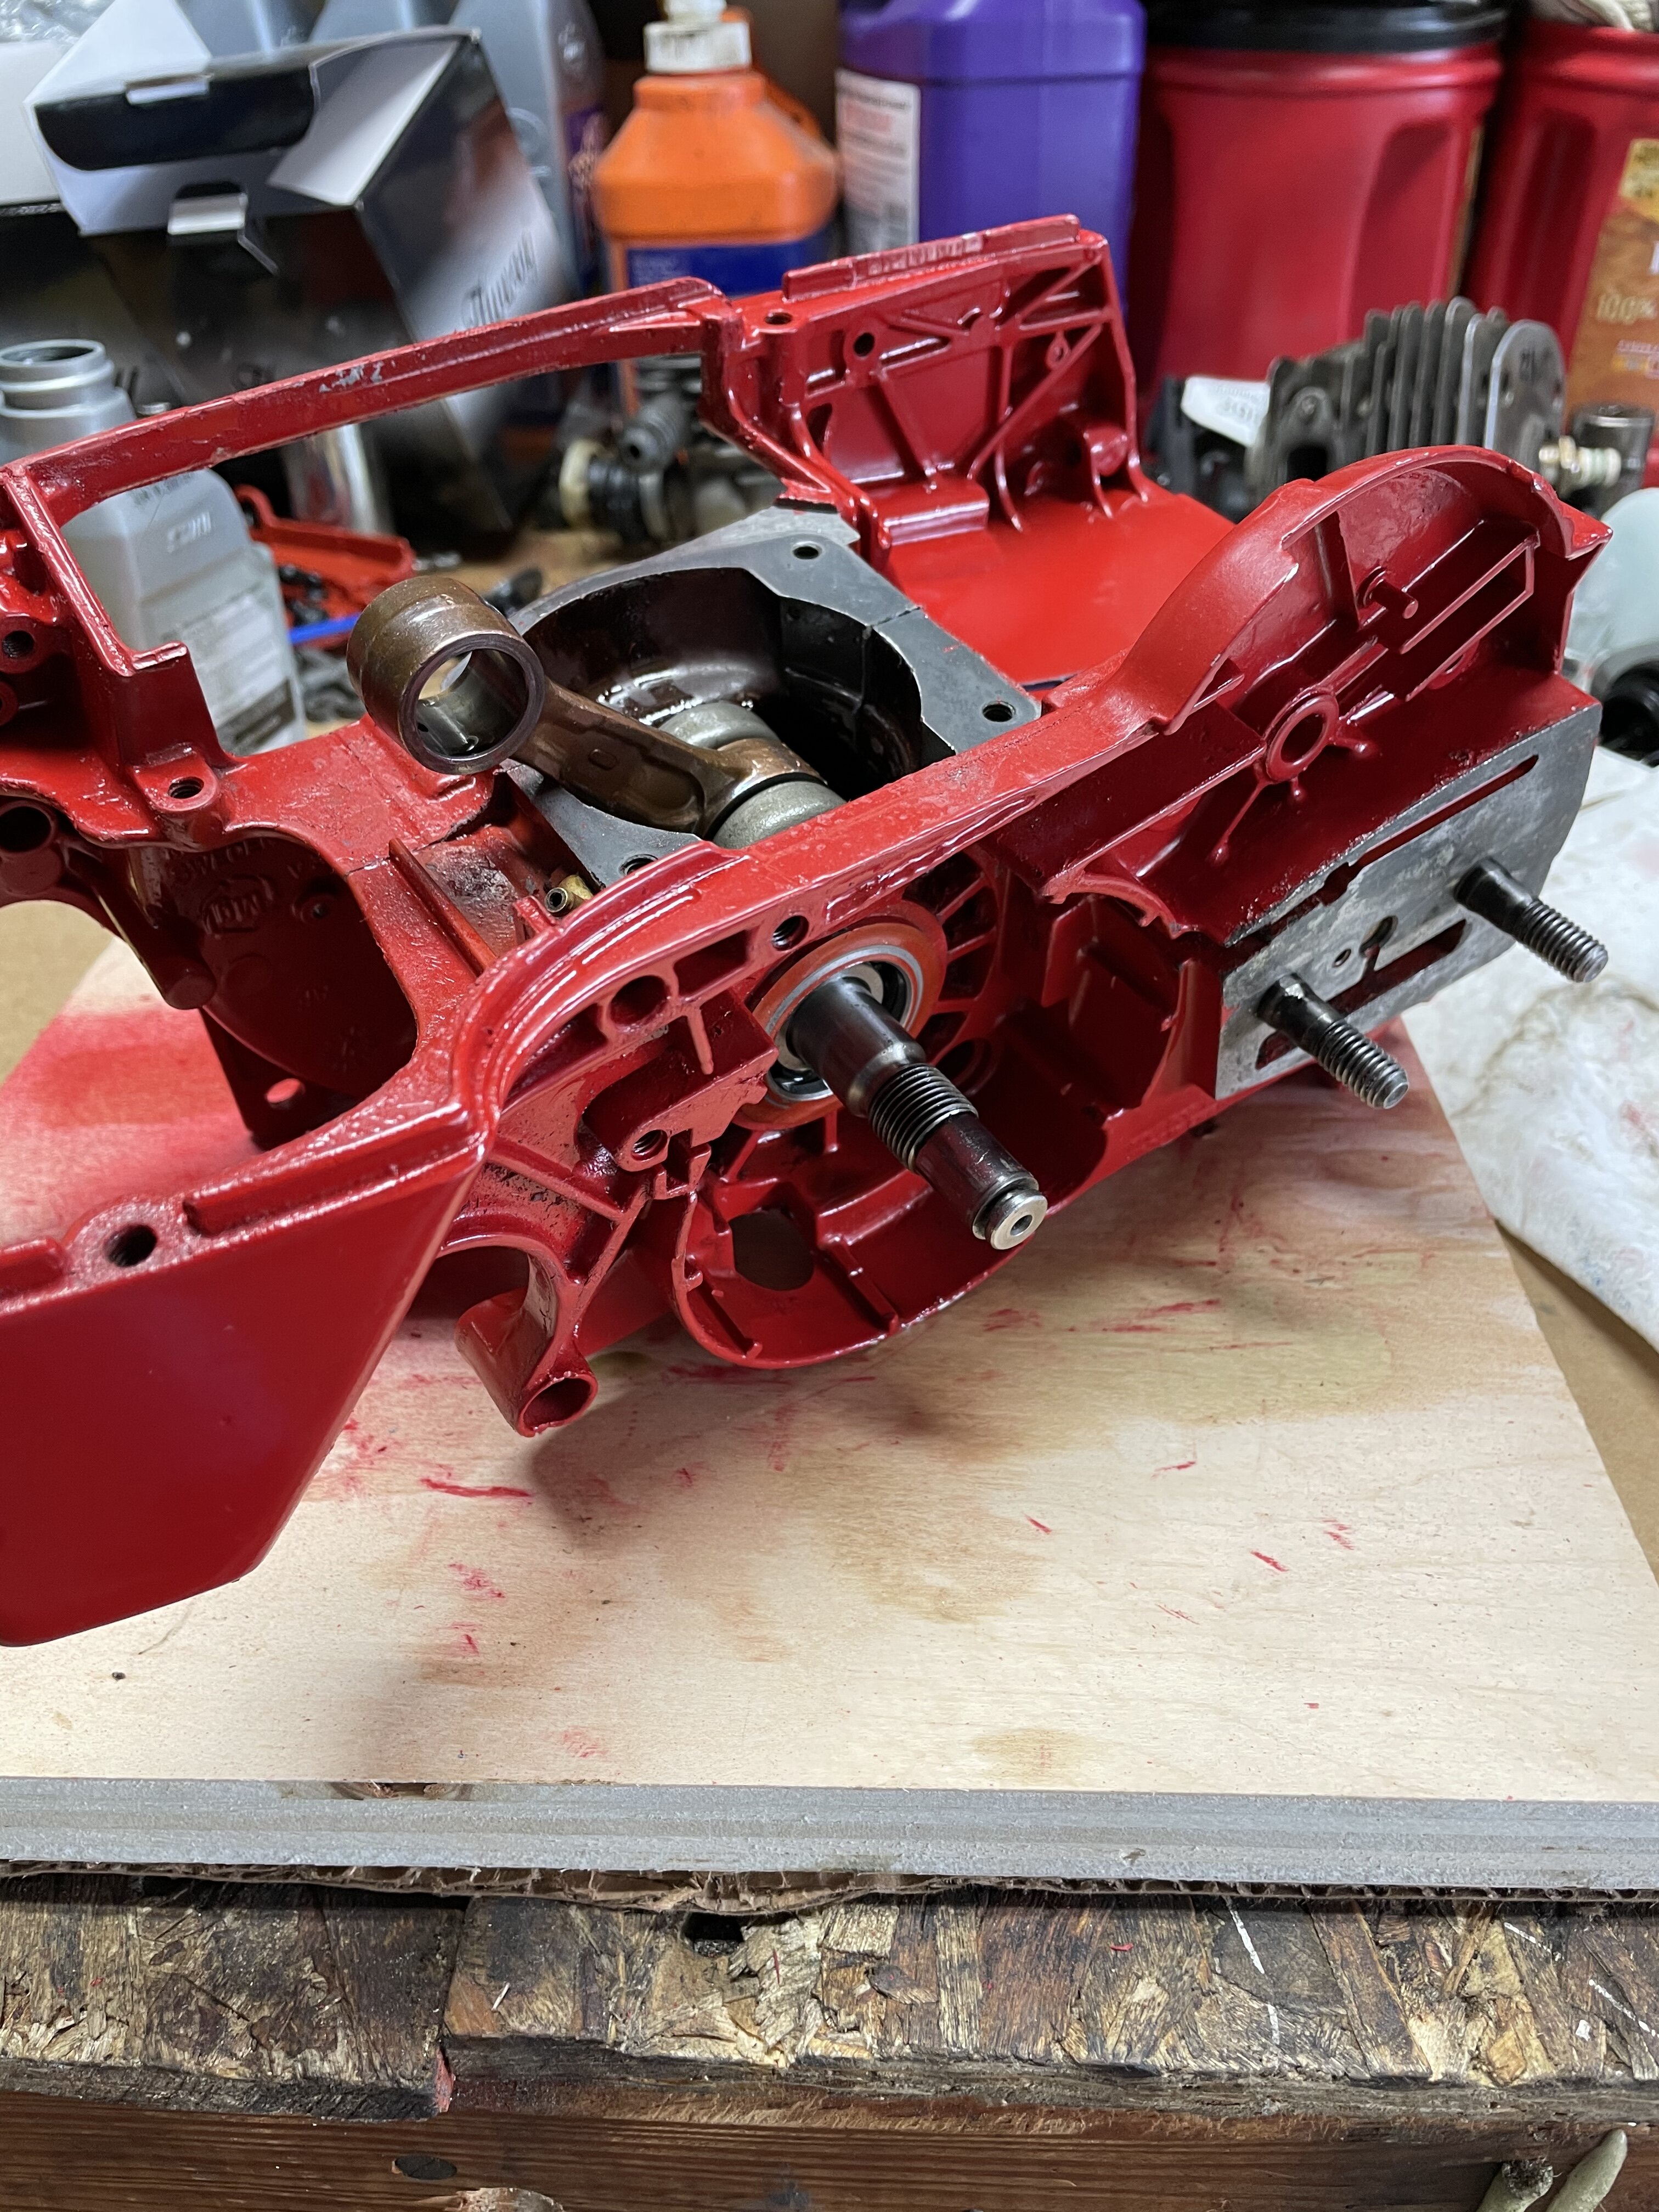
Yes fish, it does feel good to go conepletely through something but the gratification will come when it runs.
here’s the case as it is now.
-
4
-
-
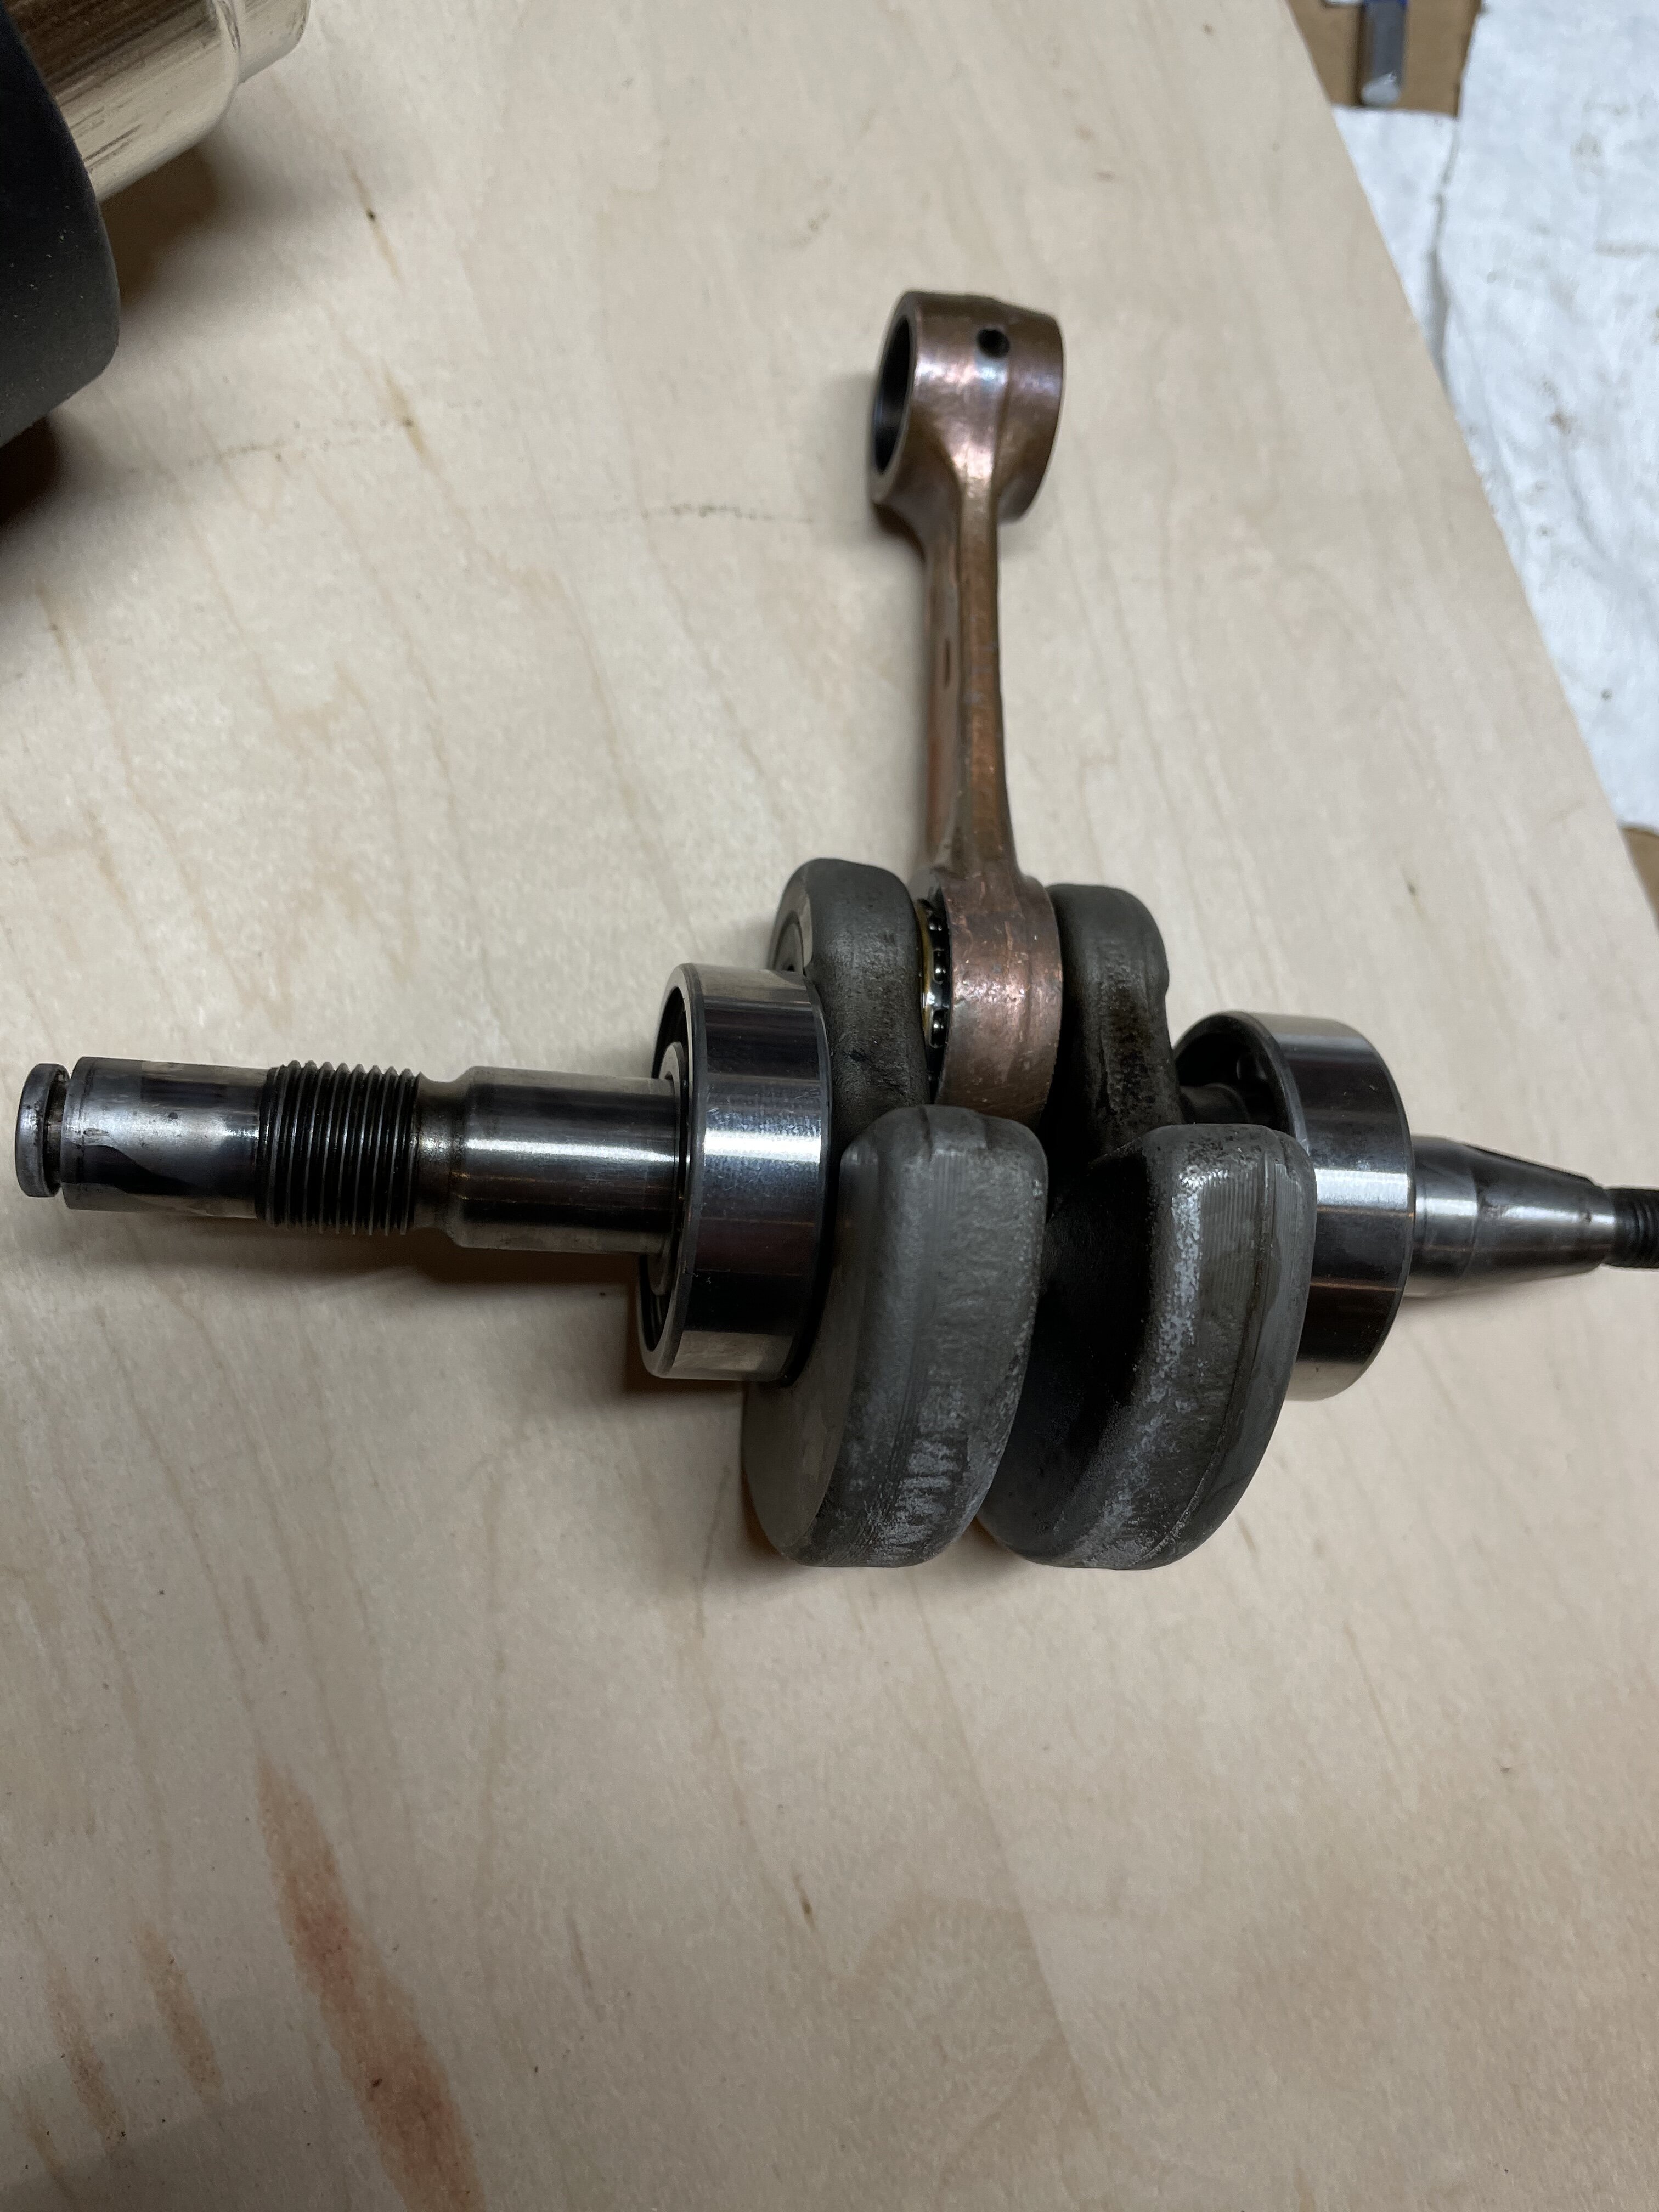
Made a little progress last night. Got the top end together along with the bottom end. Waiting for caber rings to complete the marriage.
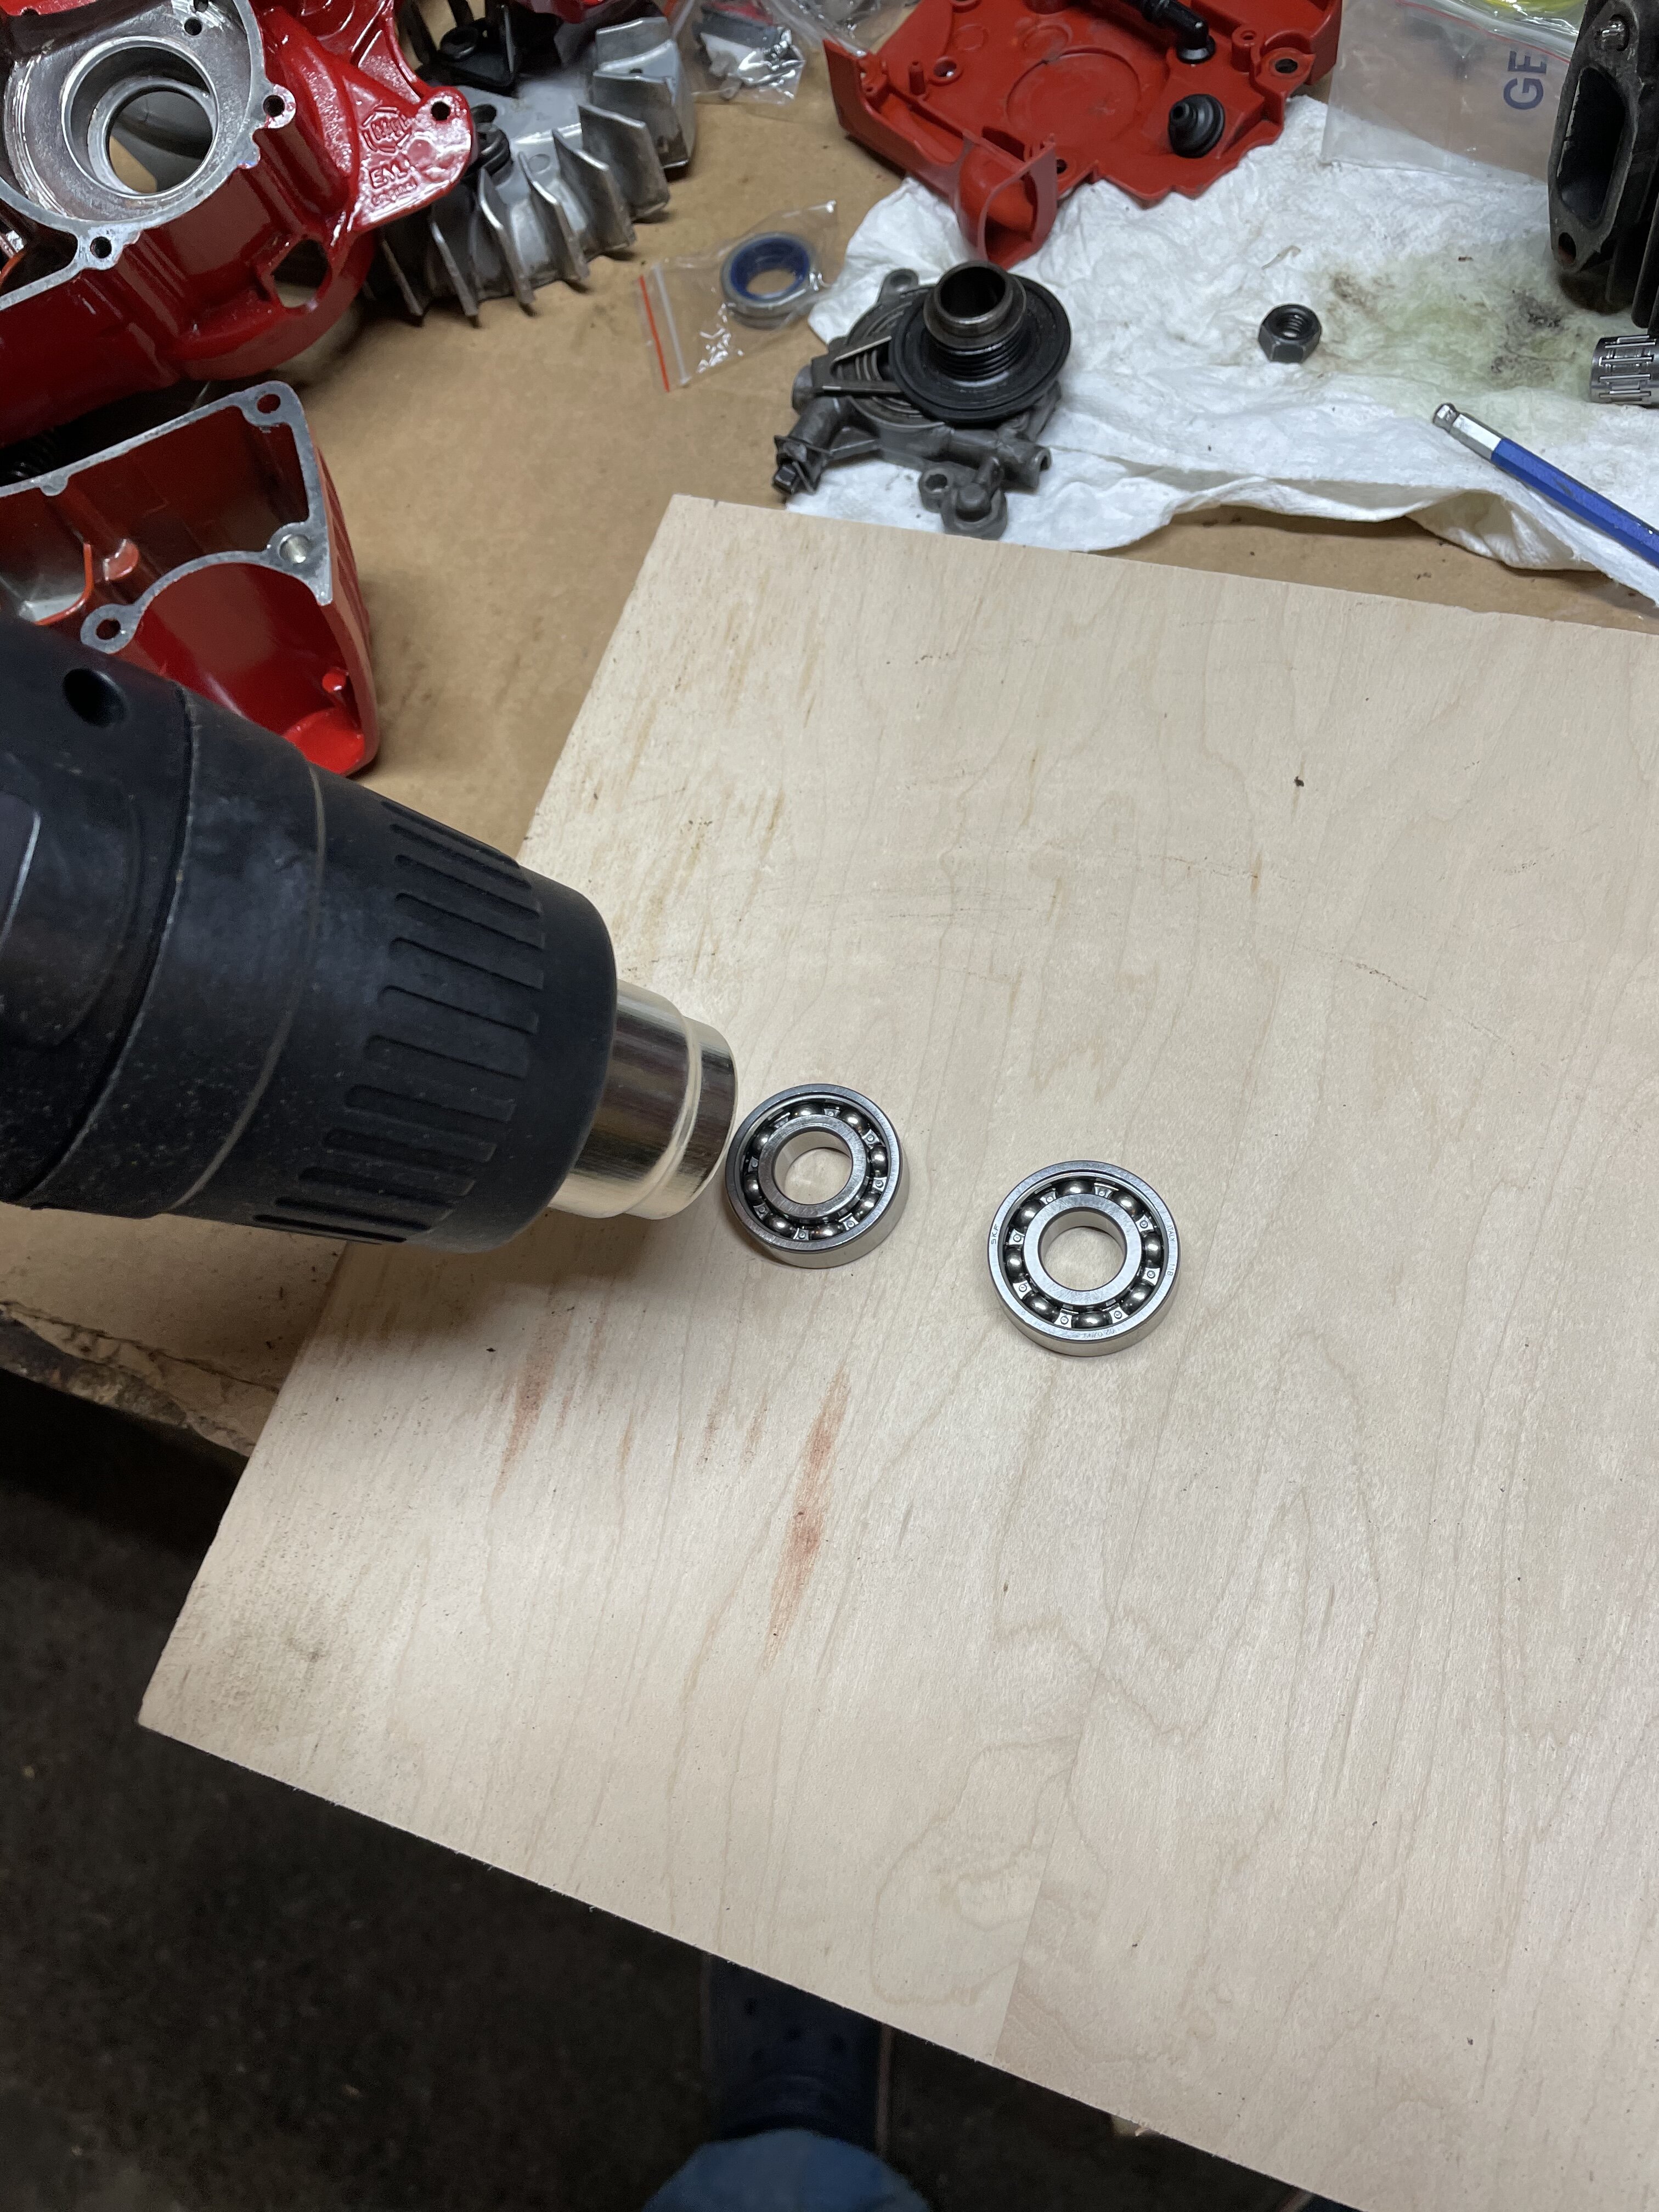
i froze the crank shaft in the deep freeze and heated the bearings. Those suckers slide right on. Then I froze the crank again with the bearings installed then heated the one case half. Slid right in. Then heated the other case and tried to slide that in. It didn’t go as smooth. Ended up having to freeze the half case with the crank in it again for about an hour then reheated the other empty case. Then it slid right together.
had to pry the crank a little to center it in the case too.
when I pried I dinged the case a little so I had to smooth that out in the case. Then got paranoid I got metal in the bottom end so it got a bath. Which then resulted in chipped paint so I’ve had to repaint some of the case as well. It was one of those two steps forward one step back kind of nights.
but case is together and back to waiting for parts.-
6
-
-
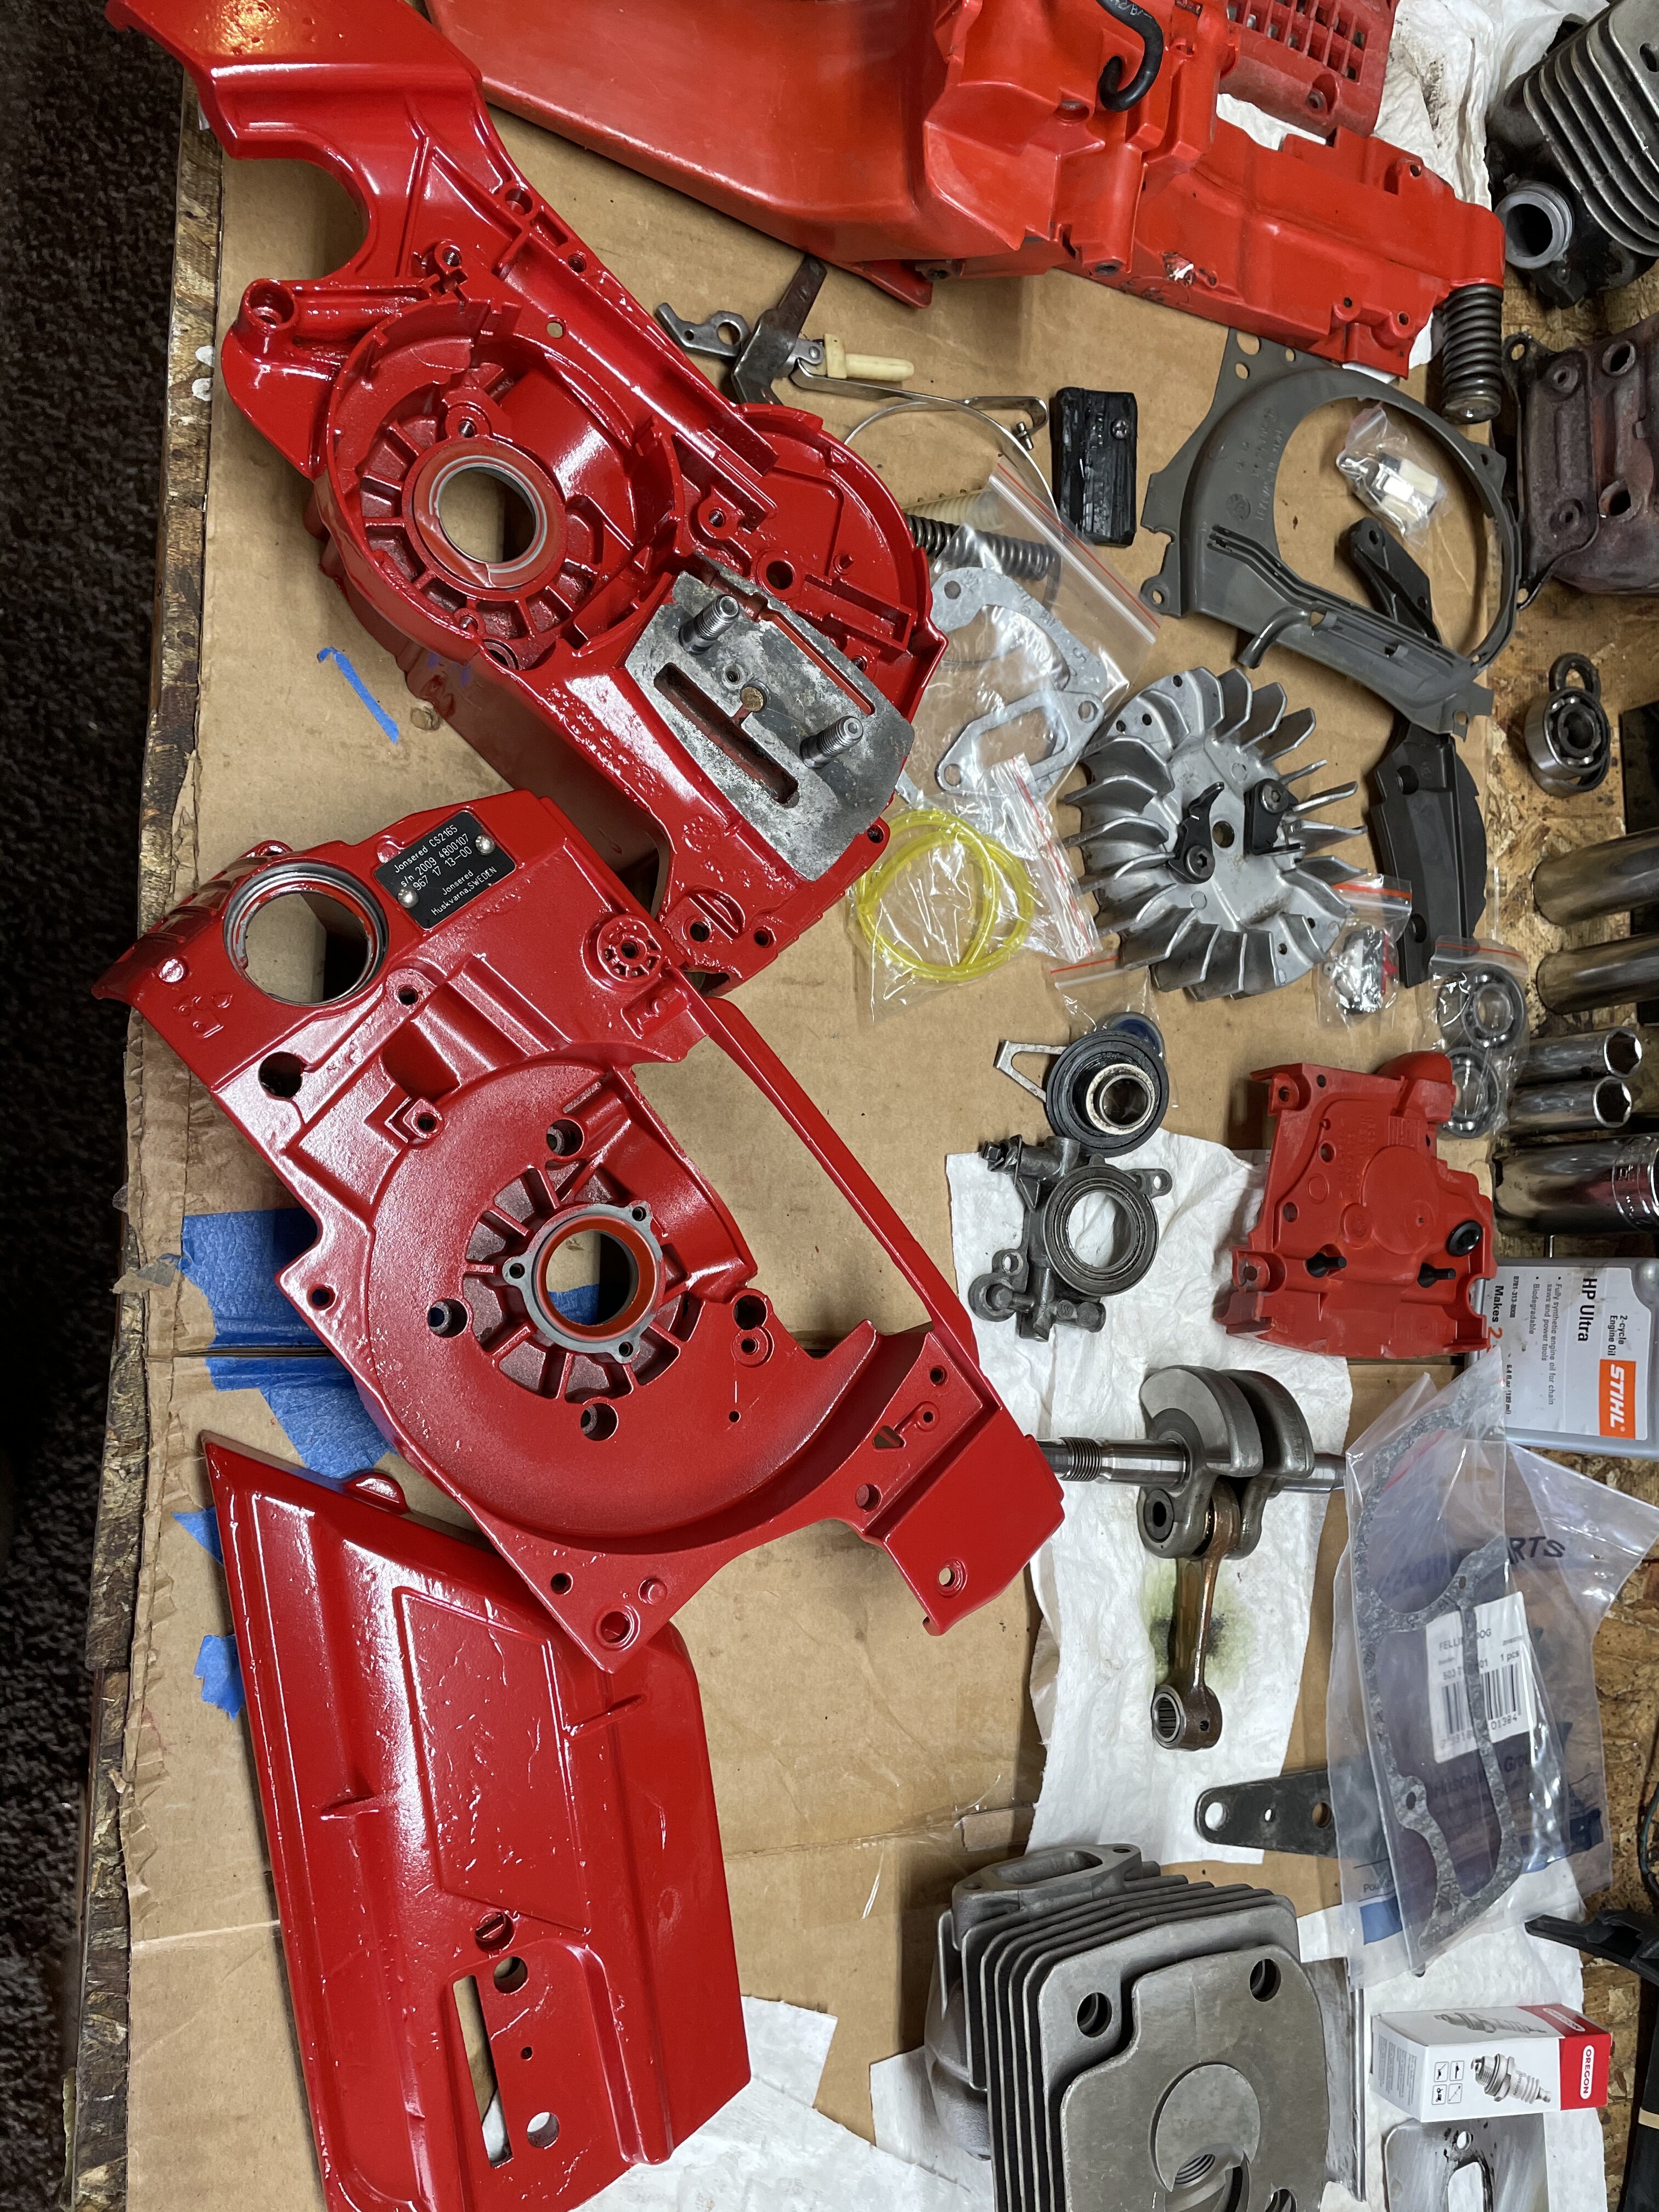
Well. Now I need some bearing to show up. Paint looks pretty good. Now all my plastic parts look like crap. All laid out ready for the rest of my parts to show.
guess I’ll go split wood in the mean time.-
4
-
-
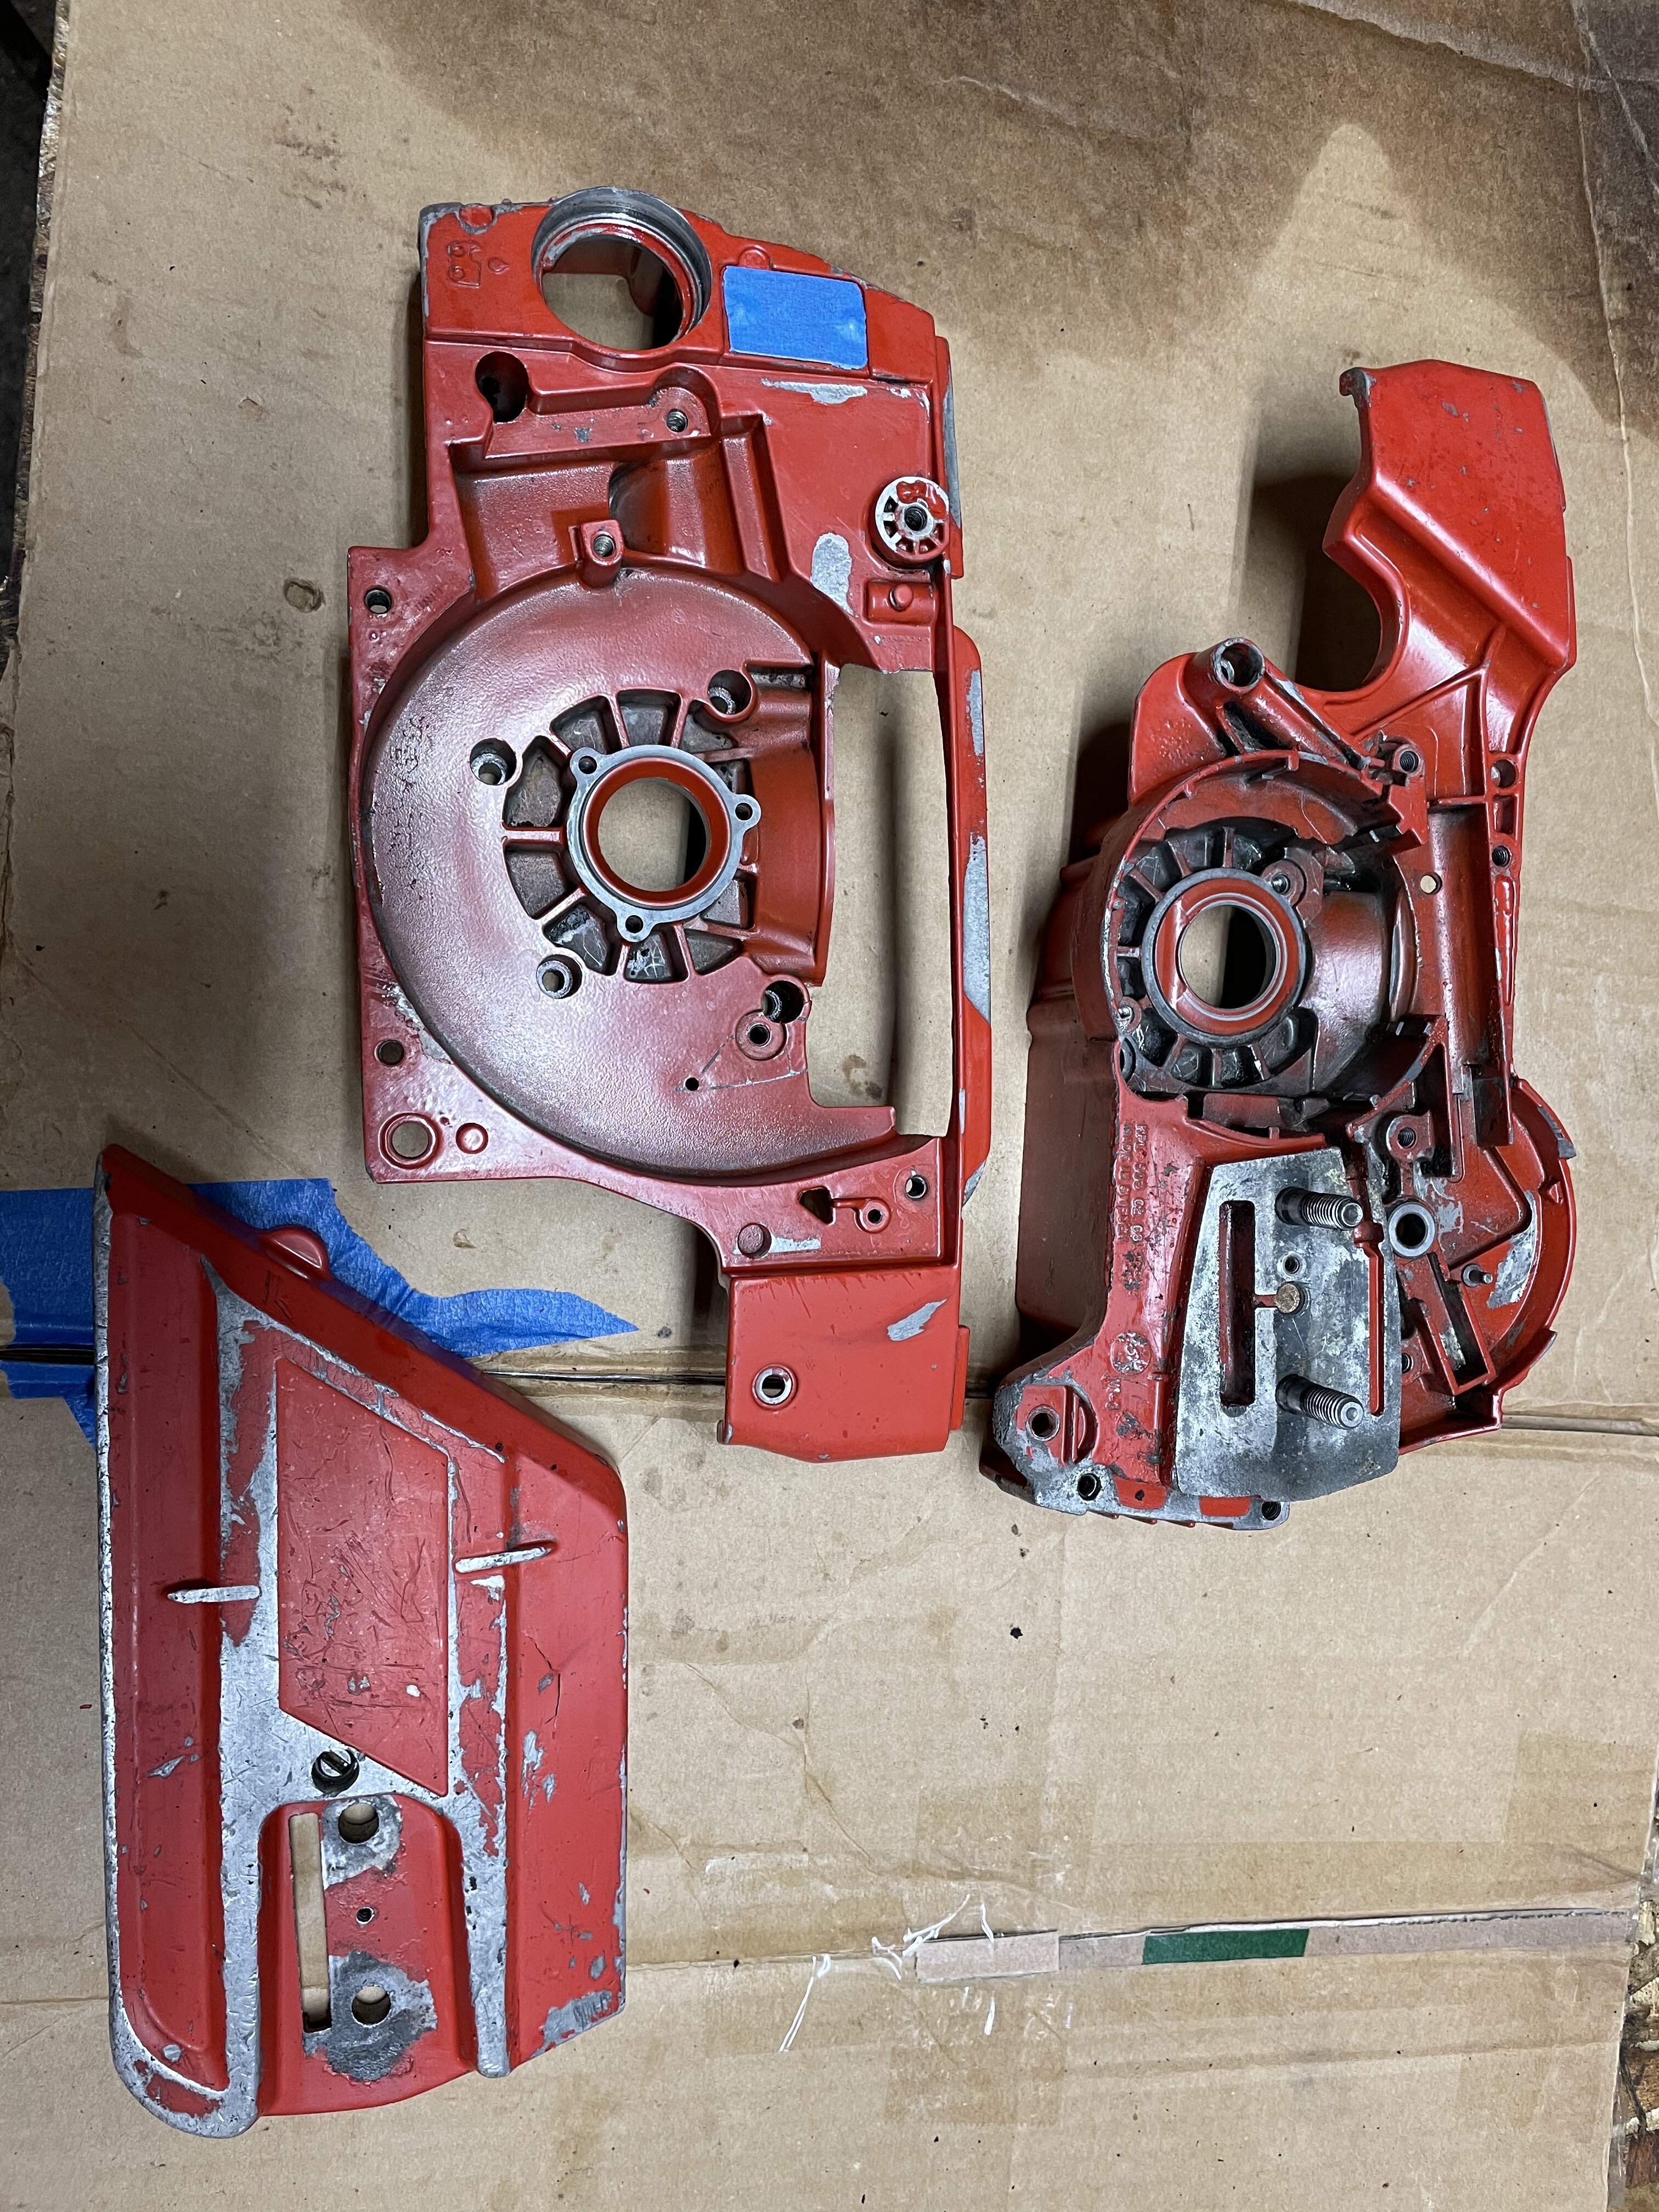
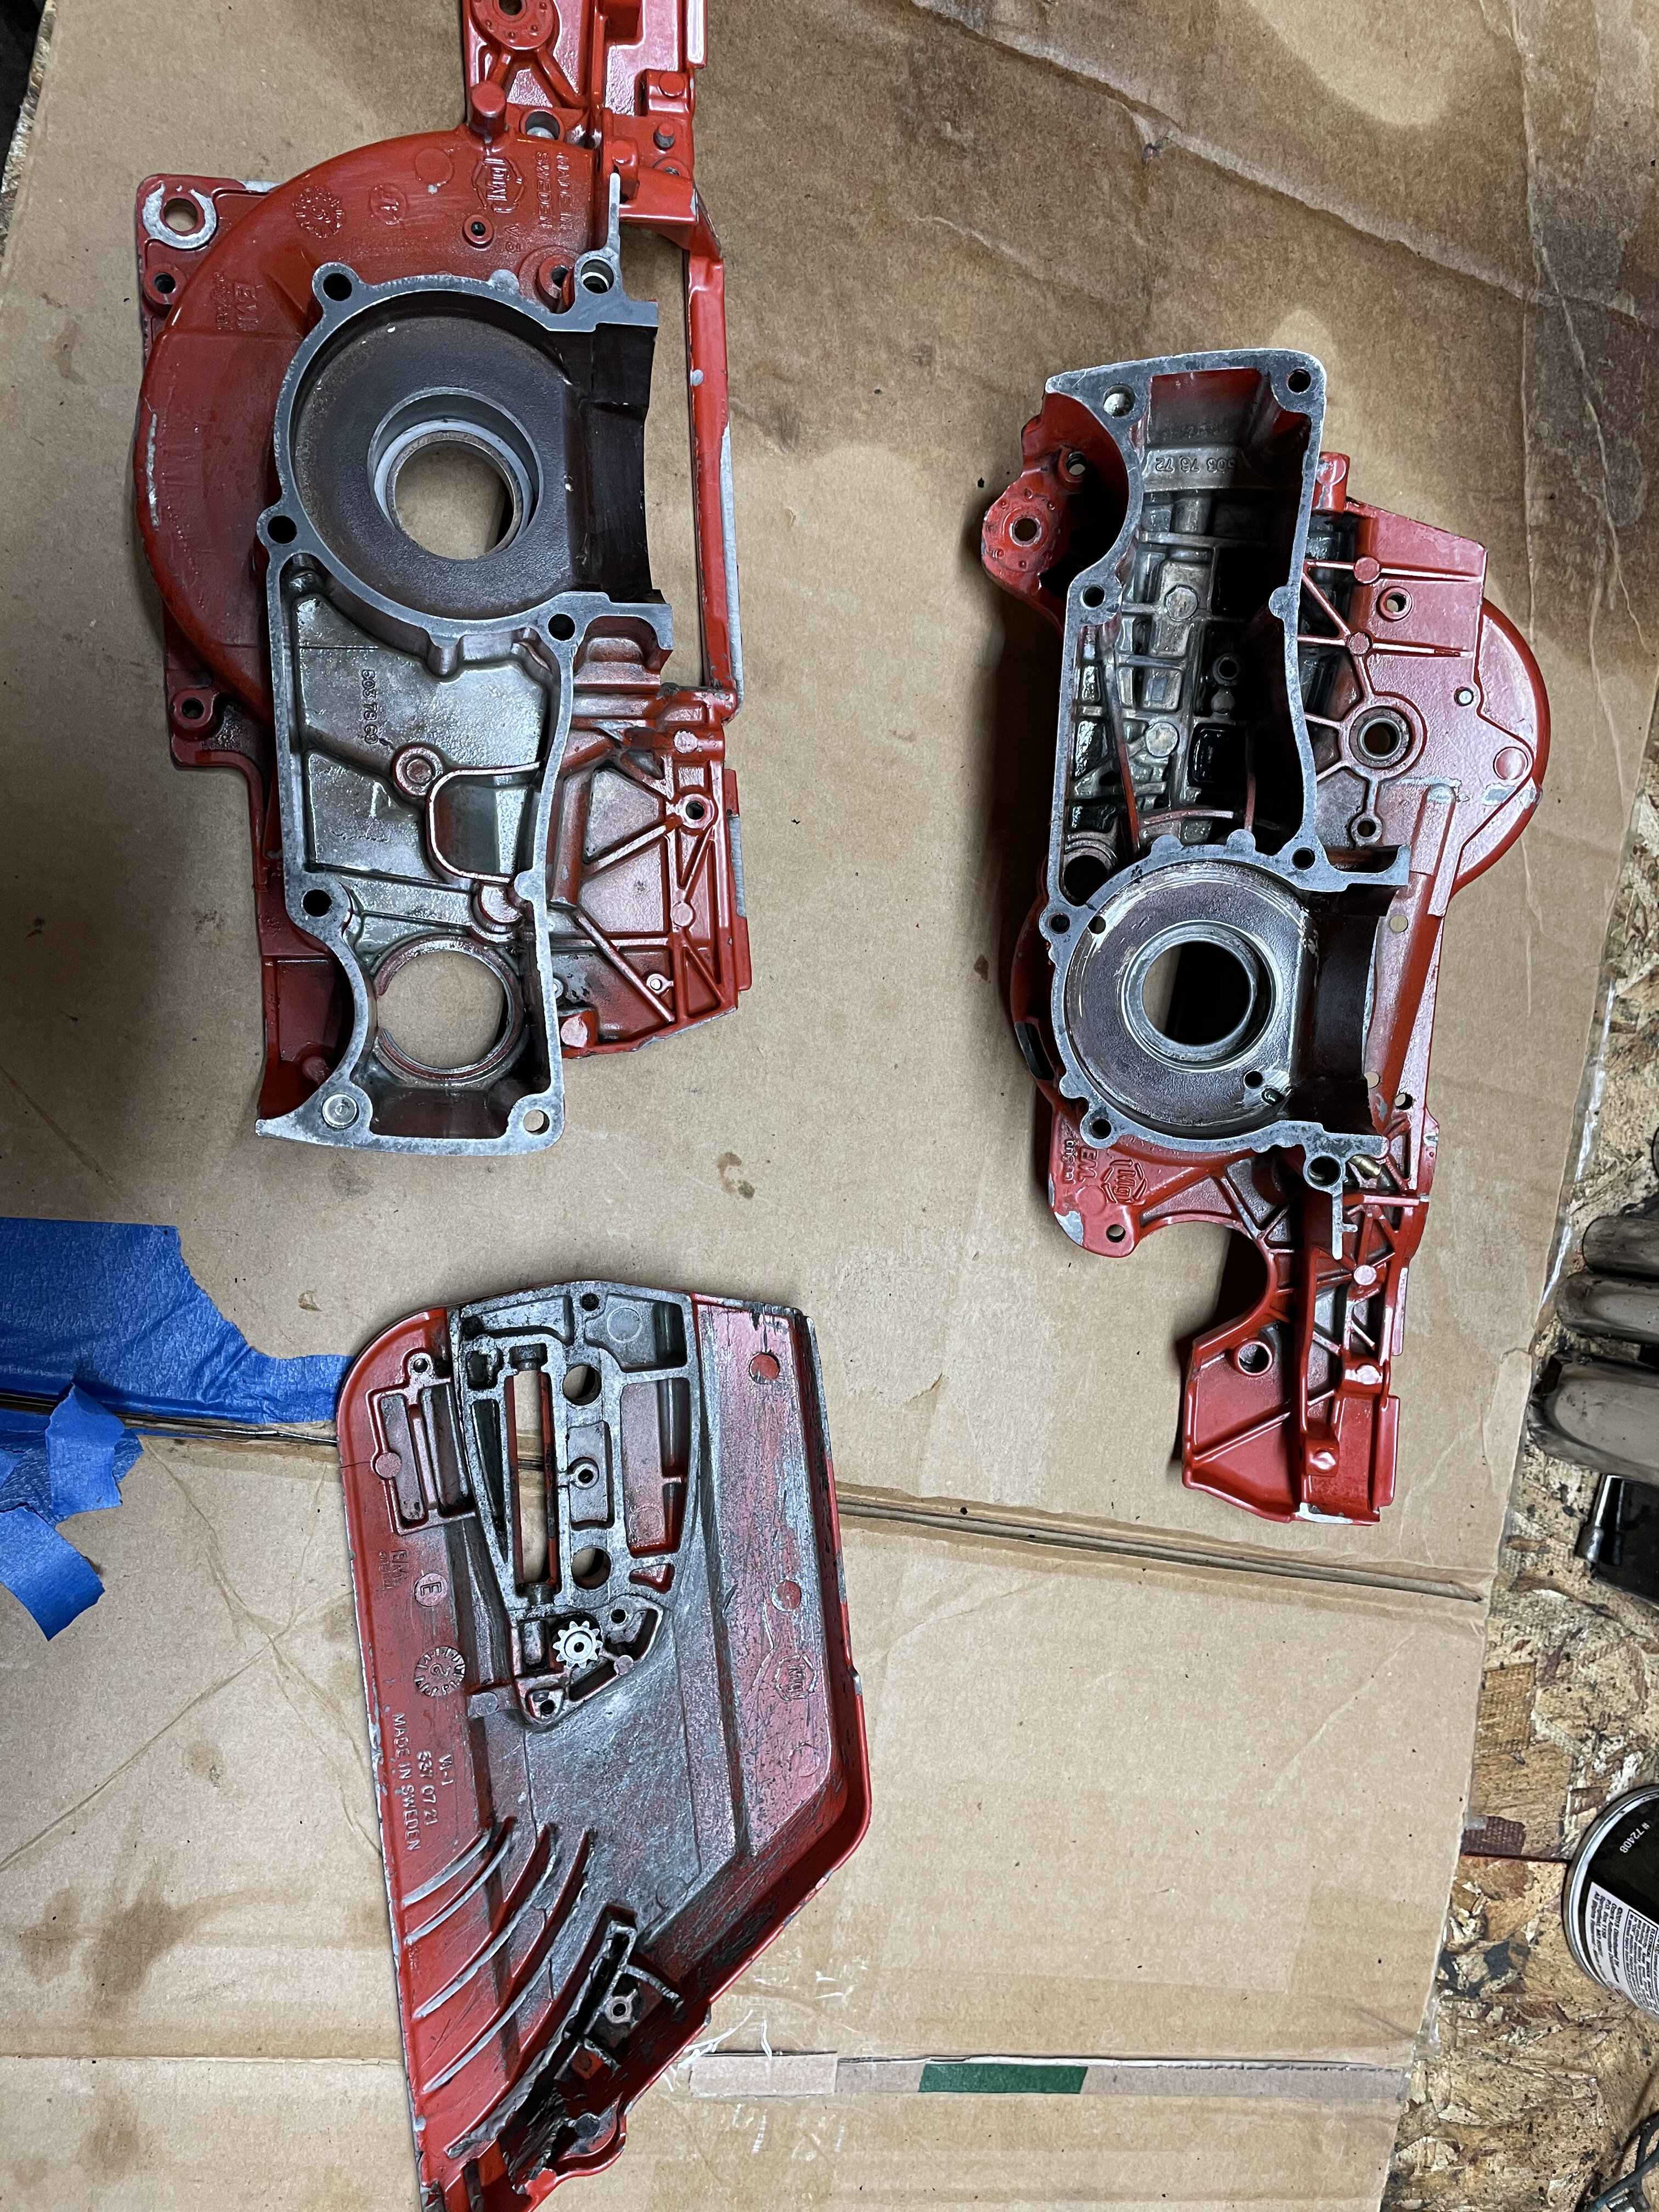
Case is cleaned up. Taped off and lightly sanded with 400 grit. Ill give her a new outfit tomorrow.
-
2
-
-
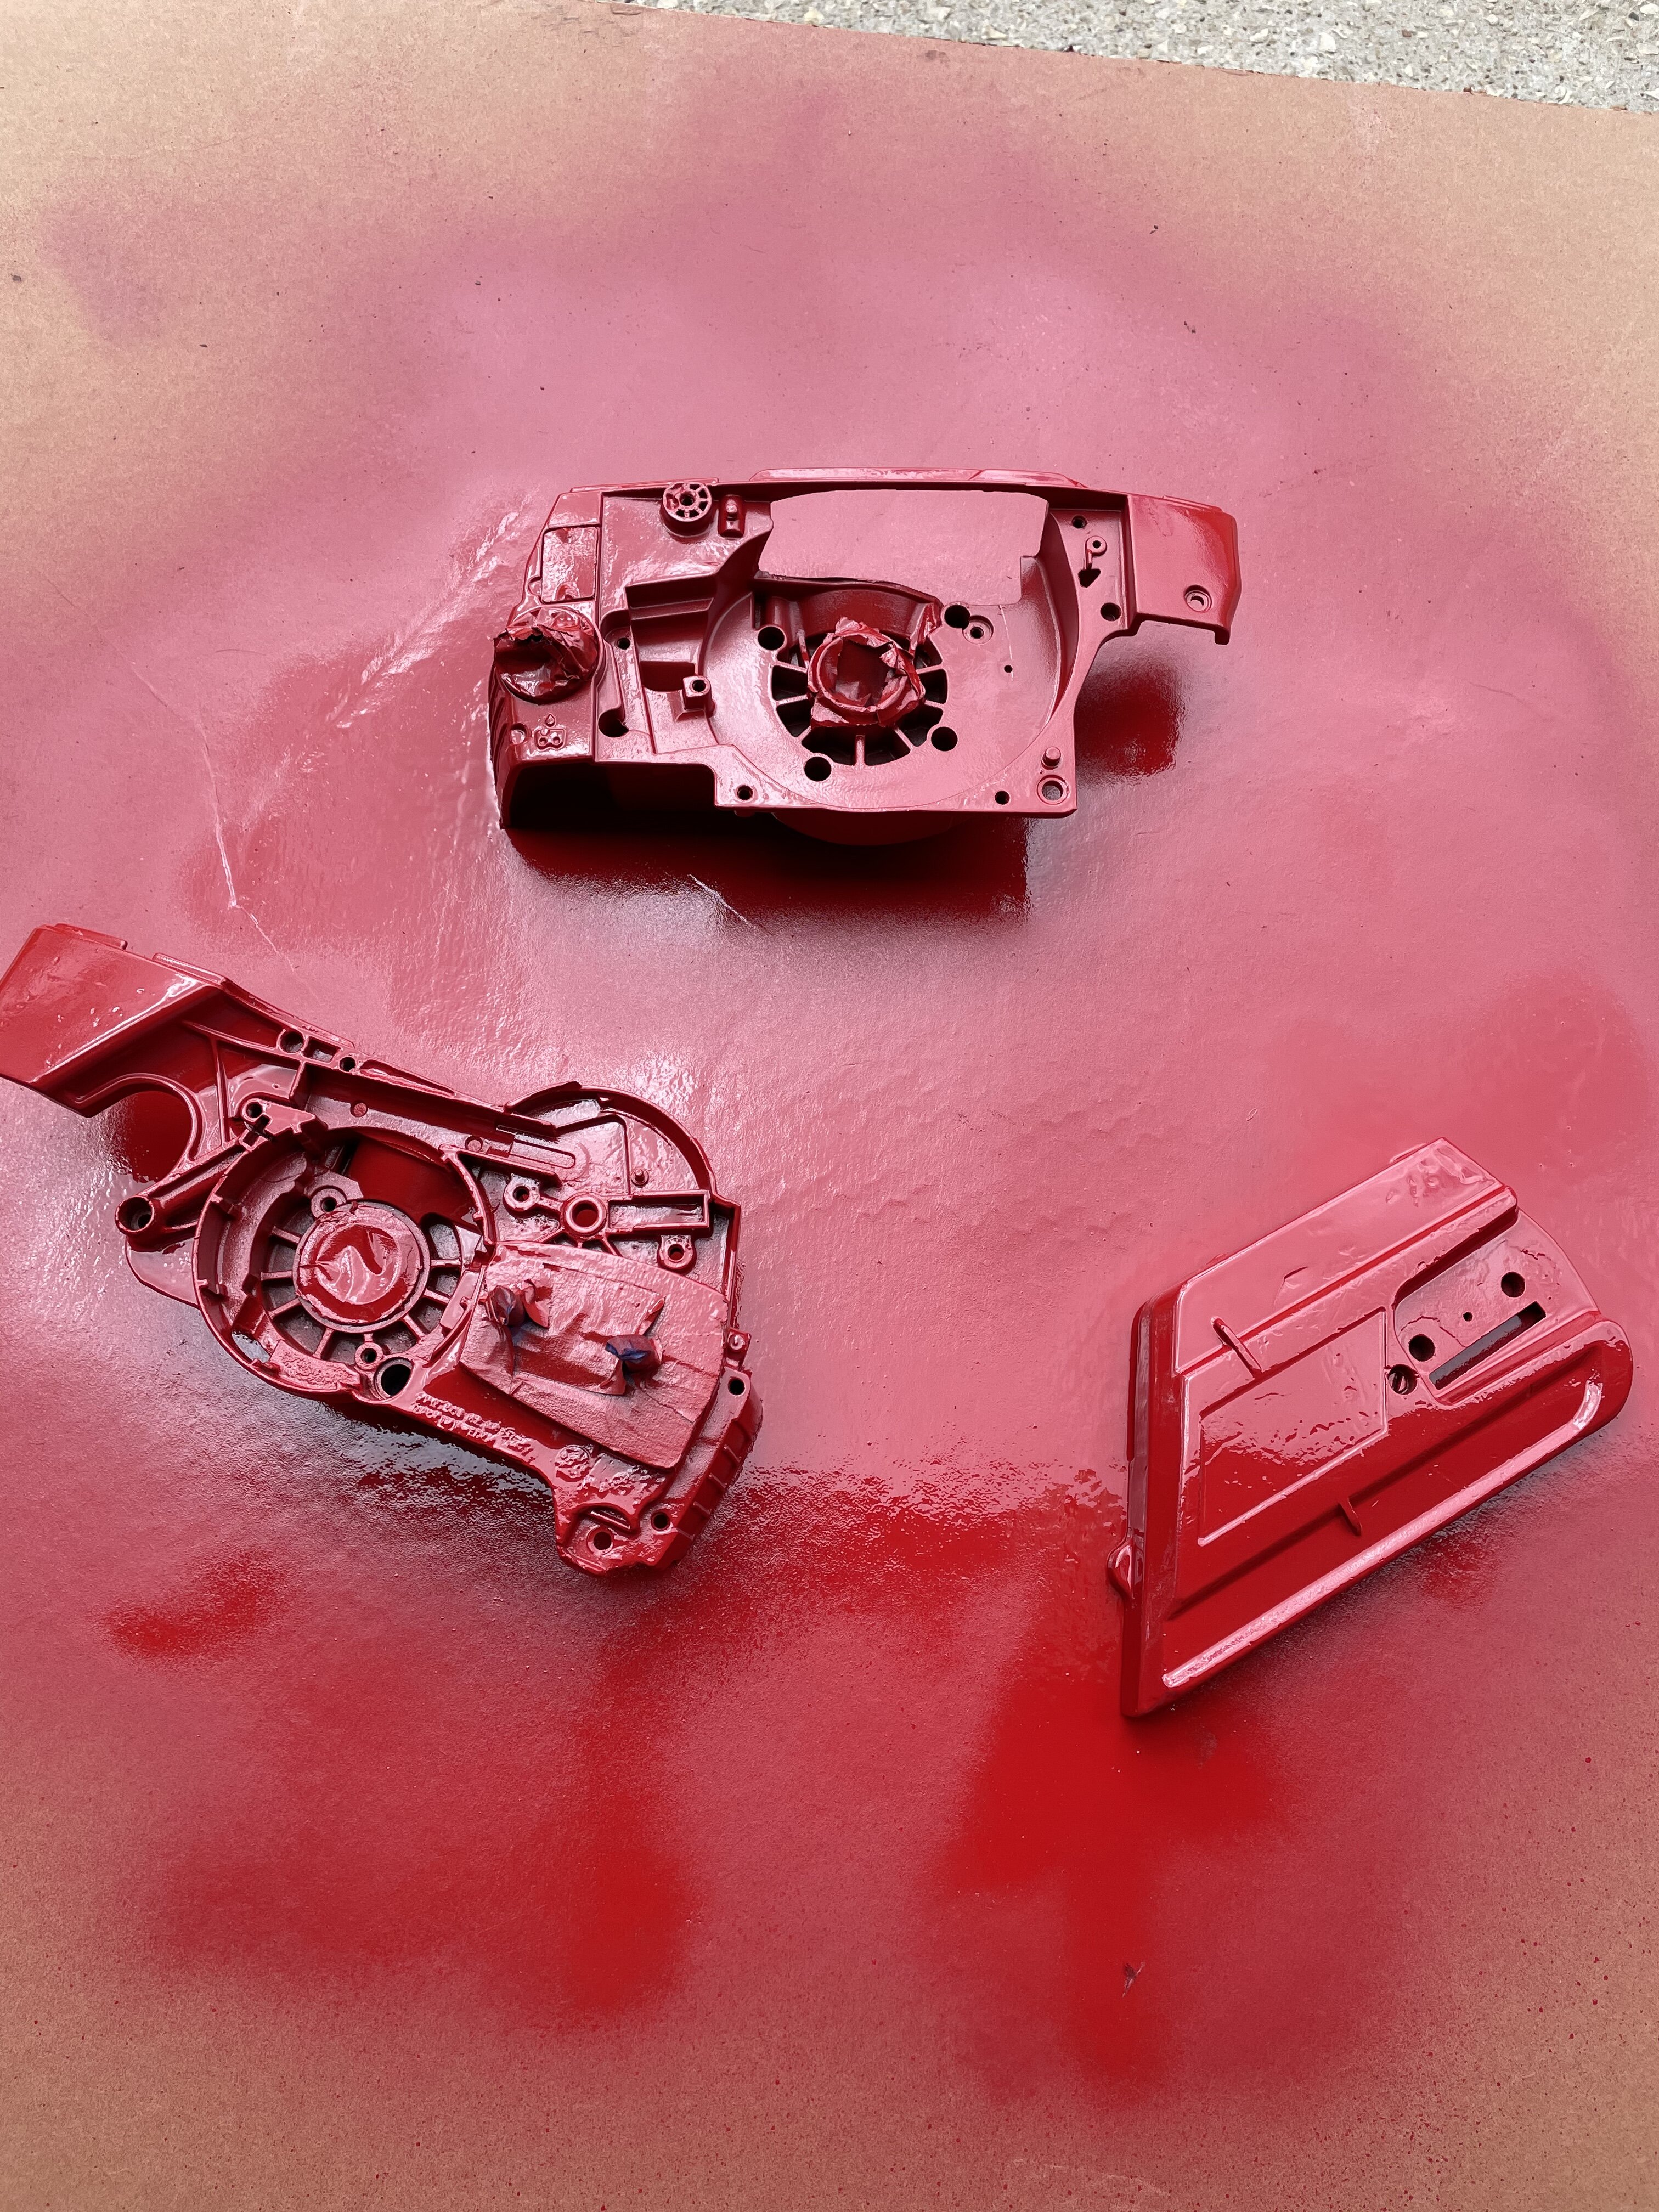
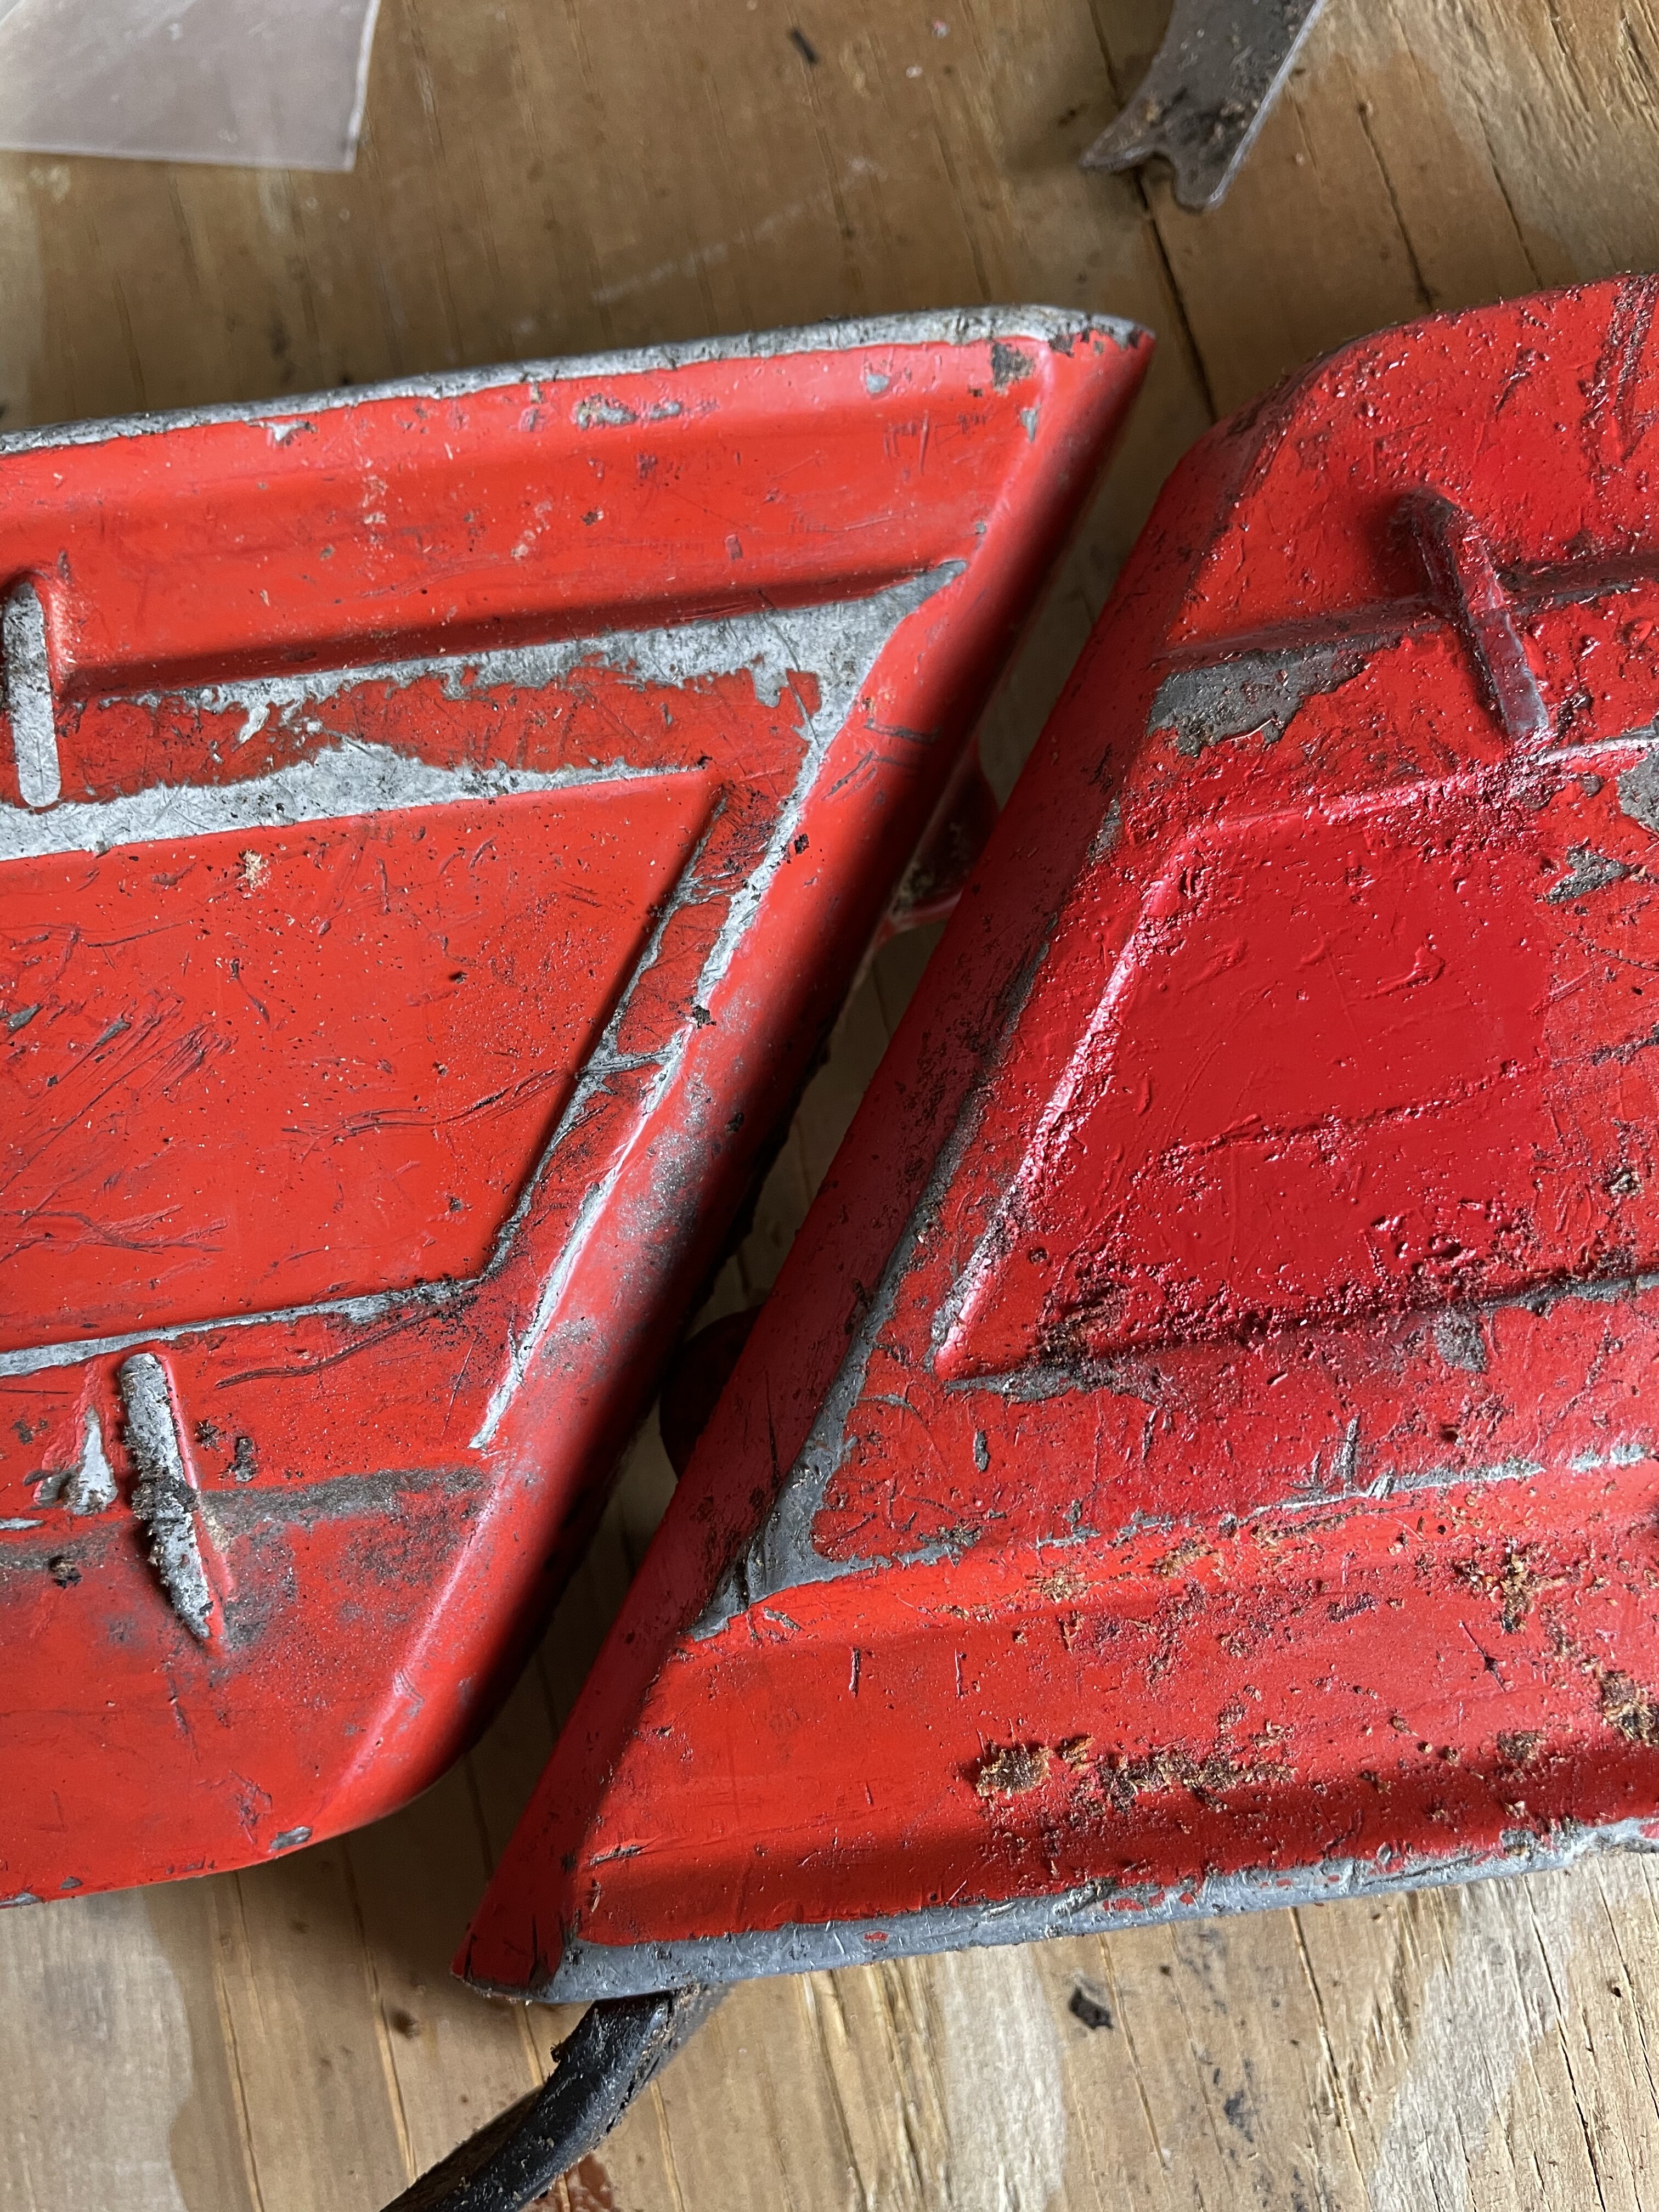
It dried more red than I thought it would. Oh well. It’ll be fine I think.
parts are all laid out ready to be washed-
1
-
-
2 minutes ago, jeepwm69 said:Close enough for me! You're going to use it, right?
Yeah. I don't believe i could get a better match from the jonsered factory (in 2021).
-
2
-
-
2 minutes ago, Bighanded said:the wife has this same model and she has really enjoyed it over the past couple years....it had an issue last year..Prusa paid shipping both ways and it was surprisingly fast on the turn around given they are over in Czech.
so far most of her work has basically been from pre-existing Thingi-verse files...she has done some minor modifications on some.
she also has a much more expensive unit that is a different tech "SLA" which basically dips the object in a bath of liquid...detail is higher on those prints and active venting is needed cause it really puts out the fumes.
but most of her fun stuff is just using the Prusa.
We have a room, what was originally a living room, dedicated to what we called the "winter wonderland" it started as a Lionel layout..which quickly reduced the train track to allow for the wife to put more and more and more buildings and scenary.
she has a huge working carnival area, and throughout the layout, everything works, lights, etc.
I used to use a different roadbed to have some moving cars in a section.
we have completely torn down the previous layout which was our second upgrade in the past 10 years...this one is much more complicated, including Lionel's EasyTrack roadways for operating cars and street cars and the single railway that will be left on here will be much more complicated in disapearing into tunnels, doing an under the platform turn around and back out in the open..so multi-layer mountain/tunnel deal is making my boardwork a lot more involved.
I have even built 2 box frames for small town where I have people figures walking on sidewalks....that took small robotics for gears, pullies, magnets etc and a good bit of trial and error and pulse train controller etc to get it all to work.
I am on a tangent, but the point is, she uses the Prusa to build parts, walls, drive-in movie theater speaker boxes, etc.
and yes, the drive-in actually has a working movie screen..took an old portable DVD movie unit that the kids used to carry on road trips, buried the base under the landscape so only the screen is above the ground. Remote switch to turn it on and it repeat plays the scene from "The Explorers" where the kids are flying their spaceship around the movie screen. She has the 3d print of that ship which was created from the Thunder Road carnival ride so it will be suspended in the rebuild on a twirl motor so it flies around the movie area as a salute to the movie.
it's a winter weather project for us, so the room is dark and a lot of benchwork is pending before we replace all the buildings...that won't happen now until Fall kicks back in.
And you didn't post a picture of your wonderland? I would like to see that.
-
4
-
-
Need an opinion. How does this paint match? It’s still wet in the picture and I imagine it’ll darken a bit with less gloss. It’s engine paint.
-
3
-
-
9 minutes ago, jeepwm69 said:Love me some build threads!
Where are you sourcing parts?
All over the place. Some came from arboristsite members, hyway cylinder & muffler from ebay, few other seal/gasket kits from ebay. amazon for a husky operator presence lever.
Funny you asked too. I TRIED to locally source the bearings. I want SKFs or other decent bearing manufactures. Not just oriely's brand bearings. I went to three parts stores in town and asked for SKF and or bearing specs. I don't want less than 23000 RPM speed rating and wanted to compared load ratings. All three stores, (autovalue/napa, carquest/autozone, oriely's) could not tell me a single specification on the bearing (other than metric to standard conversion dimensions) and only 1 could order the SKFs. To order the SKFs it was going to cost $17 a piece. I said forget it and went on ebay, bought italian made SKFs for $7 a piece free 4 day shipping. Hard to expect me to pay over double the price local with a 10 day wait.
-
3
-
-
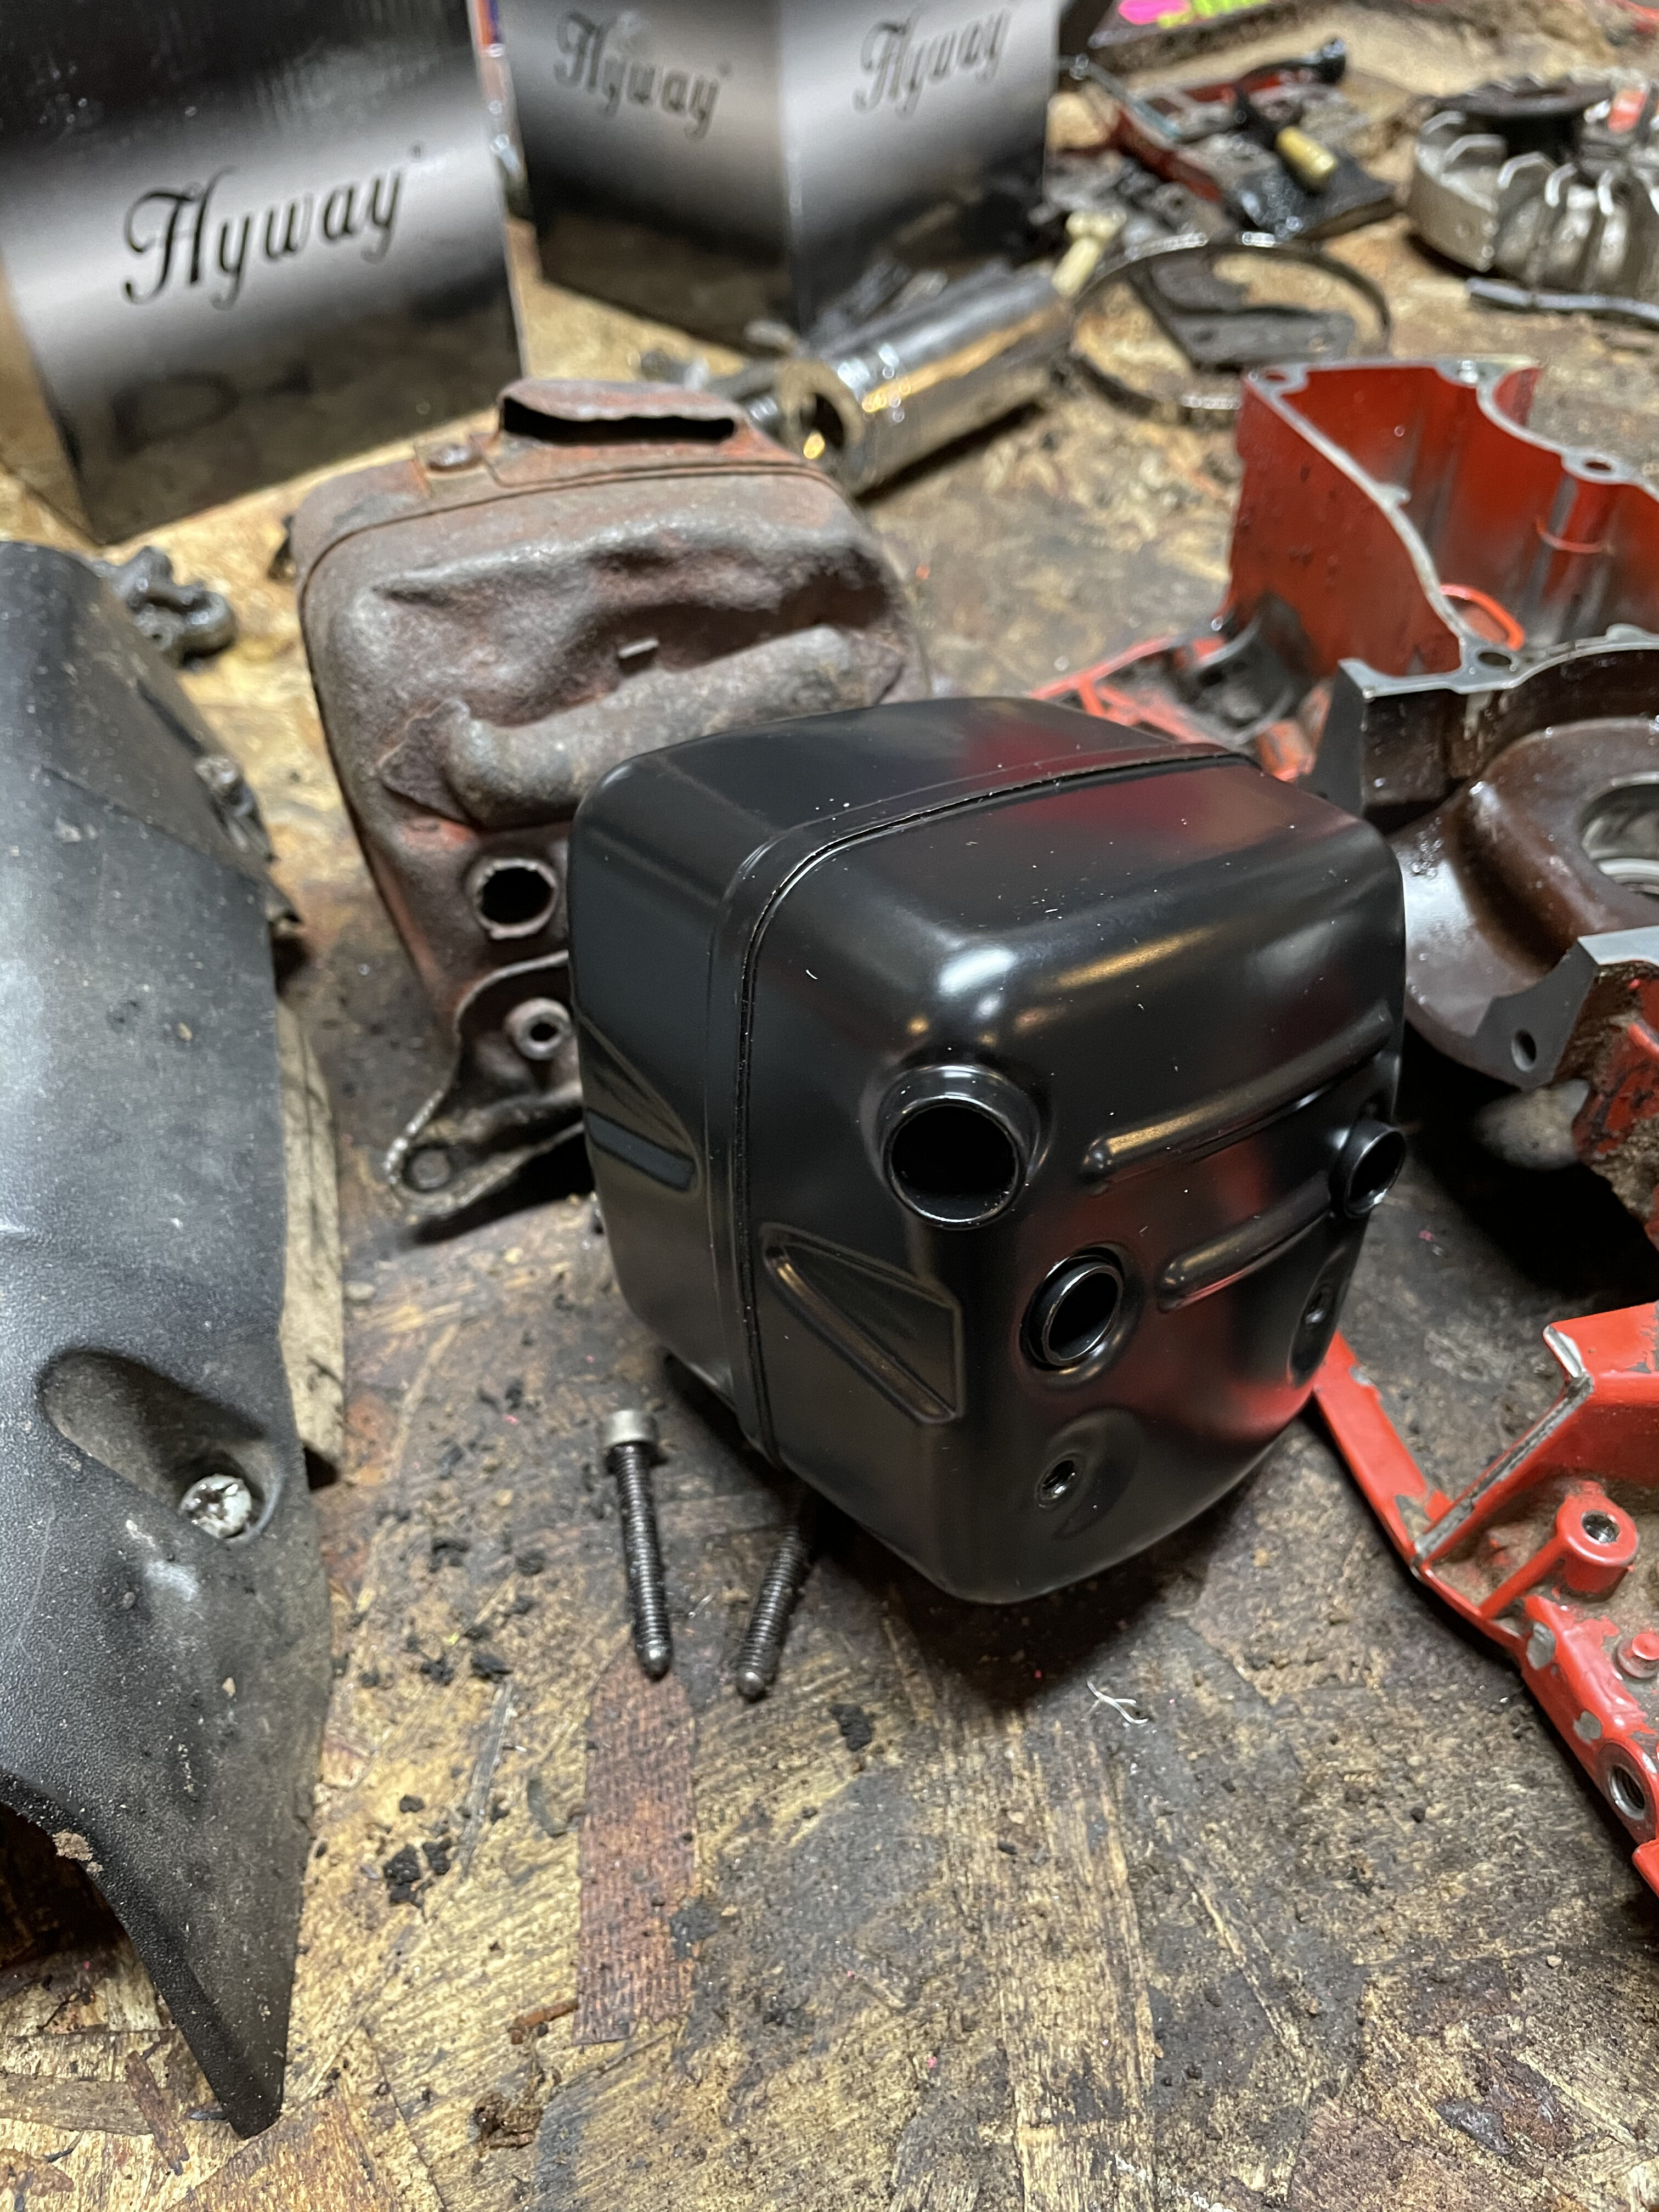
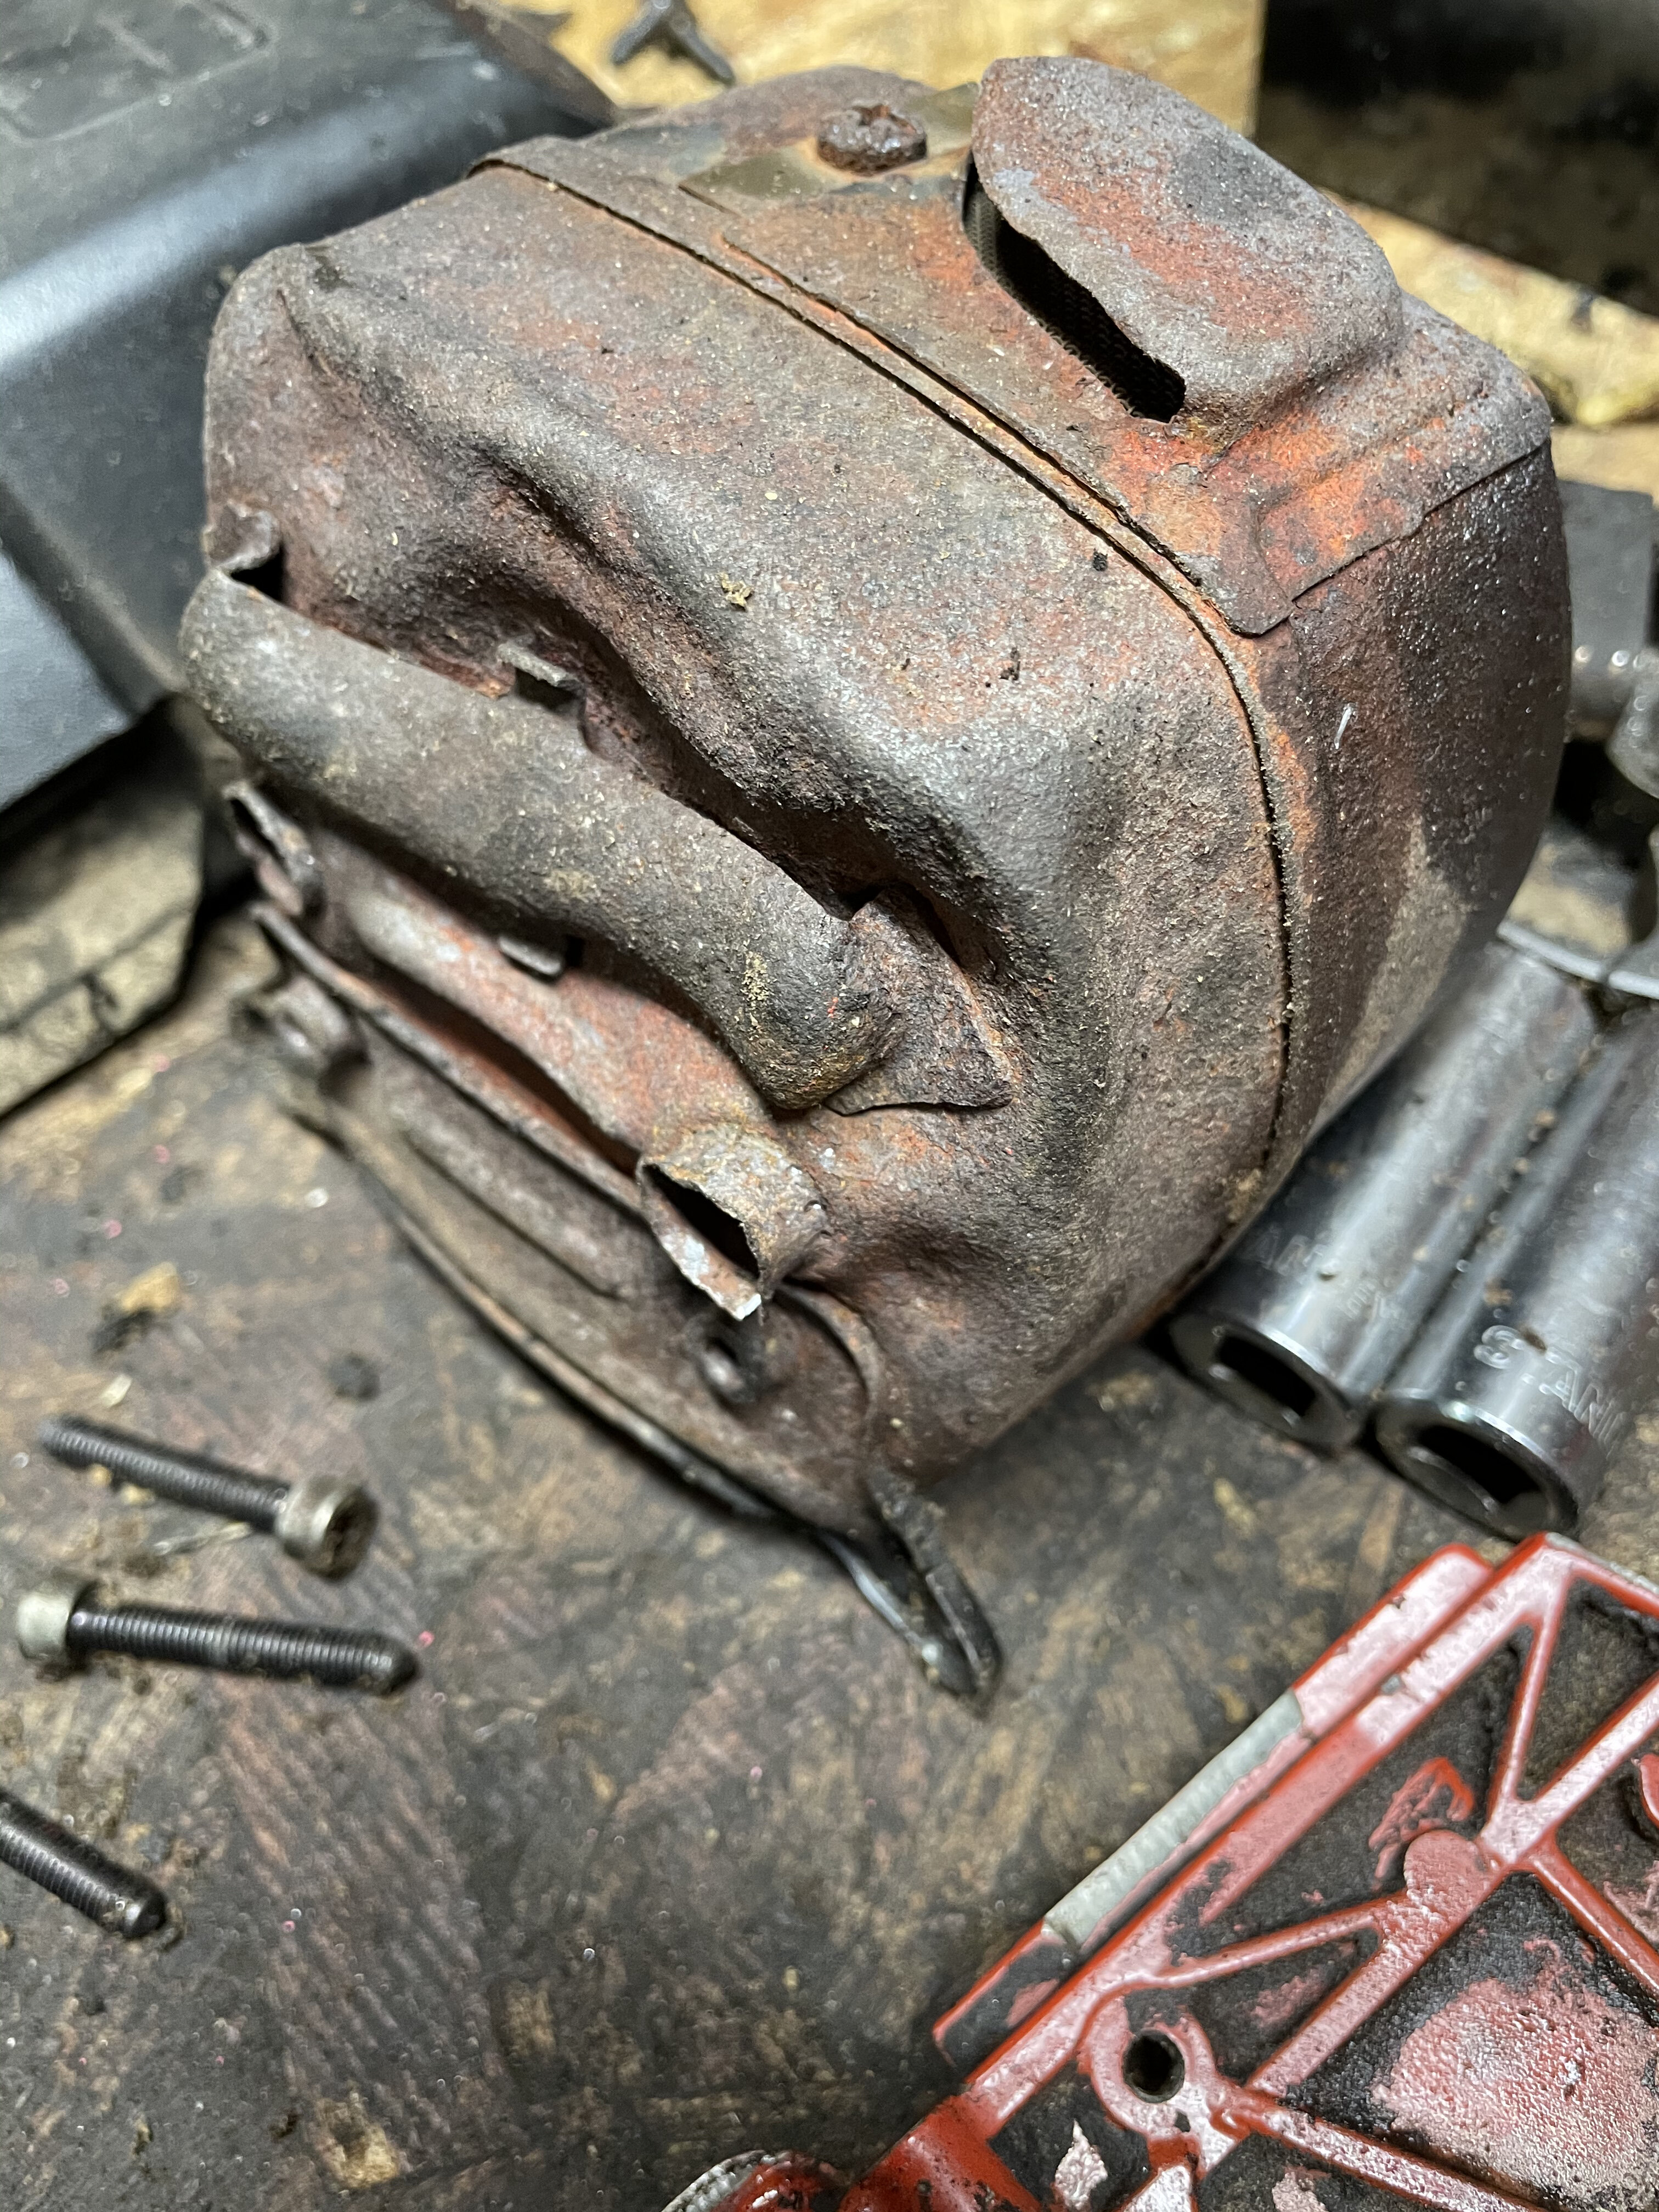
54 minutes ago, bcsman said:6 minutes ago, bcsman said:That is a weird looking stock muffler for sure
-
3
-
-
44 minutes ago, bcsman said:Kinda looks like it has maybe been opened up and modified..
Straight stock muffler. They have a weird bumper in the front. I ordered a replacement.
without a screen as this will be a fun play saw for me. https://www.sawagain.com/husqvarna-372-xp-362-365-371-385-390-xp-redmax-g7100-jonsered-2063-2065-2071-2163-2165-2171-muffler-with-bracket-and-gasket-503765301/ -
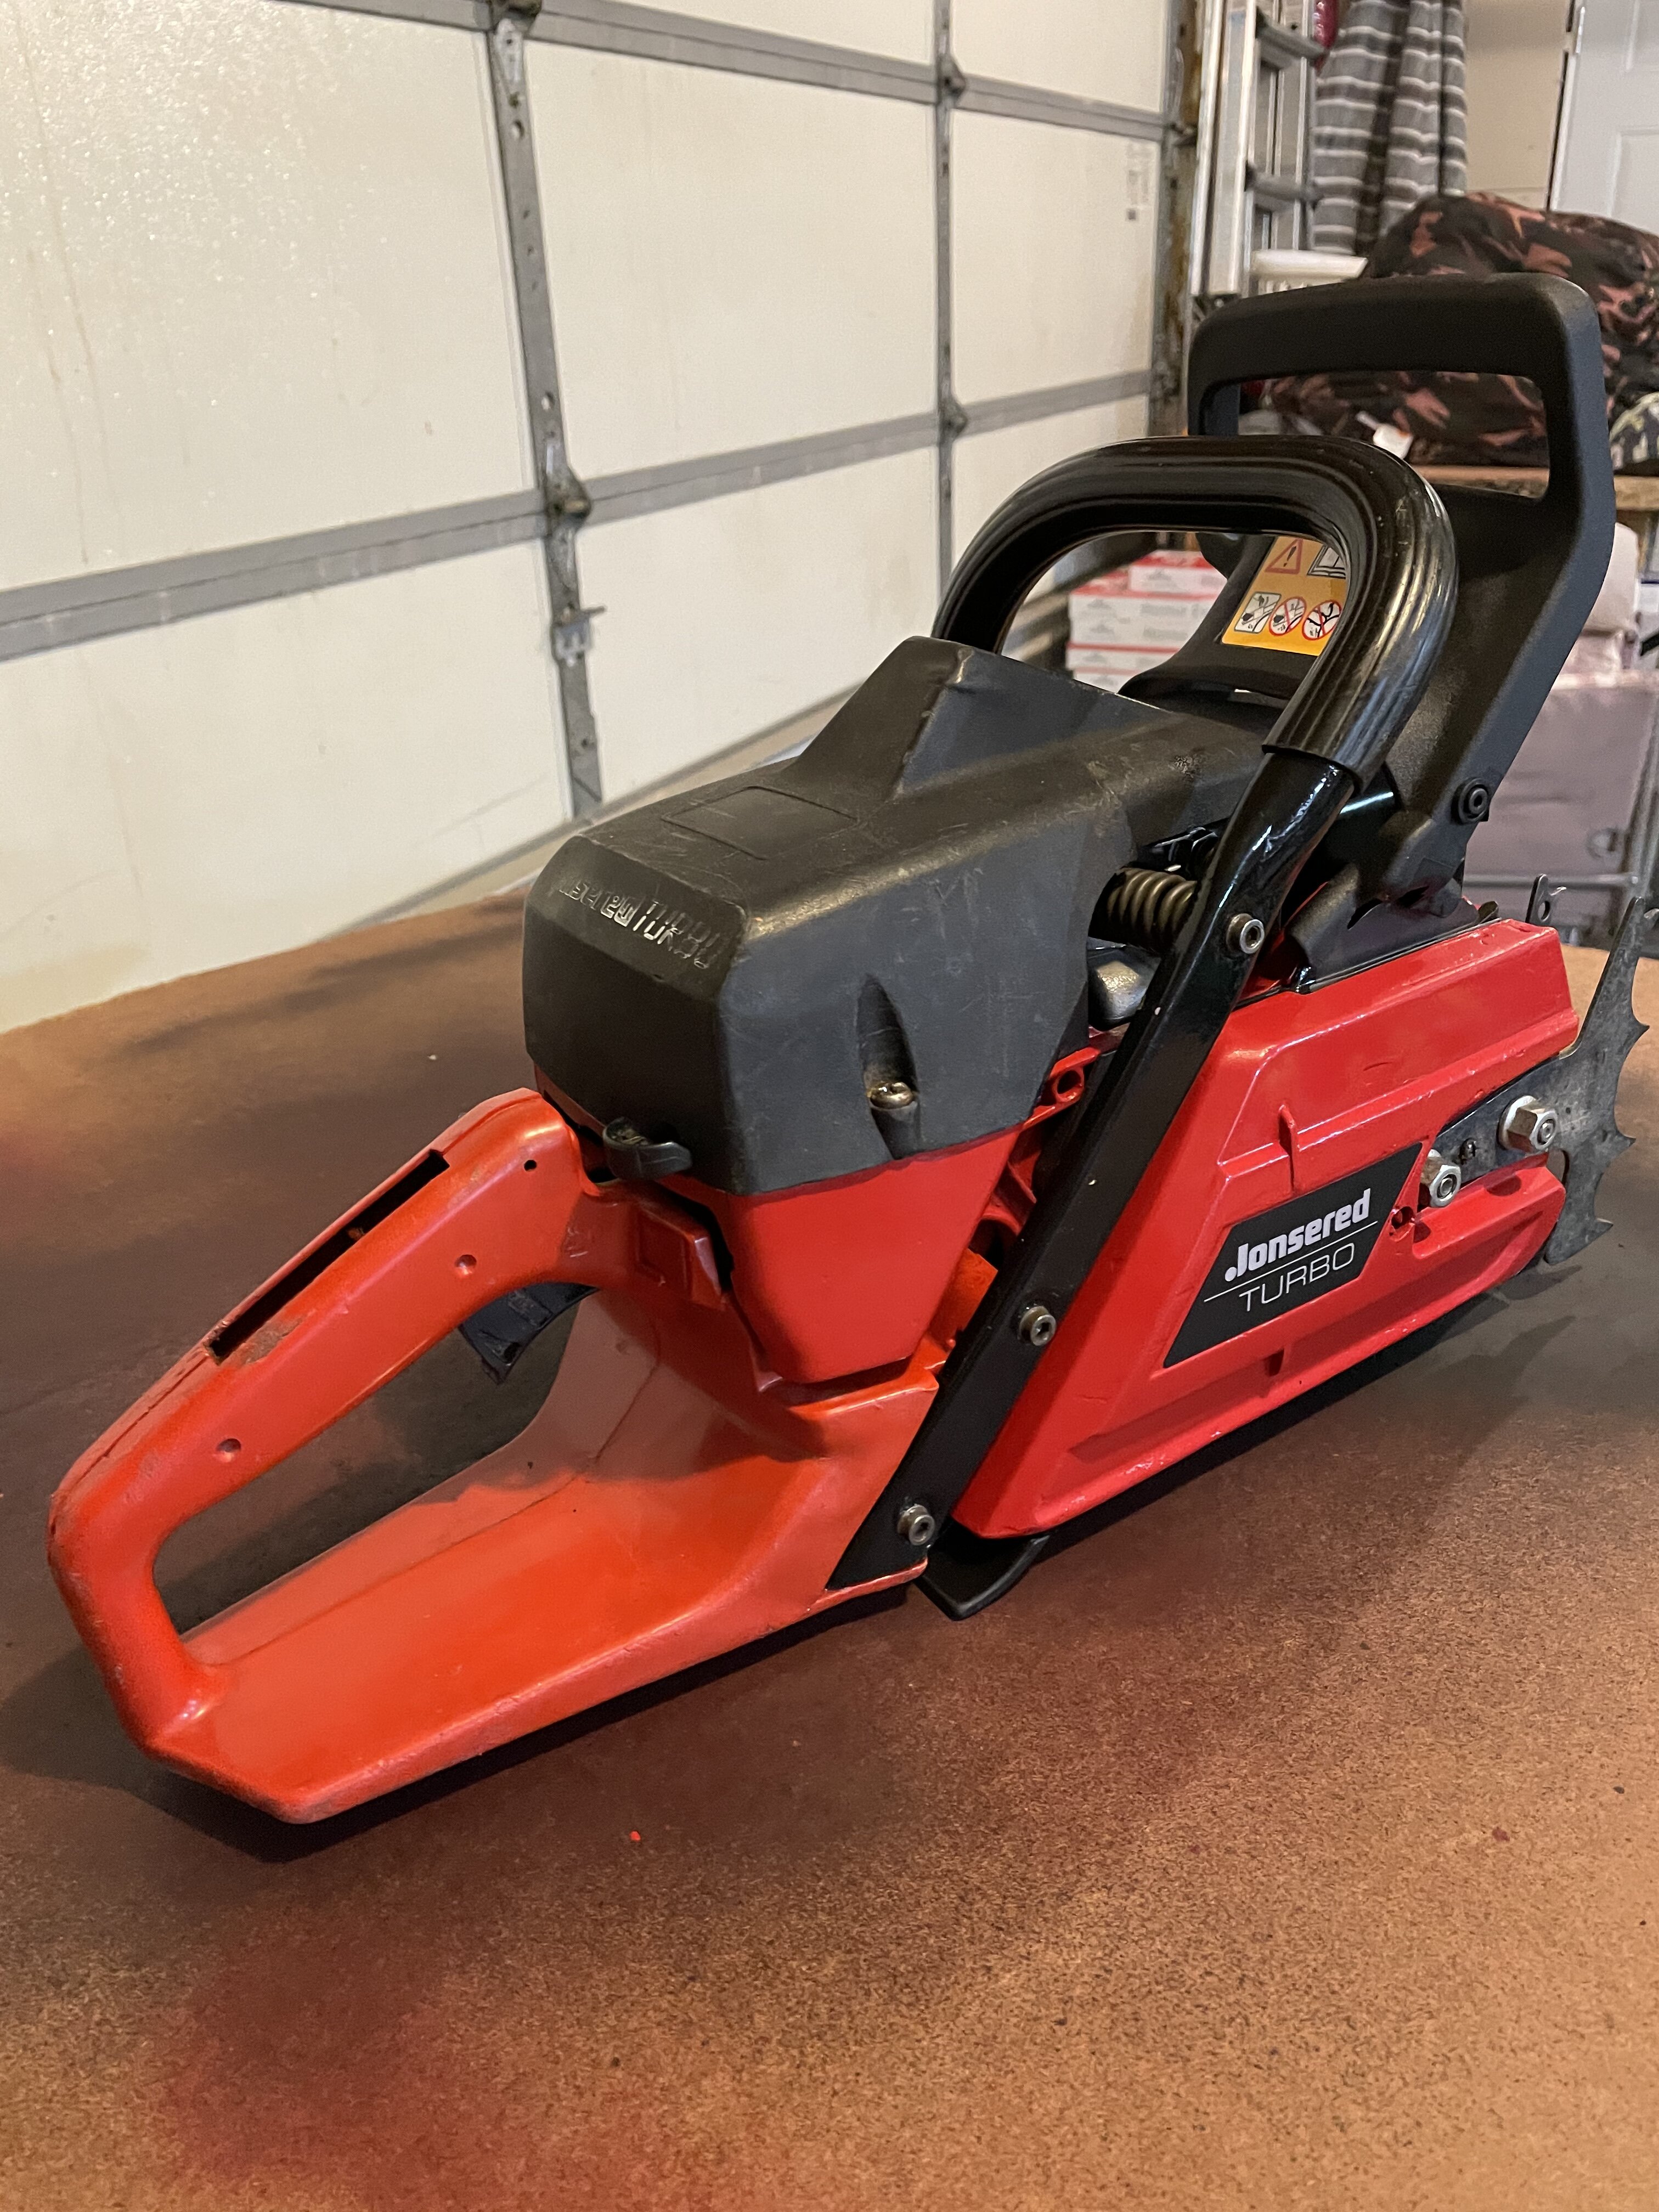
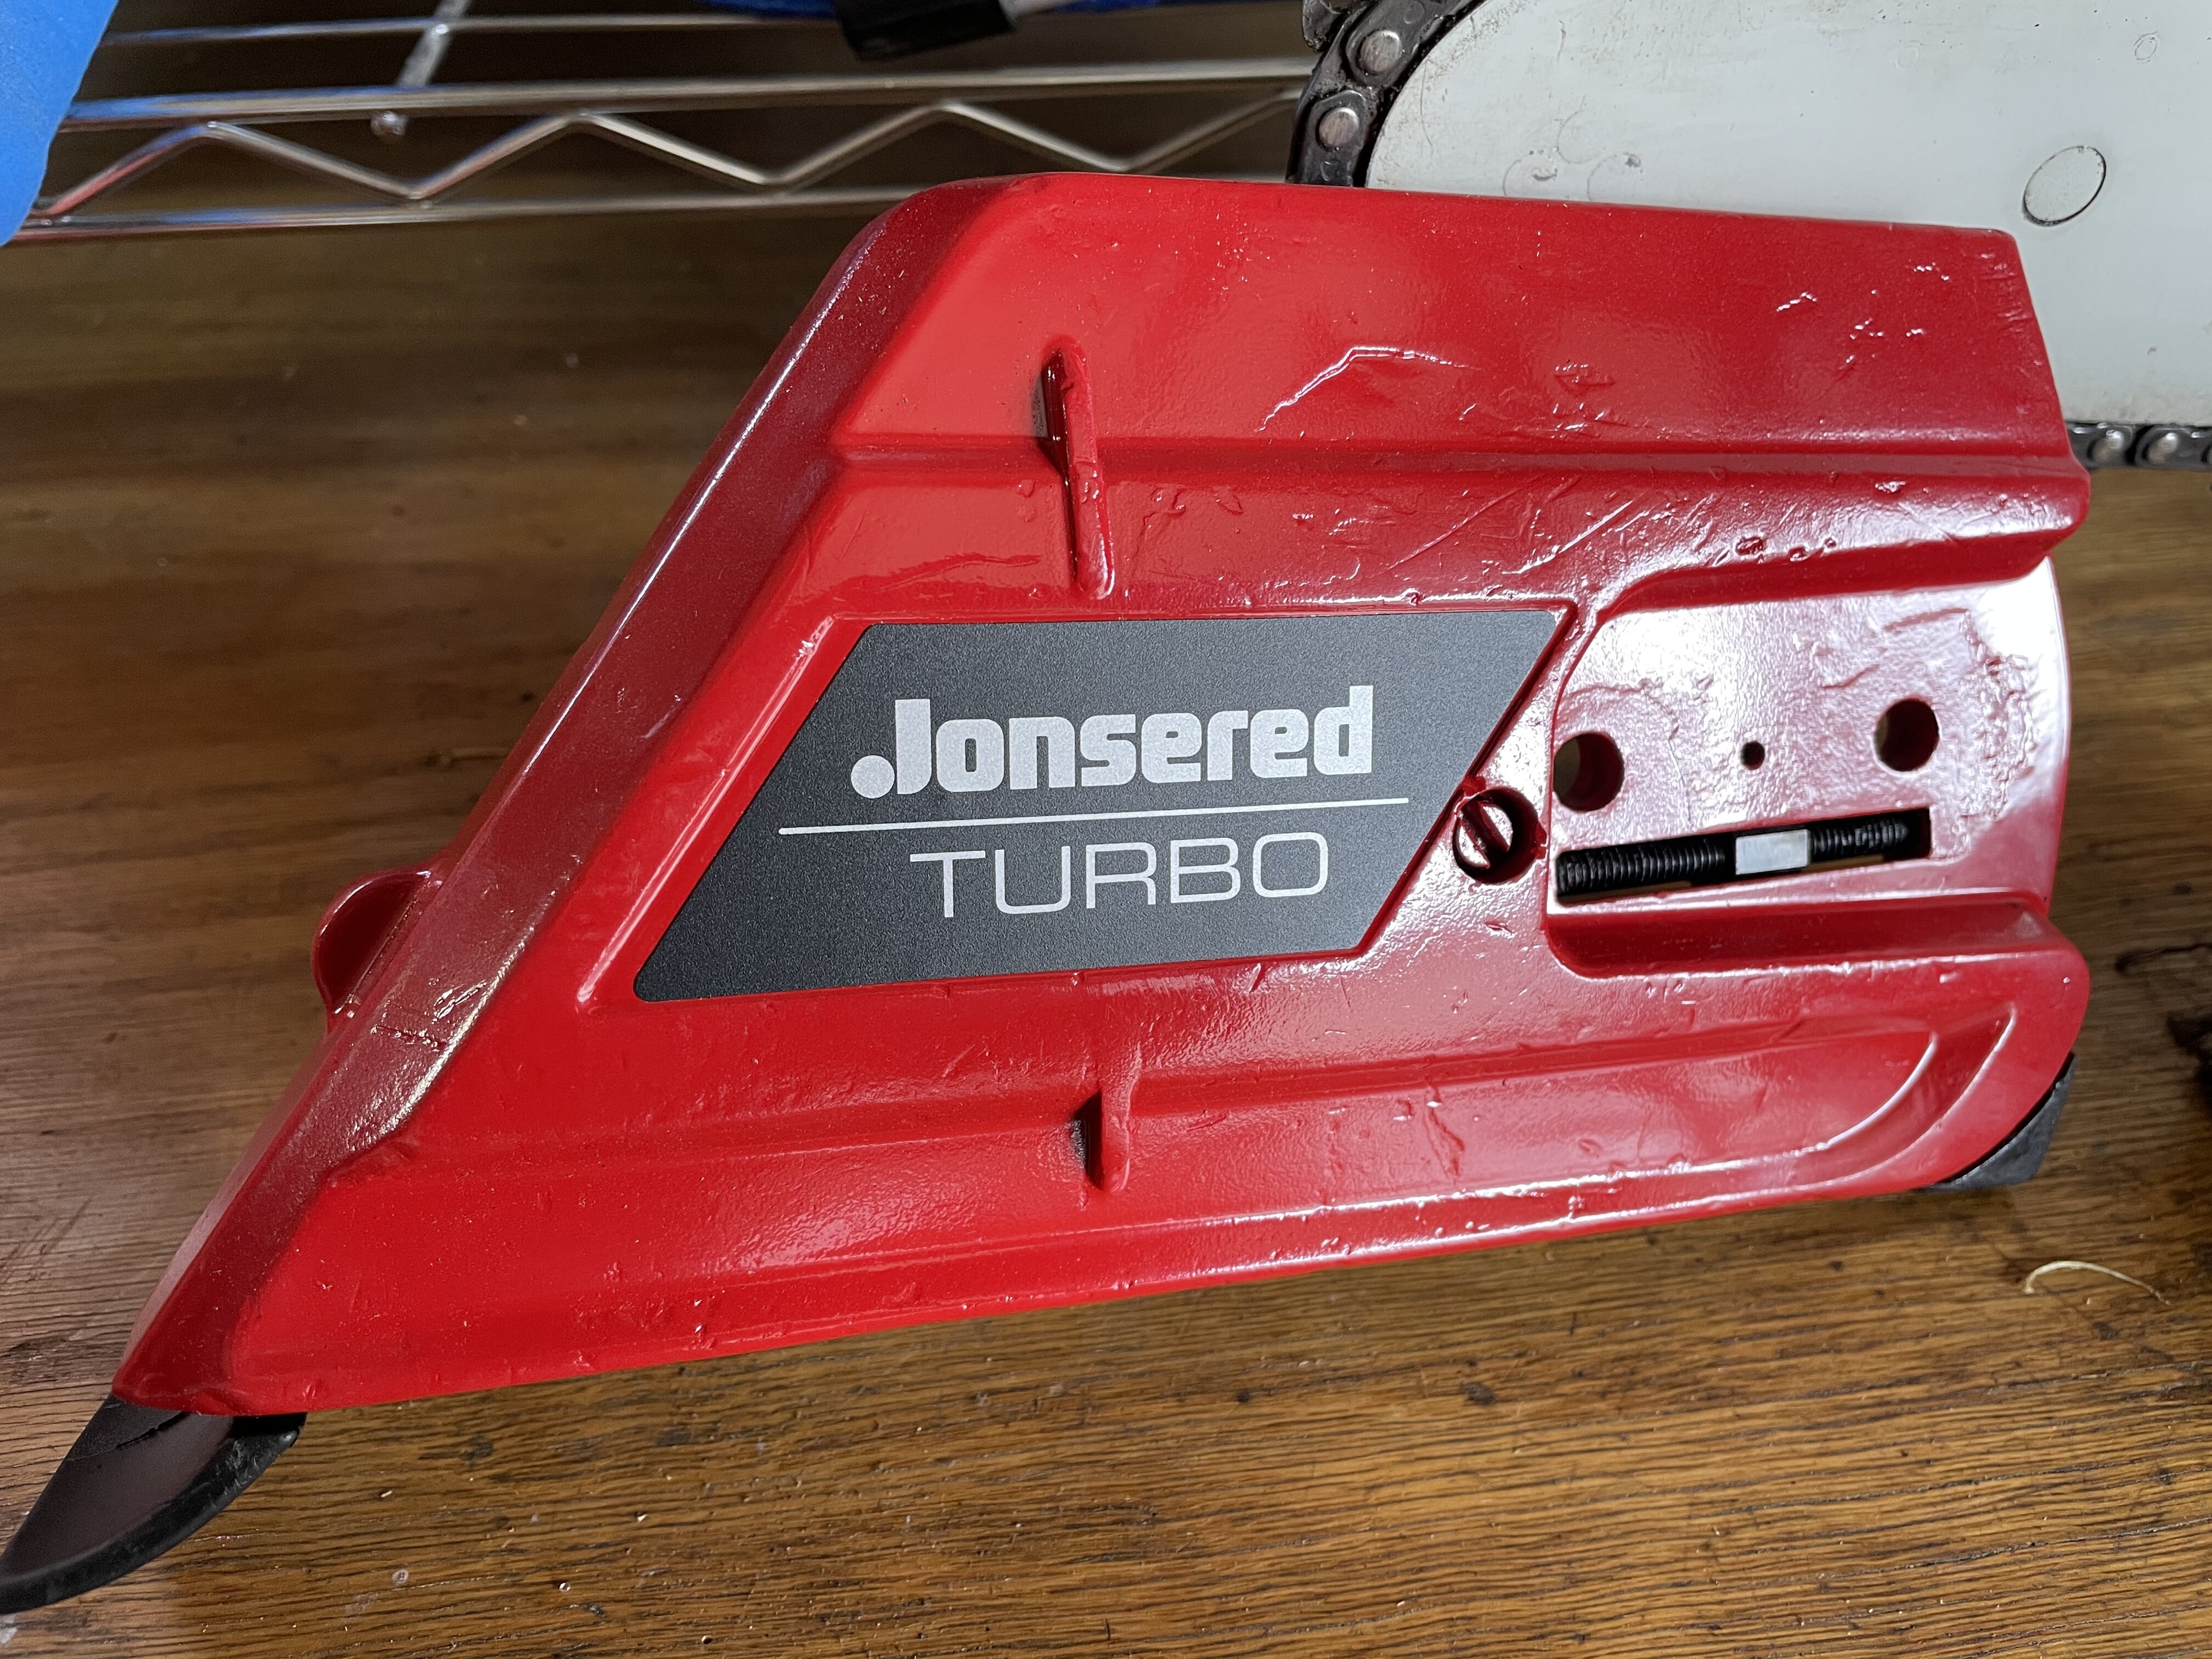
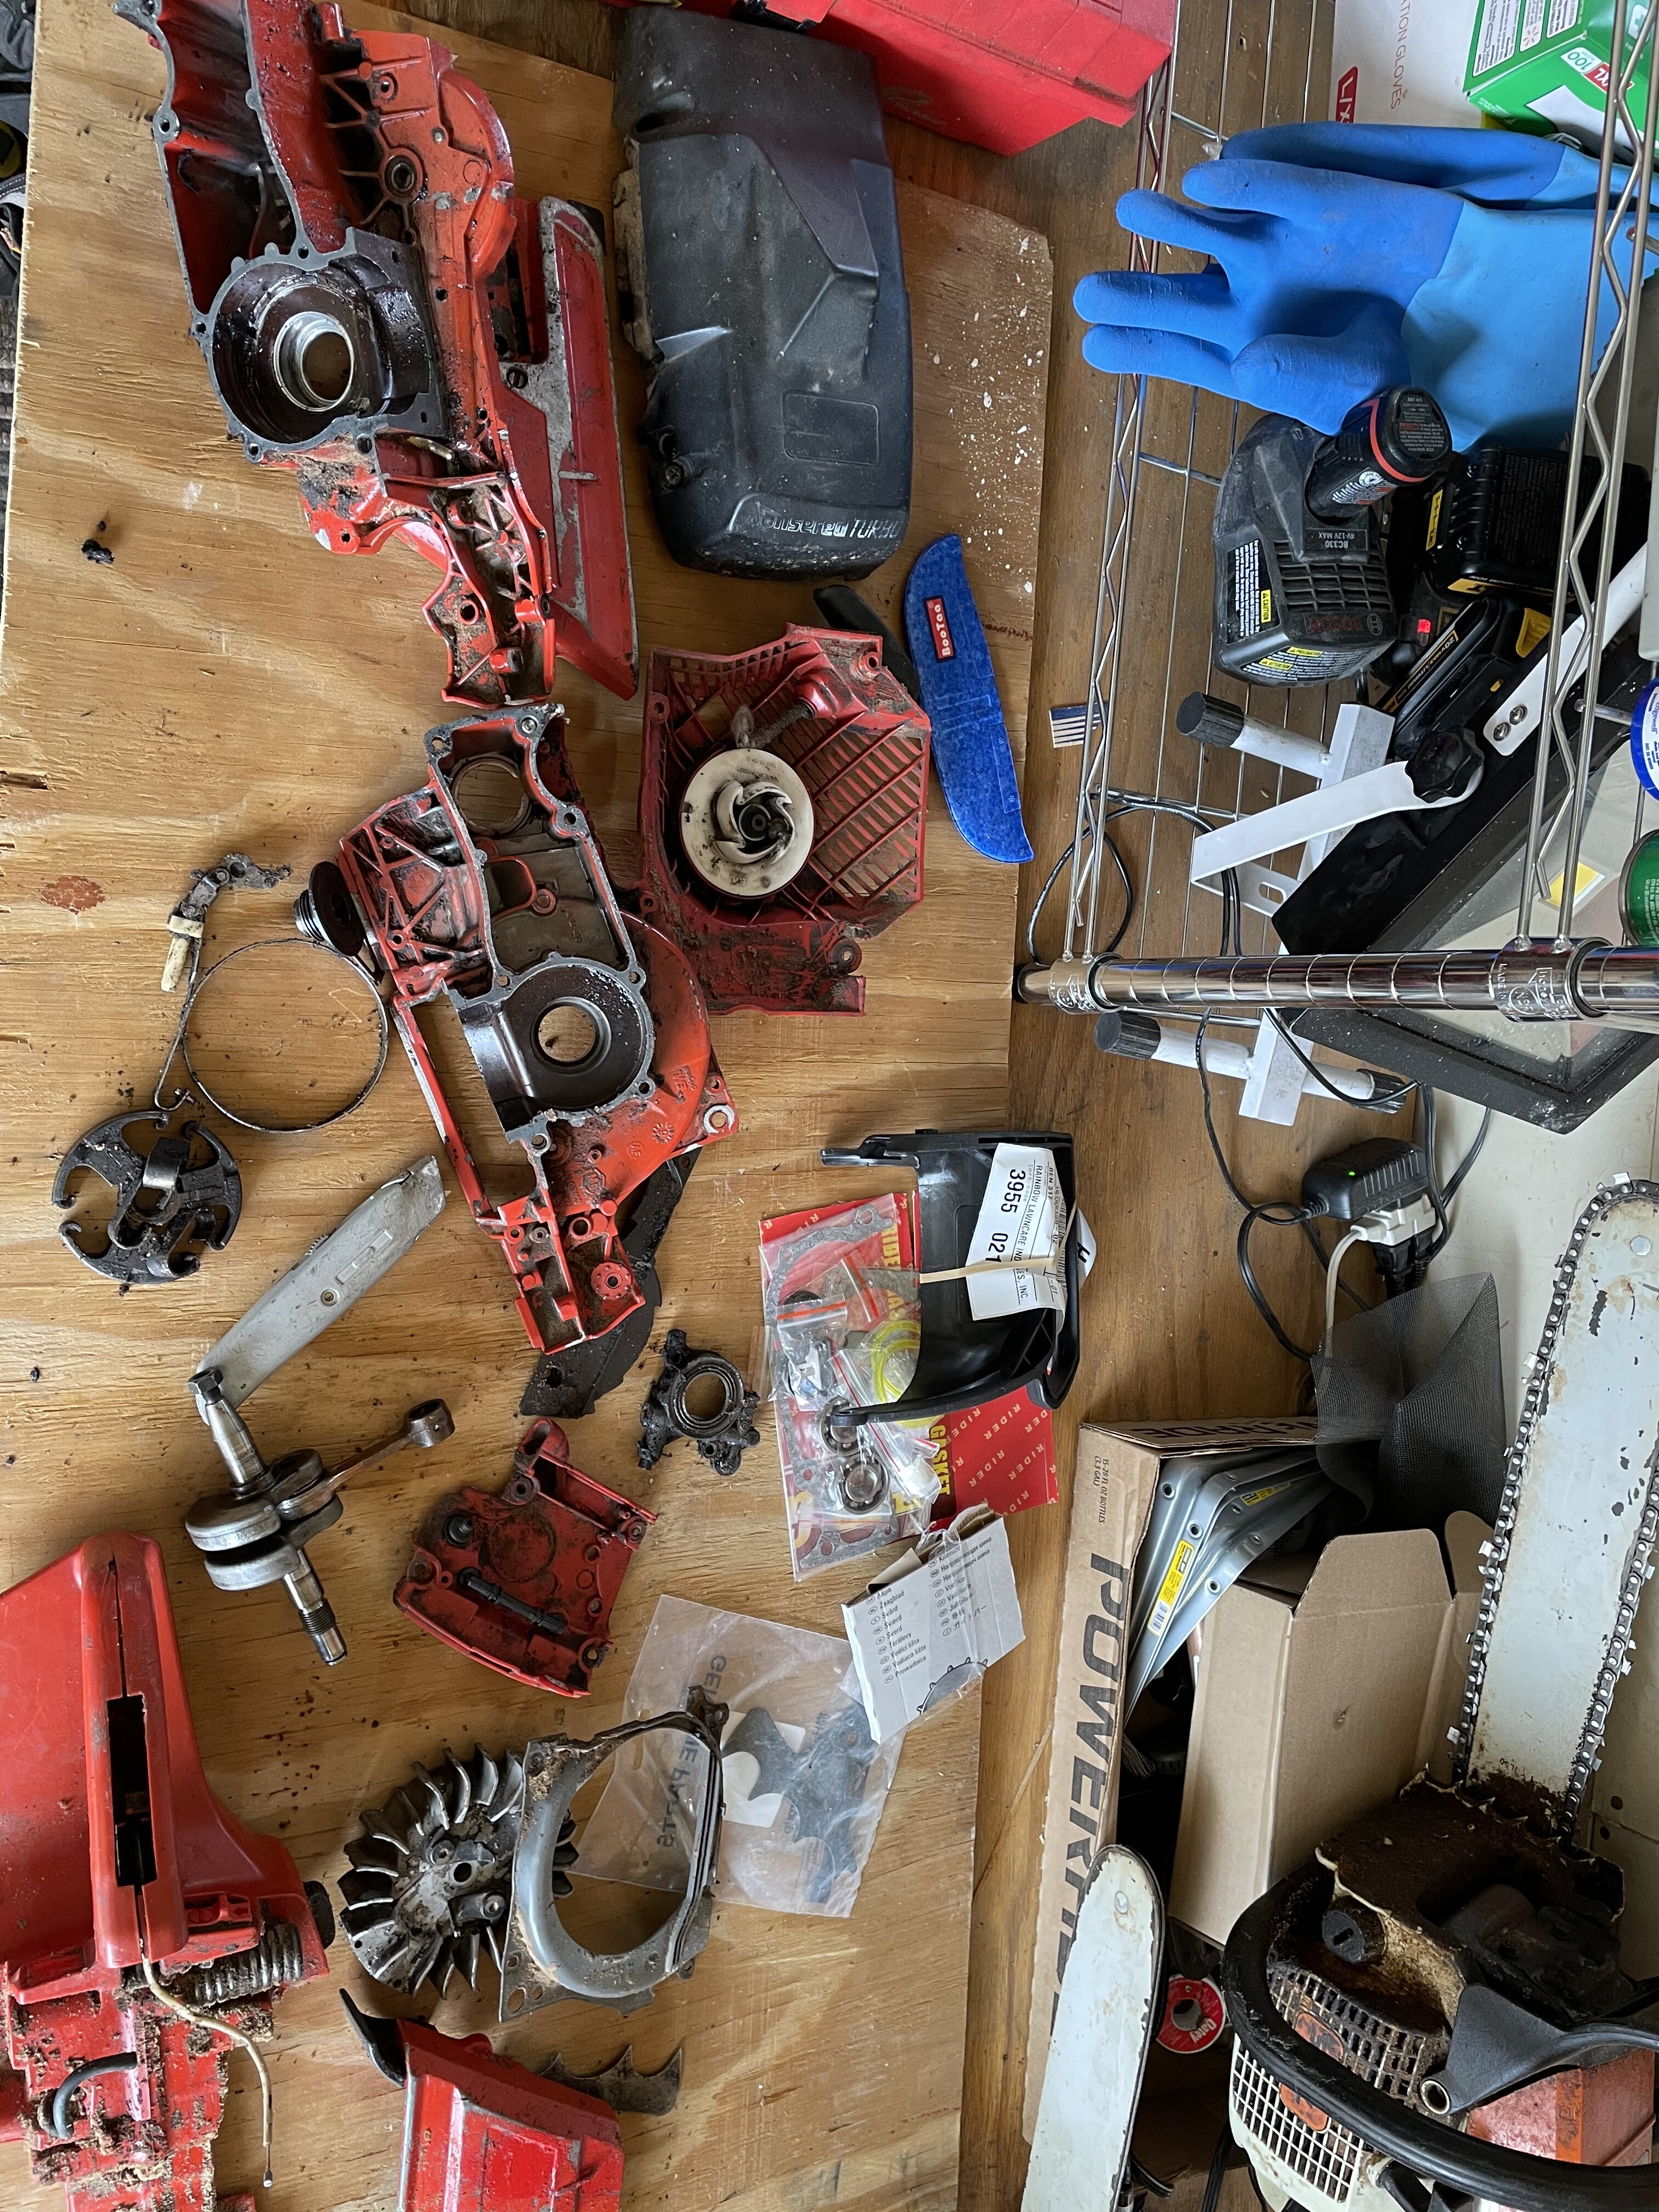
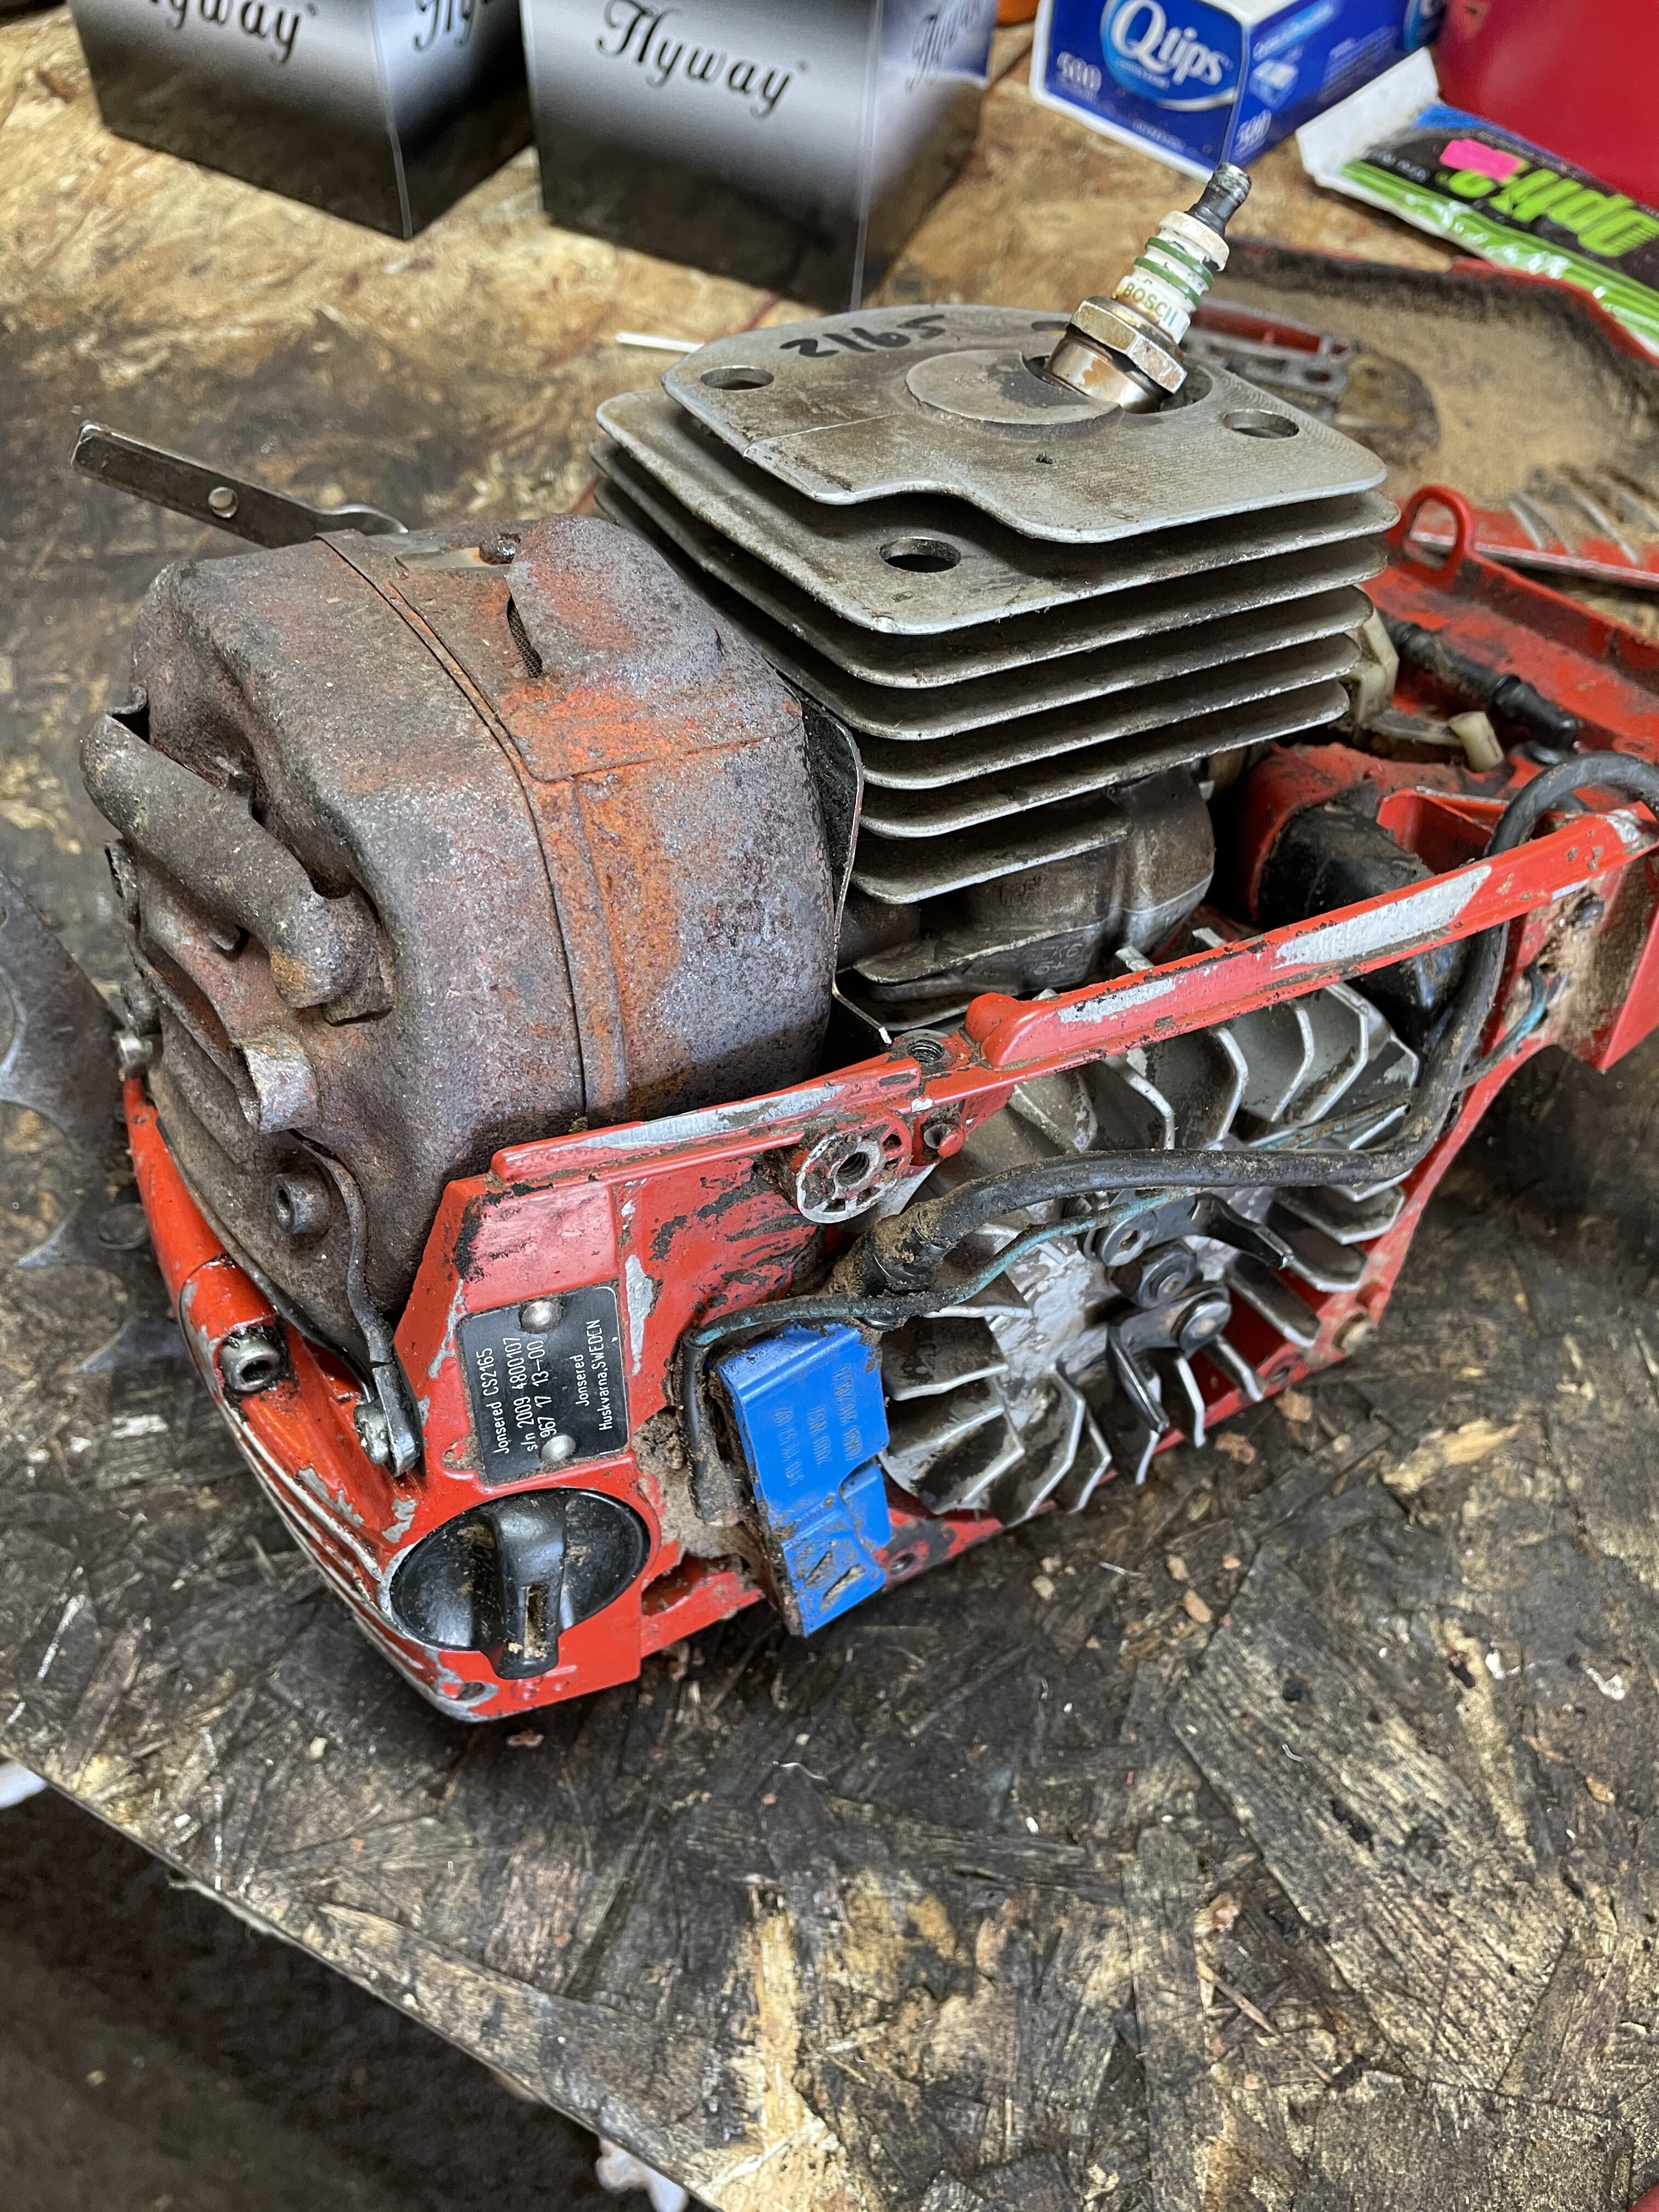
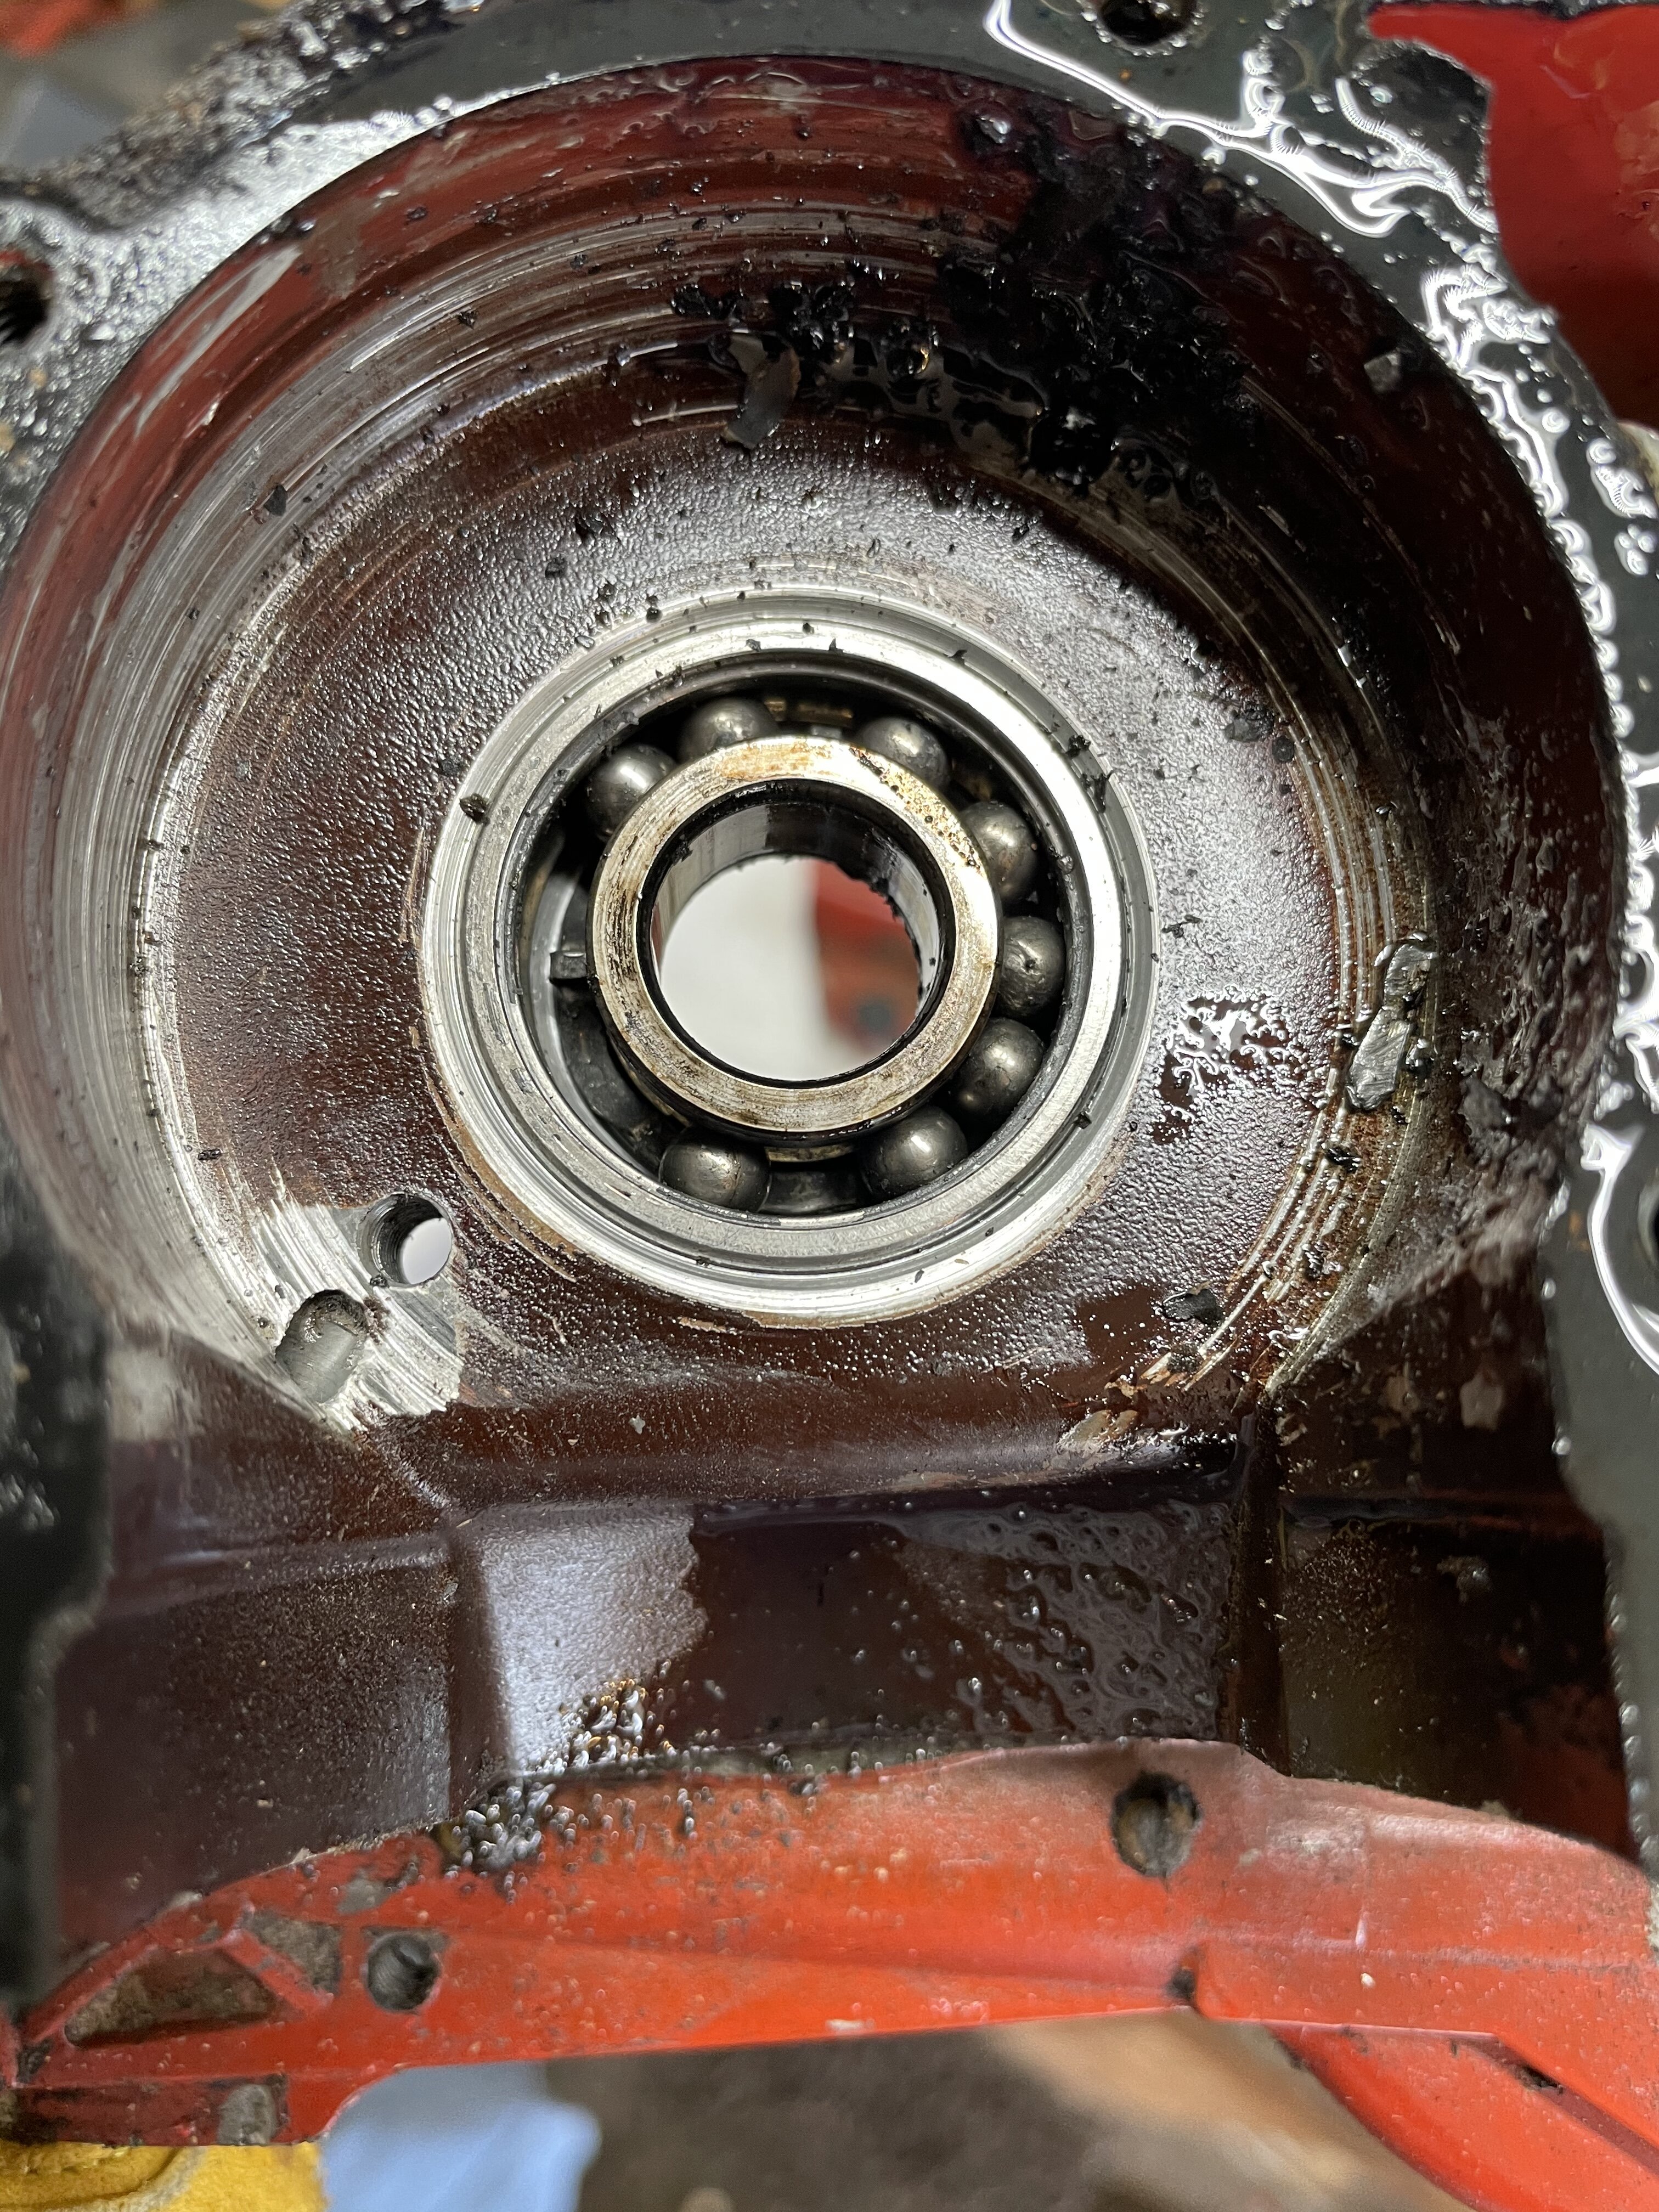
Per a request I’ve started a build thread. Jonsered 2165. Scope of the project is a complete rebuild/ restoration. I started tearing it apart today. It was bought off another forum. No know history.
the jonsered 2165 is a 65 cc pro grade saw. There’s also a 2171 which is the same as a husqvarna 365/372. Just in red. I’ve purchased a hyway 372 top end kit and various other parts I knew I needed.
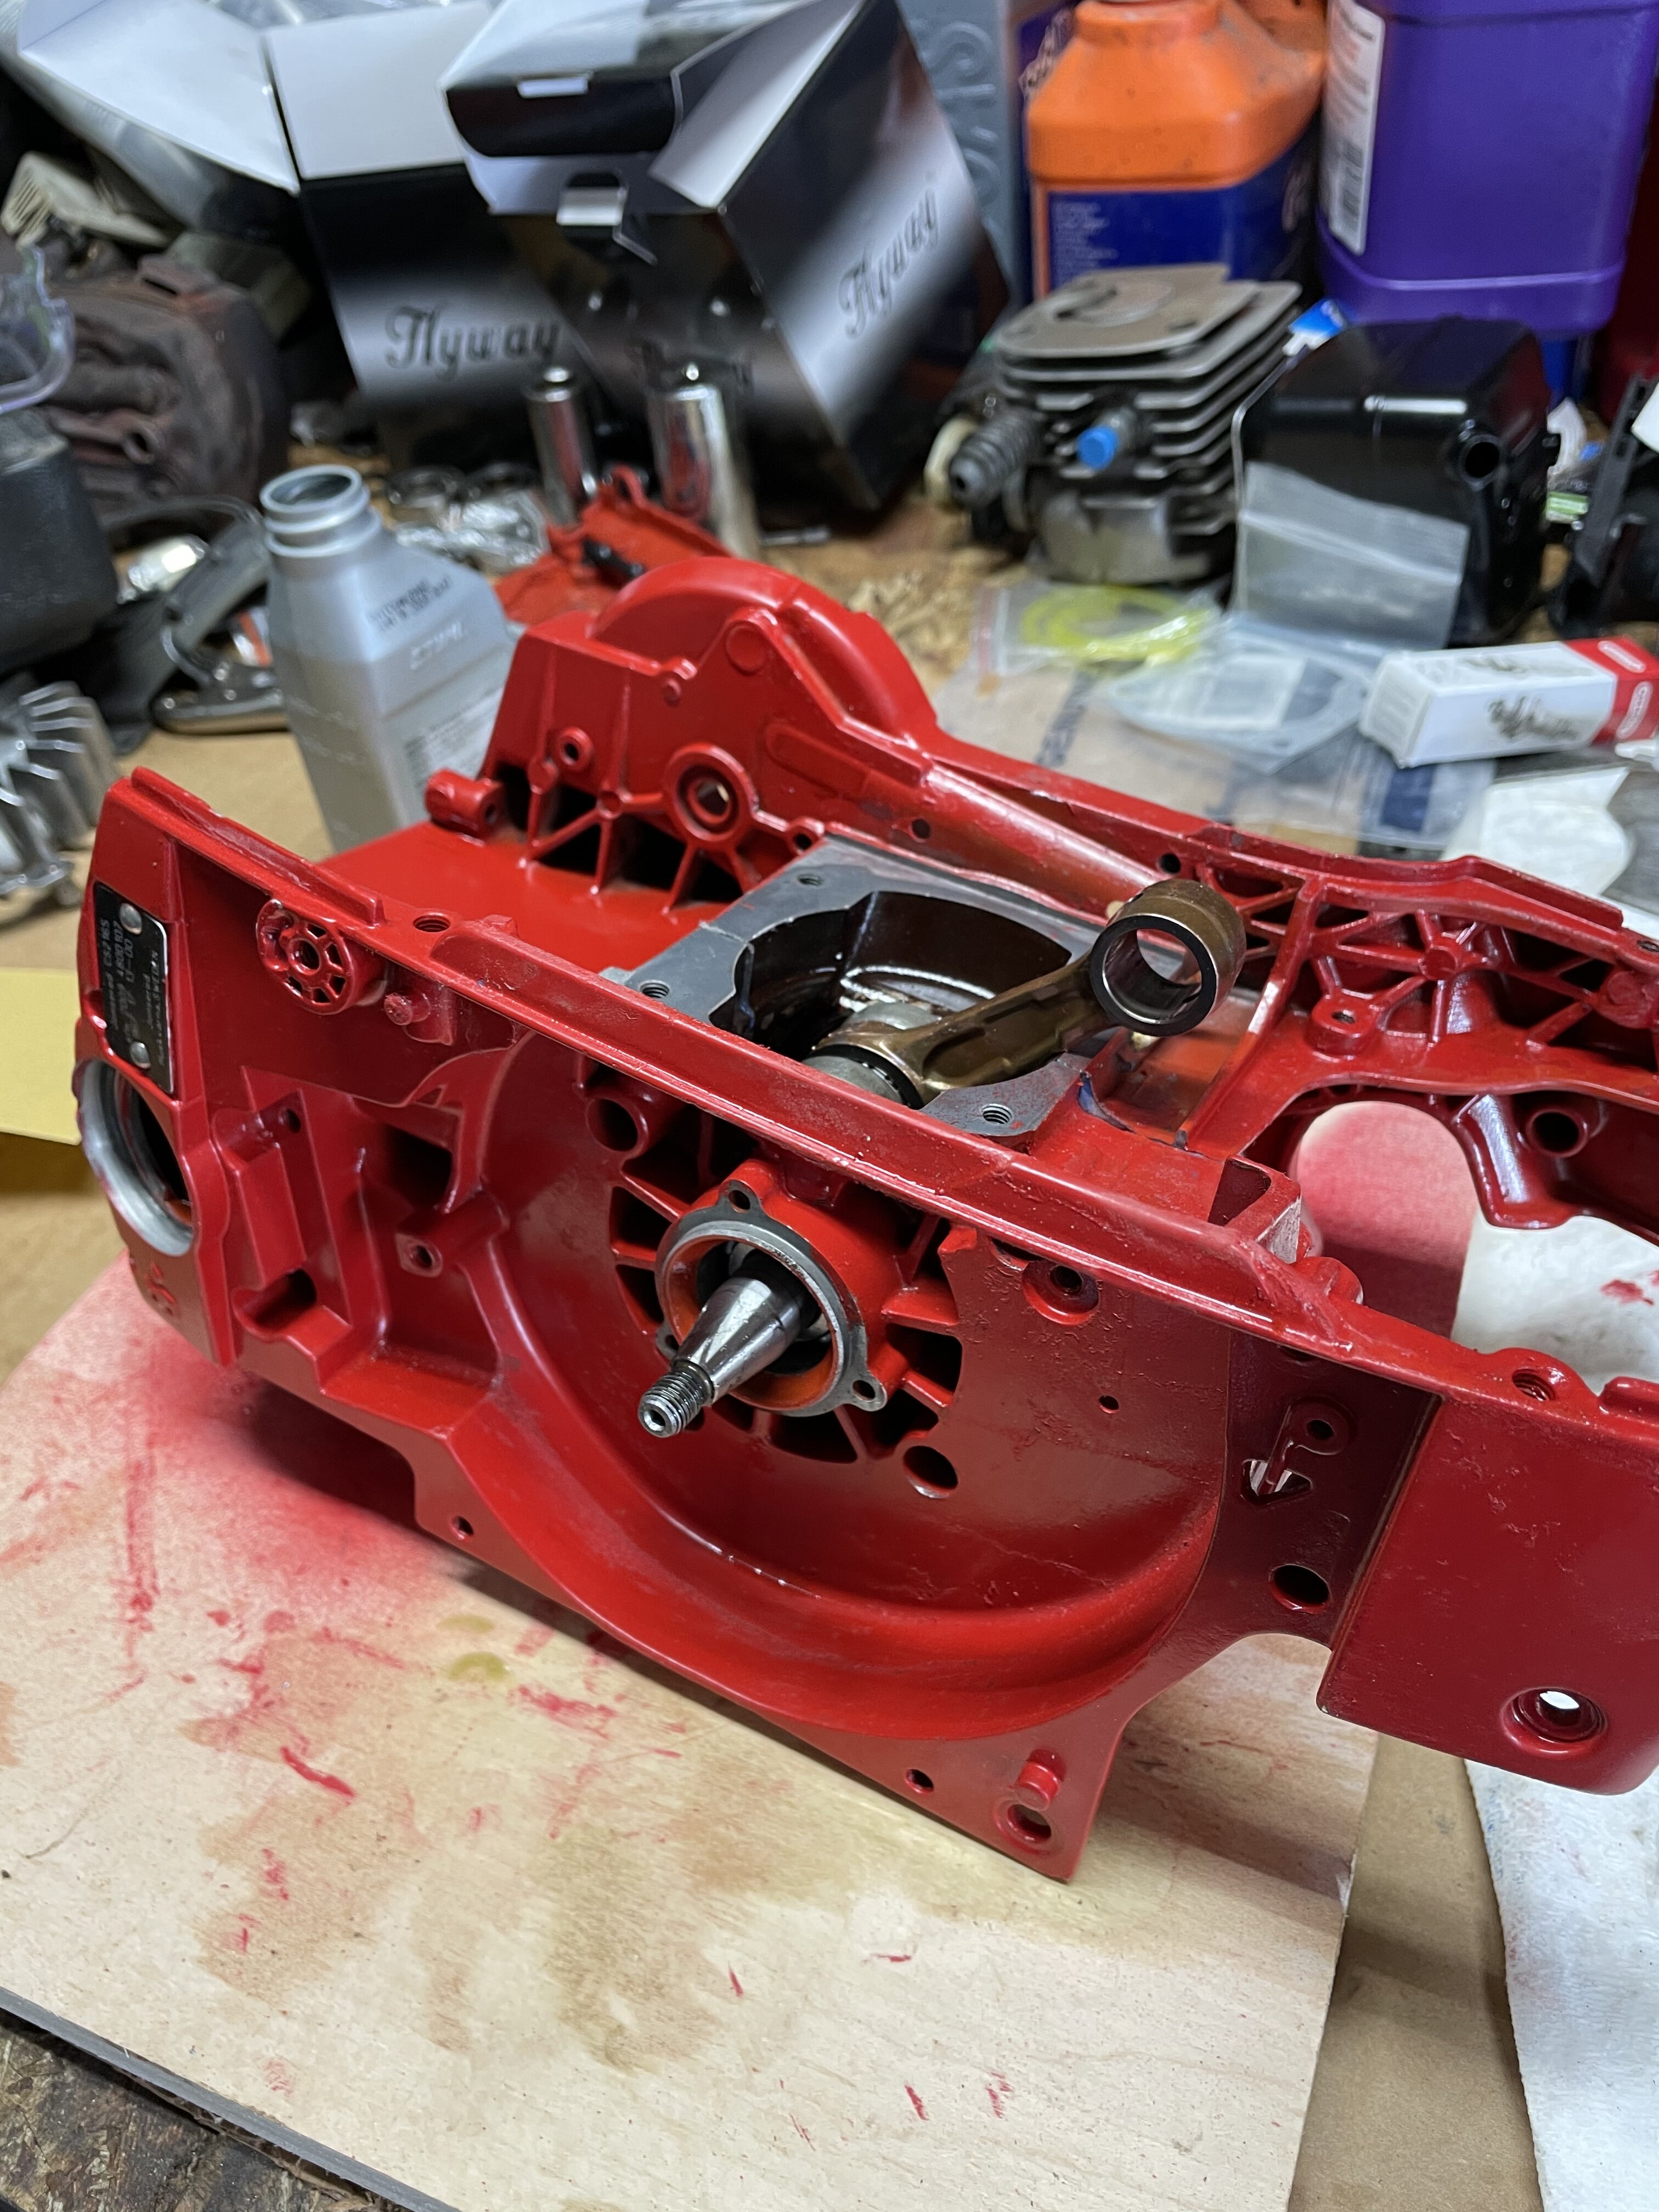
first step was complete disassembly. When I got down to just the crankcase, I heated the case and tapped the crank with a rubber mallet.
first thing I found was the original bearings were a little crunchy. Good thing I had planned on a complete tear down. More to come once cleaning is complete.-
6
-


Jonsered 2165 complete rebuild (372xp)
in General Chat
Posted
Well. I thought it turned out so well. I bought a couple more 2165s. These two will be for sale when I’m done.
I burned up my parts washer pump though so I have to get that fixed first.