
shadetree
-
Content Count
5,617 -
Joined
-
Last visited
-
Days Won
189
Posts posted by shadetree
-
-
10 hours ago, TRX350D said:Were they OEM NOS or knock-off NOS? A good seal is a good seal when you get down to it, I'm just curious what you had to resort to in this particular instance for future reference.
they are oem seals, found some NOS replacements on ebay.
-
well, hit another snag on front diff. seems all the diff oil seals are shot !, oil seal that sits inside the part of the knuckle that bolts to the ends of the front diff are worn too bad. as well as the oil seals that are just inside the ends of the front diff, after adding some gear oil, I could see them leaking. which would explain why there was water in the front diff when I tore it down. I could leave it like this, and not replace them ?, but thats not how I roll !. I located all my oil seals on ebay, as these seals are no longer around from honda. these are NOS seals from ebay, will take a few days to get here, in the mean time, I will rip the front diff back down, and have it ready for the new seals. I also had to locate two inner knuckle cv joint seals that install in the knuckle behind the knuckle wheel bearing, got them headed this way. this should ?????...lol, be every seal now replaced with new seals all the way around :-).
-
 2
2
-
-
On 12/12/2019 at 10:06 PM, retro said:Yep, thats how I did 'em too, before I owned feeler gauges. 🙂
is that a hint ^^^ ?..lol. I used match book covers as well back then, most old honda bikes were easy to set with them.
-
1
-
-
Just now, retro said:I'mma still gonna mail ya a good set of feeler gauges and a torque wrench one of these days shade. 🤣
lol..i'll just mail them right back !!..lol.
-
 1
1
-
-
7 hours ago, retro said:If you create a "sticky" guide on how to do something, use the Tutorials app (choose an appropriate category) to publish it rather than posting in a thread. That way each one will have a short description and a support thread will be created and linked to the Tutorial in the forum automatically.
Try making one for practice if you wish...? We can delete mistakes until you learn how it works. You'll have to buy some feeler gauges before you can advise folks how to adjust valves properly though... 🤣
uh huh, you can lead a horse to water..but ya can't make him drink It !..lol.
-
man, after reading through this thread ?, I am soooooooo glad I don't have power steering !!..lol. less things to go wrong with my atvs..cheaper too !..lol.
-
1
-
-
First let me say, this is not by the book ?, It is how I set and adjust my engine valves on my builds. some parts of this ''How To'' will work just fine, while other parts of this you may want to use the correct tools ?, I will point out which tools you need when I get to that point.
Ok, lets start off with having the rocker box off, or valve adjusting cap off. Depending on which type of motor your working on ?, this next step will not be the same, with that in mind, it does not matter too much, as you still need to access the crank. if its the newer engine ?, your 17mm access bolt will be behind the rear pull starter ( if your engine has one ?, some trx420's do not have a factory pull starter on them ). Remove the pull starter, now you can see the 17mm head bolt holding the cage on the end of the crank. next, remove spark plug ( this makes it a lot easier to turn the motor over ). Older engines have the 17mm crank bolt on left side of engine cover, where the flywheel is located. with a 10mm box wrench, loosen the tappet lock-nuts on both the intake and exhaust valve ( valves ).
Remove the sight hole ( inspection cap ) from the right rear of motor ( front left side on old style engines ), so you can see the flywheel. Your looking for the letter T on the very edge of the flywheel, this stands for TDC= top dead center for those that are new to engines. Keep in mind, there is 2 TDC's !!!, one Is for exhaust stroke , other is for compression stroke, YOU WANT TOP DEAD CENTER ON COMPRESSION STROKE !!!. Now your asking me..'' how the heck do I know which stroke I am on '' ?. Its very simple to find out, least for me anyway :-).
With spark plug out, 17mm socket on 17mm bolt, turn the crank until you see the letter T line up with the index in the sight hole, your piston should be on top dead center , but the question is, now how do I know which stroke...right ?. here's how I do it !. once I have the letter T lined up in the sight hole with my index, I then rotate the crank backwards , SLOWLY !!!, as I am doing this, I watch my intake valve too see if it starts to move ?, if it does ?, then I did indeed have my piston on top dead center on the compression stroke. now all I need to do is rotate the flywheel/crank back to where I started, line my T back up where I had it to begin with in the sight hole, then go up to valves, and adjust them. now comes the tool part !, the book say's on most valves they call for 0.006 with feeler gauges ?, I do not use them, never have, never will !. Please don't tell me I am doing it wrong ?!, I have been doing it this way for 28 years, I GO BY FEEL !, its a skill you must learn over time, its not something your home mech can do on every valve adjustment ?..BUT ITS SOMETHING I AM GOOD AT !.
Now if for some reason when you started moving the flywheel/crank off the letter T from the start, and your watching the intake valve, and it never began to move ?, then you had your piston on top dead center on the exhaust stroke !. To solve this, turn the crank back to where you started, get the letter T back in the sight hole, once there, turn the flywheel around one full turn, until the letter T is lined back up again in the sight hole, you should now have your piston on top dead center on the COMPRESSION STROKE, WHICH IS WHAT YOU WANT !. To make sure your correct ? ( or me at this time ), I then turn the crank backwards ( SLOWLY ! ), As I am doing this, I watch the intake valve, it SHOULD start to move as I am going backwards, which in most cases..it does !. Ok, now I stop, turn the crank back the other way to line my letter T back up in the sight hole, I leave it there, go to the valve ( valves ), and set them. for you green horns, you now will use your feeler gauges to set the valves, me ?, I go by feel.
NOTE: if your cam chain is stretched ?, you will have a hard time getting the valves set no matter how many times you use this How To ?, you must have a good cam chain at all times to get the valves set correctly !.
Final words : again, this process is not by the book !!!!, this is how I do it ?, EVERYONE WILL HAVE DIFFERENT RESULTS !!!.
-
3
-
-
13 minutes ago, jeepwm69 said:You can rewrite, for example, your "how to adjust vavles" thread for this forum. Stuff like that will help when people are searching the web on how to do something.
yeah, I was thinking about all of those, they were stickies on old site, we just call them '' how to here ?. I copied them all to note book, but shoot, i've done it so many times now, I know most of them by heart !..lol.
-
1
-
-
4 hours ago, machinecrook said:Just beautiful! I love your rebuilds. Can't wait to start my 1986 350!! Hopefully I can find the parts 🙂
your biggest challenge is going to be locating bearings and seals, as most are discontinued now. as for common parts ?, depends on what you will need ?, my bud has a '86 trx350 sitting in his bone yard with most parts ( not all ! ) still on it. motor wise, from '86 to '89 they all are the same, cept the left engine cover. front diff on the '86 is different than the later years because of the pinion gear. rear diff is the same on all years. front brake drums are different, and the knuckles are different. the one draw back on the '86 ?, is most parts for this year, WILL ONLY CALL FOR PARTS FOR THIS YEAR !.
-
2
-
-
On 12/3/2019 at 10:25 AM, retro said:Ya, fill it up with content. It takes a long time to develop a new forum. Most take about a year of steady growth to reach the top. We're off to a great start!
by this ^^^ , you mean something like stickies ?, pics ?, what do we need to fill up with ?.
-
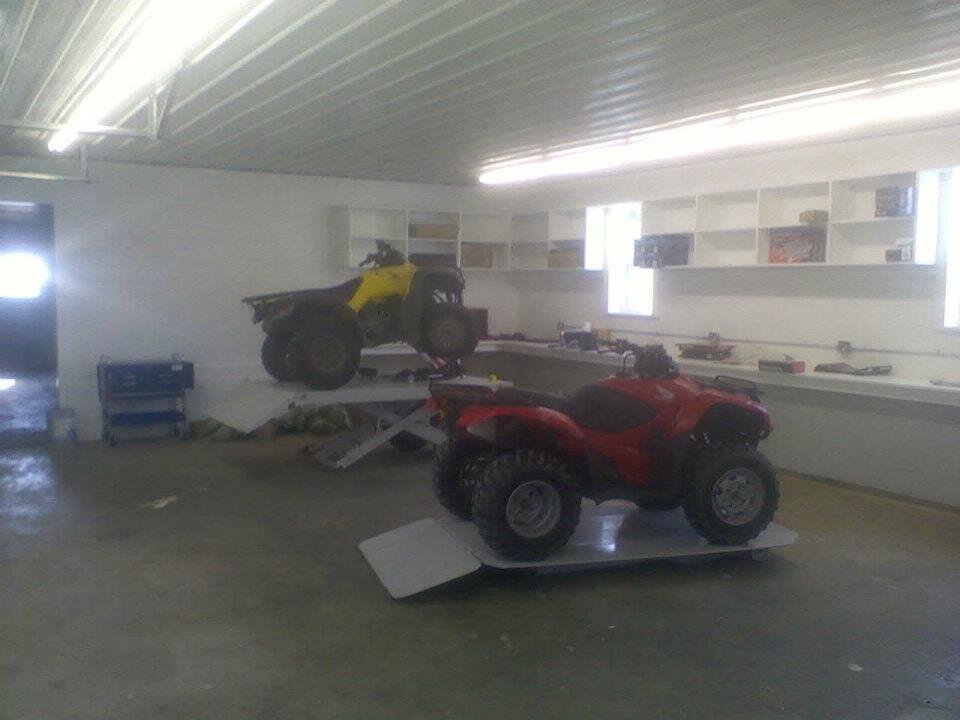
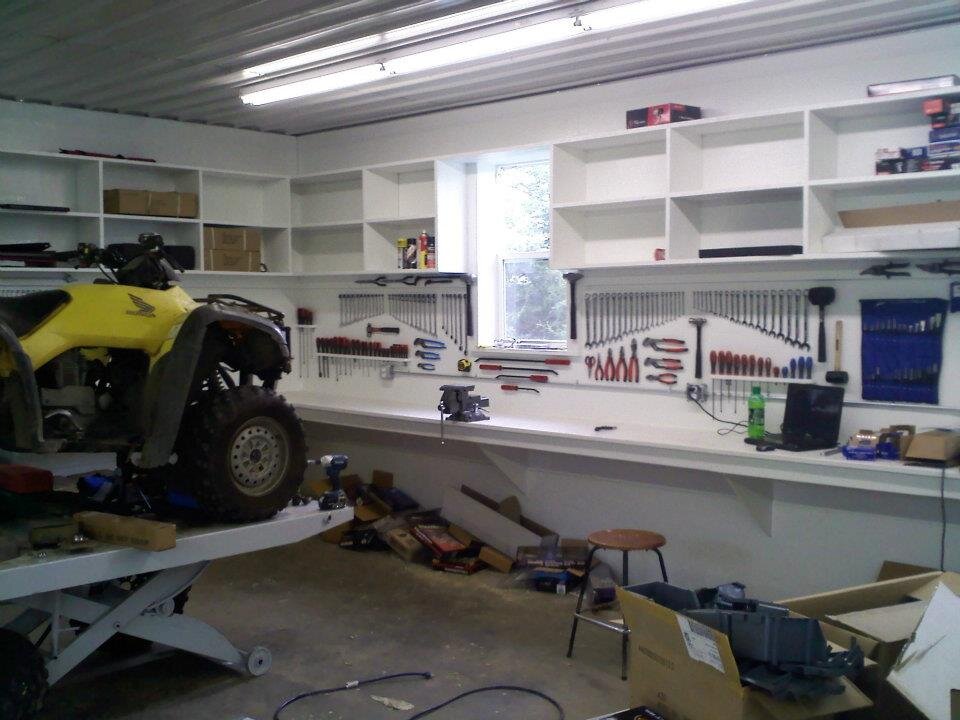
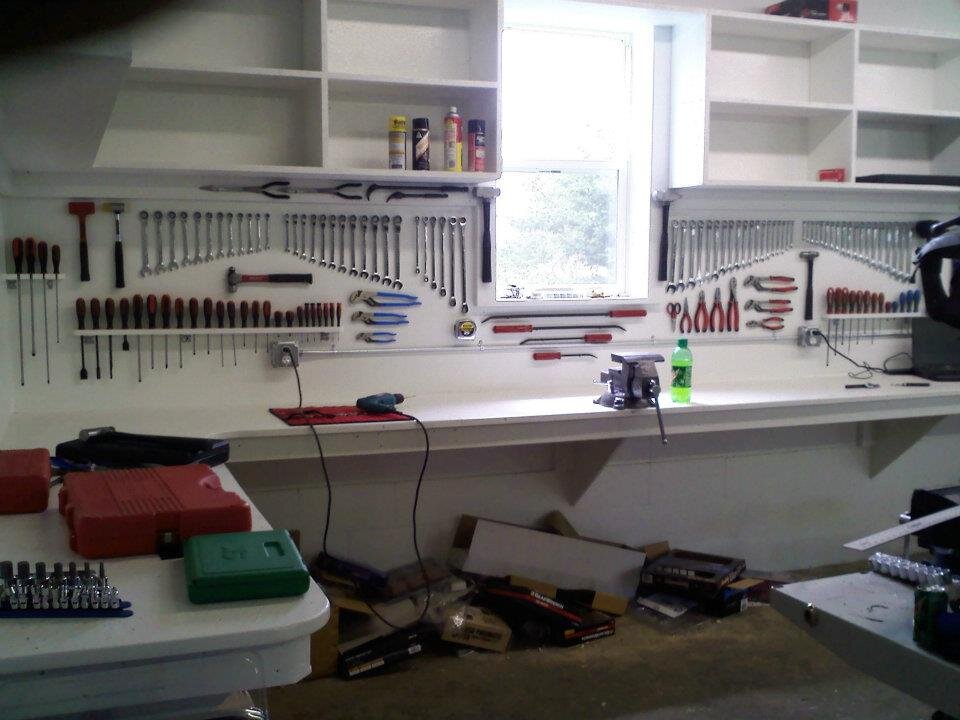
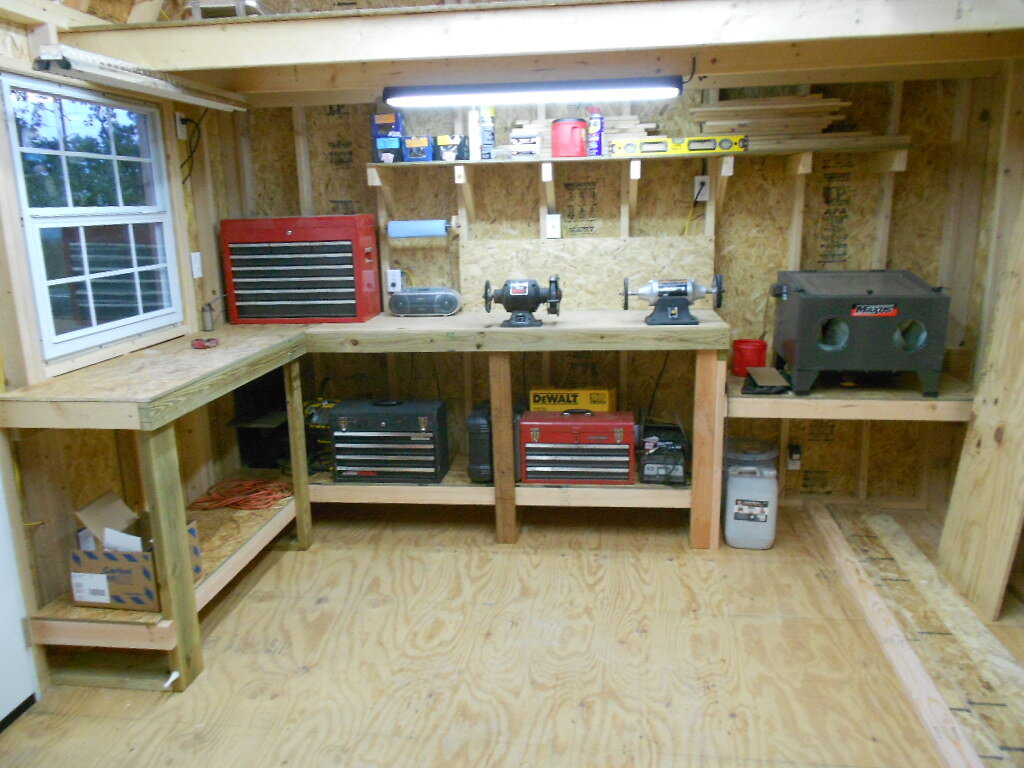
5 minutes ago, toodeep said:Shops way too clean @shadetree Reminds me of when we was rebuilding and the business shop was actually clean with everything going on. It didn't last long and more tools, parts and everything started accumulating. Shops never big enough especially when you get 2-3 sxs torn down waiting on parts.

oh no, you just seen the pic when I was building it ?, its nooooooooo where that clean now !!..its just like you said ^^^, cluster you know what right now !!..lol.
-
3 minutes ago, jeffo21 said:I don't do facebook thing Mac but thanks
no toodeep sounds like she doesn't like you much
I would be lucky to get the couch if I bought that 4wheeler from shadetree.
lol ^^^^..dog house 4 sure !..lol.
-
Just now, SlammedRanger said:Ace hardware, menards, lowes. All carry chraftsman and honer there lifetime guarantee.
still made in china though !.
-
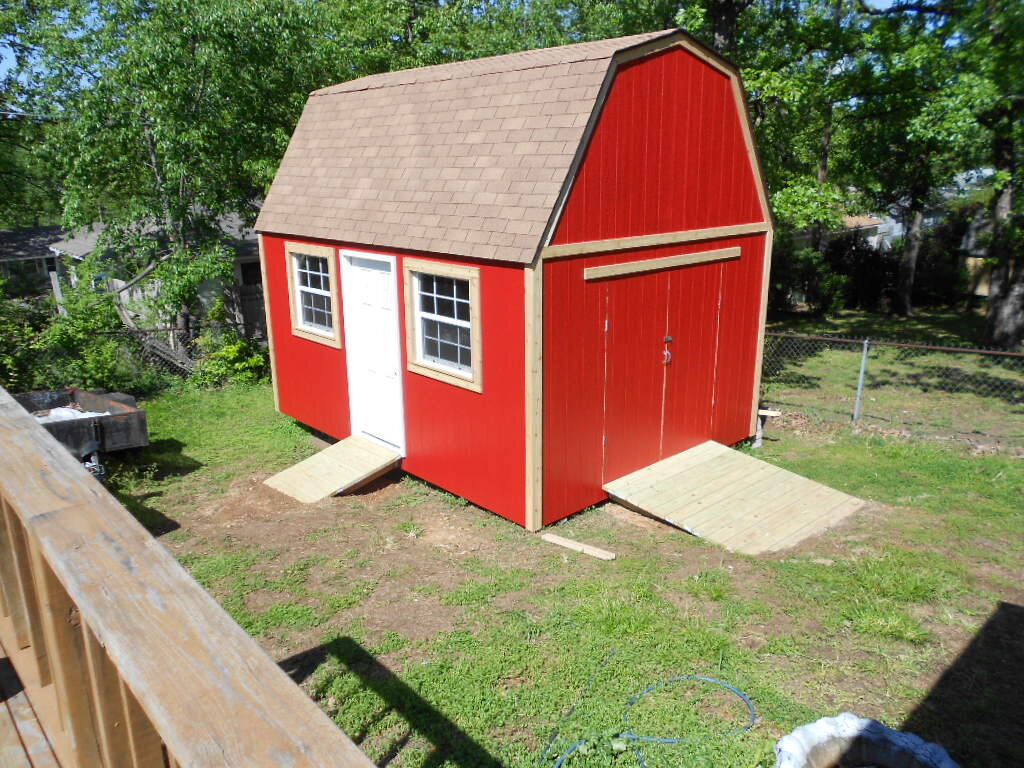
nothing fancy ?, but it serves me very well, 12x16 shop I built a few years ago.

-
4
-
-
9 minutes ago, Mac102004 said:It's too bad that anything Sears/Craftsman isn't worth a pinch of coon ! now. Sad really, I have a lot of craftsman hand tools from the 70's and 80's that are good quality. Look for them at yard sales.
I hear ya on the multiple shops thing Toodeep. We have 3 here on the farm. Seems like whatever you need is always in another shop lol
same, most of my craftsman hand tools are from many years ago..back when they were made in USA !, not now, they are junk. and if I ever break one of them ?, they will take my USA tool, and hand me a china copy..sigh.
-
Just now, jeffo21 said:ok thanks guys guess I will spend the money on something else for it then.
spend the money, buy a 4x4 trx300fw..like the one I linked here ^^^..then you wont need to buy and install the front disk brake kit ?, its already on it !..lol.
-
1 minute ago, jeffo21 said:I read up on it the other night couldn't sleep and it seemed pretty easy to swap them over to disc brakes.
Yeah but under it says 12" wheels or bigger?
you must have 12 inch rims to use disk brake kits. and your atv must be 4x4 in order to put disk brake kits on the front.
-
7 minutes ago, Mac102004 said:Getting older? I think that ship has sailed old timer. hahaha
sheshhhh..don't tell everyone !!!!!!!!!!.
-
4 minutes ago, Mac102004 said:I've thought about buying a cheap one but I figure if I'm going to buy one it might as well be something good. Just keep putting it off. The stick can do most things it's just not that handy. They are good a lot of times for welding on bearing races so they will shrink. That trick has gotten me out of a lot of binds for sure.
my craftsman wire welder was bought over 10 years ago from sears, 110 volt, I run flux core, I can also set up gas with it, but flux is better outside in windy places. I can't weld worth a crap with a stick welder, cept maybe weld the stick to the steel ?!!..lol.
-
4 minutes ago, Mac102004 said:Cordless electric tools such as ratchets and impact guns are becoming a big thing for me. But to be honest I haven't been working in my shop as much as I used to. If I had to pick my top 5 most used tools other than what I've previously mentioned (in no particular order)....
Vice
Bench Grinder
Drill Press
Cordless Grinder
Lathe
I'd like to have:
Shop Press. probably 50 ton range if not larger
Milling machine, manual ok, CNC would be sick
MIG Welder, yes really, all I have is a stick lol
Plasma cutter or plasma table, that would be cool.
ATV lift.
I guess the more basic wrench turning repairs are starting to loose their lustre LOL Need the more advanced stuff to get me excited.
lol, I got just enough tools to get me in trouble. but I do own a wire welder !!, that little guy has saved my butt many times !!.
-
1
-
-
2 minutes ago, Mac102004 said:I'm shocked you didn't lol
heck..not nearly as shocked as I am !!..lol. sucks getting older I tell ya !..lol.
-
1
-
-
Just now, jeffo21 said:it's a 2x4 superatv makes a kit for rear brakes now that uses the existing cables
then you wont be able to put disk brakes on the front from high lifter, their kits are for only 4x4.
-
Just now, Mac102004 said:Assume your 300 is 4x4?
Is anyone making kits for the 2wd now, thought Gordon Mobley on the FB groups was for a short time.
crap, guess I shoulda asked if his is 4x4 huh ?..lol.
-
2 minutes ago, jeffo21 said:I put 12" rims on it last year. I didn't like any of the tires I could get with the stock rims so I ordered some ITP's and put some bighorn tires on it. I will look into the highlifter's thanks Shadetree.
yw, hope I helped ya out !.
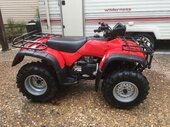
1988 trx350D foreman 4x4
in Custom Builds - Restorations
Posted
I use heavy duty, high temp, super tech, I think it has moly based on the can ?, i'll have to take a look.