
shadetree
-
Content Count
5,617 -
Joined
-
Last visited
-
Days Won
189
Posts posted by shadetree
-
-
8 minutes ago, Bman said:Oh Im sure the offset is the biggest issue. Planning on grabbing a new set of steel rims when I get the spare cash for a set and new set of tires.
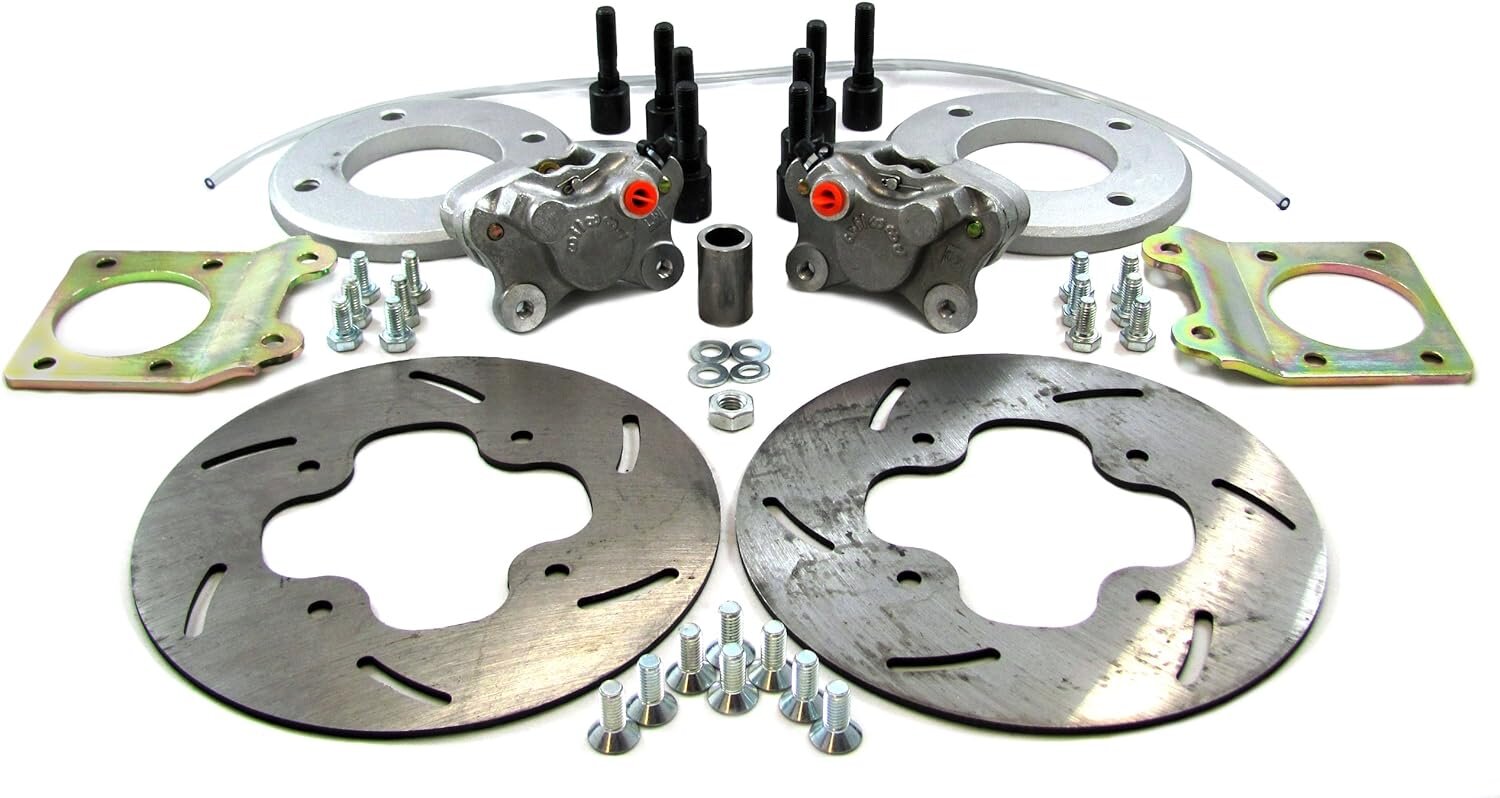
What makes them caliper spacers as opposed to being considered wheel spacers? Actually curious. I considered them wheel spacers as they go over the studs and space the wheel.
they call them caliper spacers because most rims have a curve right there at the lug area, without these spacers, the calipers would rub the rim right there. also, you must have a 12 inch rim in order to use this kit, because even with the caliper spacers, the calipers would grind on the rim if they are not 12 inch rims. don't ask me why high lifter calls them caliper spacers ?..they just do..lol.
-
On 11/4/2023 at 8:48 PM, Bman said:I'm referring to these spacers. Top of the image above the calipers. Not caliper spacers but wheel spacers as to help clear for the caliper. Atleast I assume that's why their in the kits. Both mine and his has these spacers.
I know the 10 wides are excessive I'm wanting to put 8 wides back on. Id like to keep the itp wheels but I can find some stock steel wheels if they clear and get the wheels back where I want them.

those spacers are not wheel spacers, ^^^..they are caliper spacers. your issue is your rim off-sets.
-
On 11/11/2023 at 5:12 PM, adam said:I'm having trouble checking the gears. Rotating through the shift drum isn't really identifying gears easily. The drive shaft isn't giving me much - it rotates slowly on a couple of gears but others it locks up.
What direction should the drive shaft go with forward gears?
Also what direction should the shift drum go from 1 through to R?
I thought it was ok previously so I sealed the two halves together - looks like we're splitting again!
final output shaft turns counterclockwise. what i do: i put a pair of vise grips on the final output shaft, another pair clamped onto the shifter shaft, i click up on shifting shaft while i am rotating the output shaft, you will hear it '' click '' as it goes into gear for 1st, then rinse and repeat for all other 4 gears. from 1st to reverse, you must have the reverse lever pulled in in order to down shift on the shifting shaft, as you are rotating the output shaft clockwise.
-
 2
2
-
-
29 minutes ago, Mick said:Hi does anyone have a manual for honda TRX520 2020
Thanks
chances are, not that i know of ?. this is a newer atv, most atvs in the manual section are older models, until some member buys a newer/later model, post info on it ?, it will not be in the manual section.
-
10 hours ago, KrisR said:She's alive again. Thanks for everyone's help.
congrats !..i hear lose valves ?, or lose cam chain ?..i would inspect/check/set valves. i do hear ticking.
-
9 hours ago, KrisR said:I took the brand new OEM CDI unit out and put my old one back in. And Sparky was on fire.
i'm not sure where you bought that '' so called brand new oem '' c.d.i. ?. but just for future reference ?, if you do not buy them from a honda dealership, such as rocky mountain atv, or partzilla ?..they will not be oem !. spec if it comes from amazon ?..amazon is 100% china fake junk !. if buying from ebay ?, you must make sure in the ad is say's oem ?, and even then..they will still lie to you !!. as for it running now ?, if the neutral light on dash was out ?, and you found the bad gear position switch, chances are, this was why you were not getting spark from the get go, you must have a neutral light on dash for it to fire spark plug, the c.d.i must know its in neutral in order to start..this is a safety feature honda builds into their atvs to keep you from starting them while in gear.
-
51 minutes ago, KrisR said:I officially have a green. Neutral light. I put it all together. No spark......
I'll start testing everything again. I replaced the CDI with a oem unit. I'm just frustrated.
i hate to be that guy, but...is the kill switch in the center position?. ok, you got a neutral light, this leaves the c.d.i. , stator, pick up coil, reg/rec, ignition switch, or spark plug/spark plug coil ?. re-check all your fuses across the fuse with a 12vdc test light while key is on, you should have voltage on both sides of fuses when probing the fuse on both sides.
-
1
-
-
1 hour ago, WonderMonkey said:I don't think those trees you planted under your blind are going to make it.
umm..no..they won't..cuz they are already dead !..lol.
-
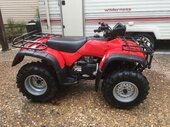
update: got a doe and button buck sat nov 11th opening day, then monday morning i dropped this 4 point from 100 yrds. came home today, i'm wore out. dropped off all my deer meat at hog's meat market to process. here is the 4 pointer i got monday morning. my blind is here by broken in !..lol.

-
6
-
-
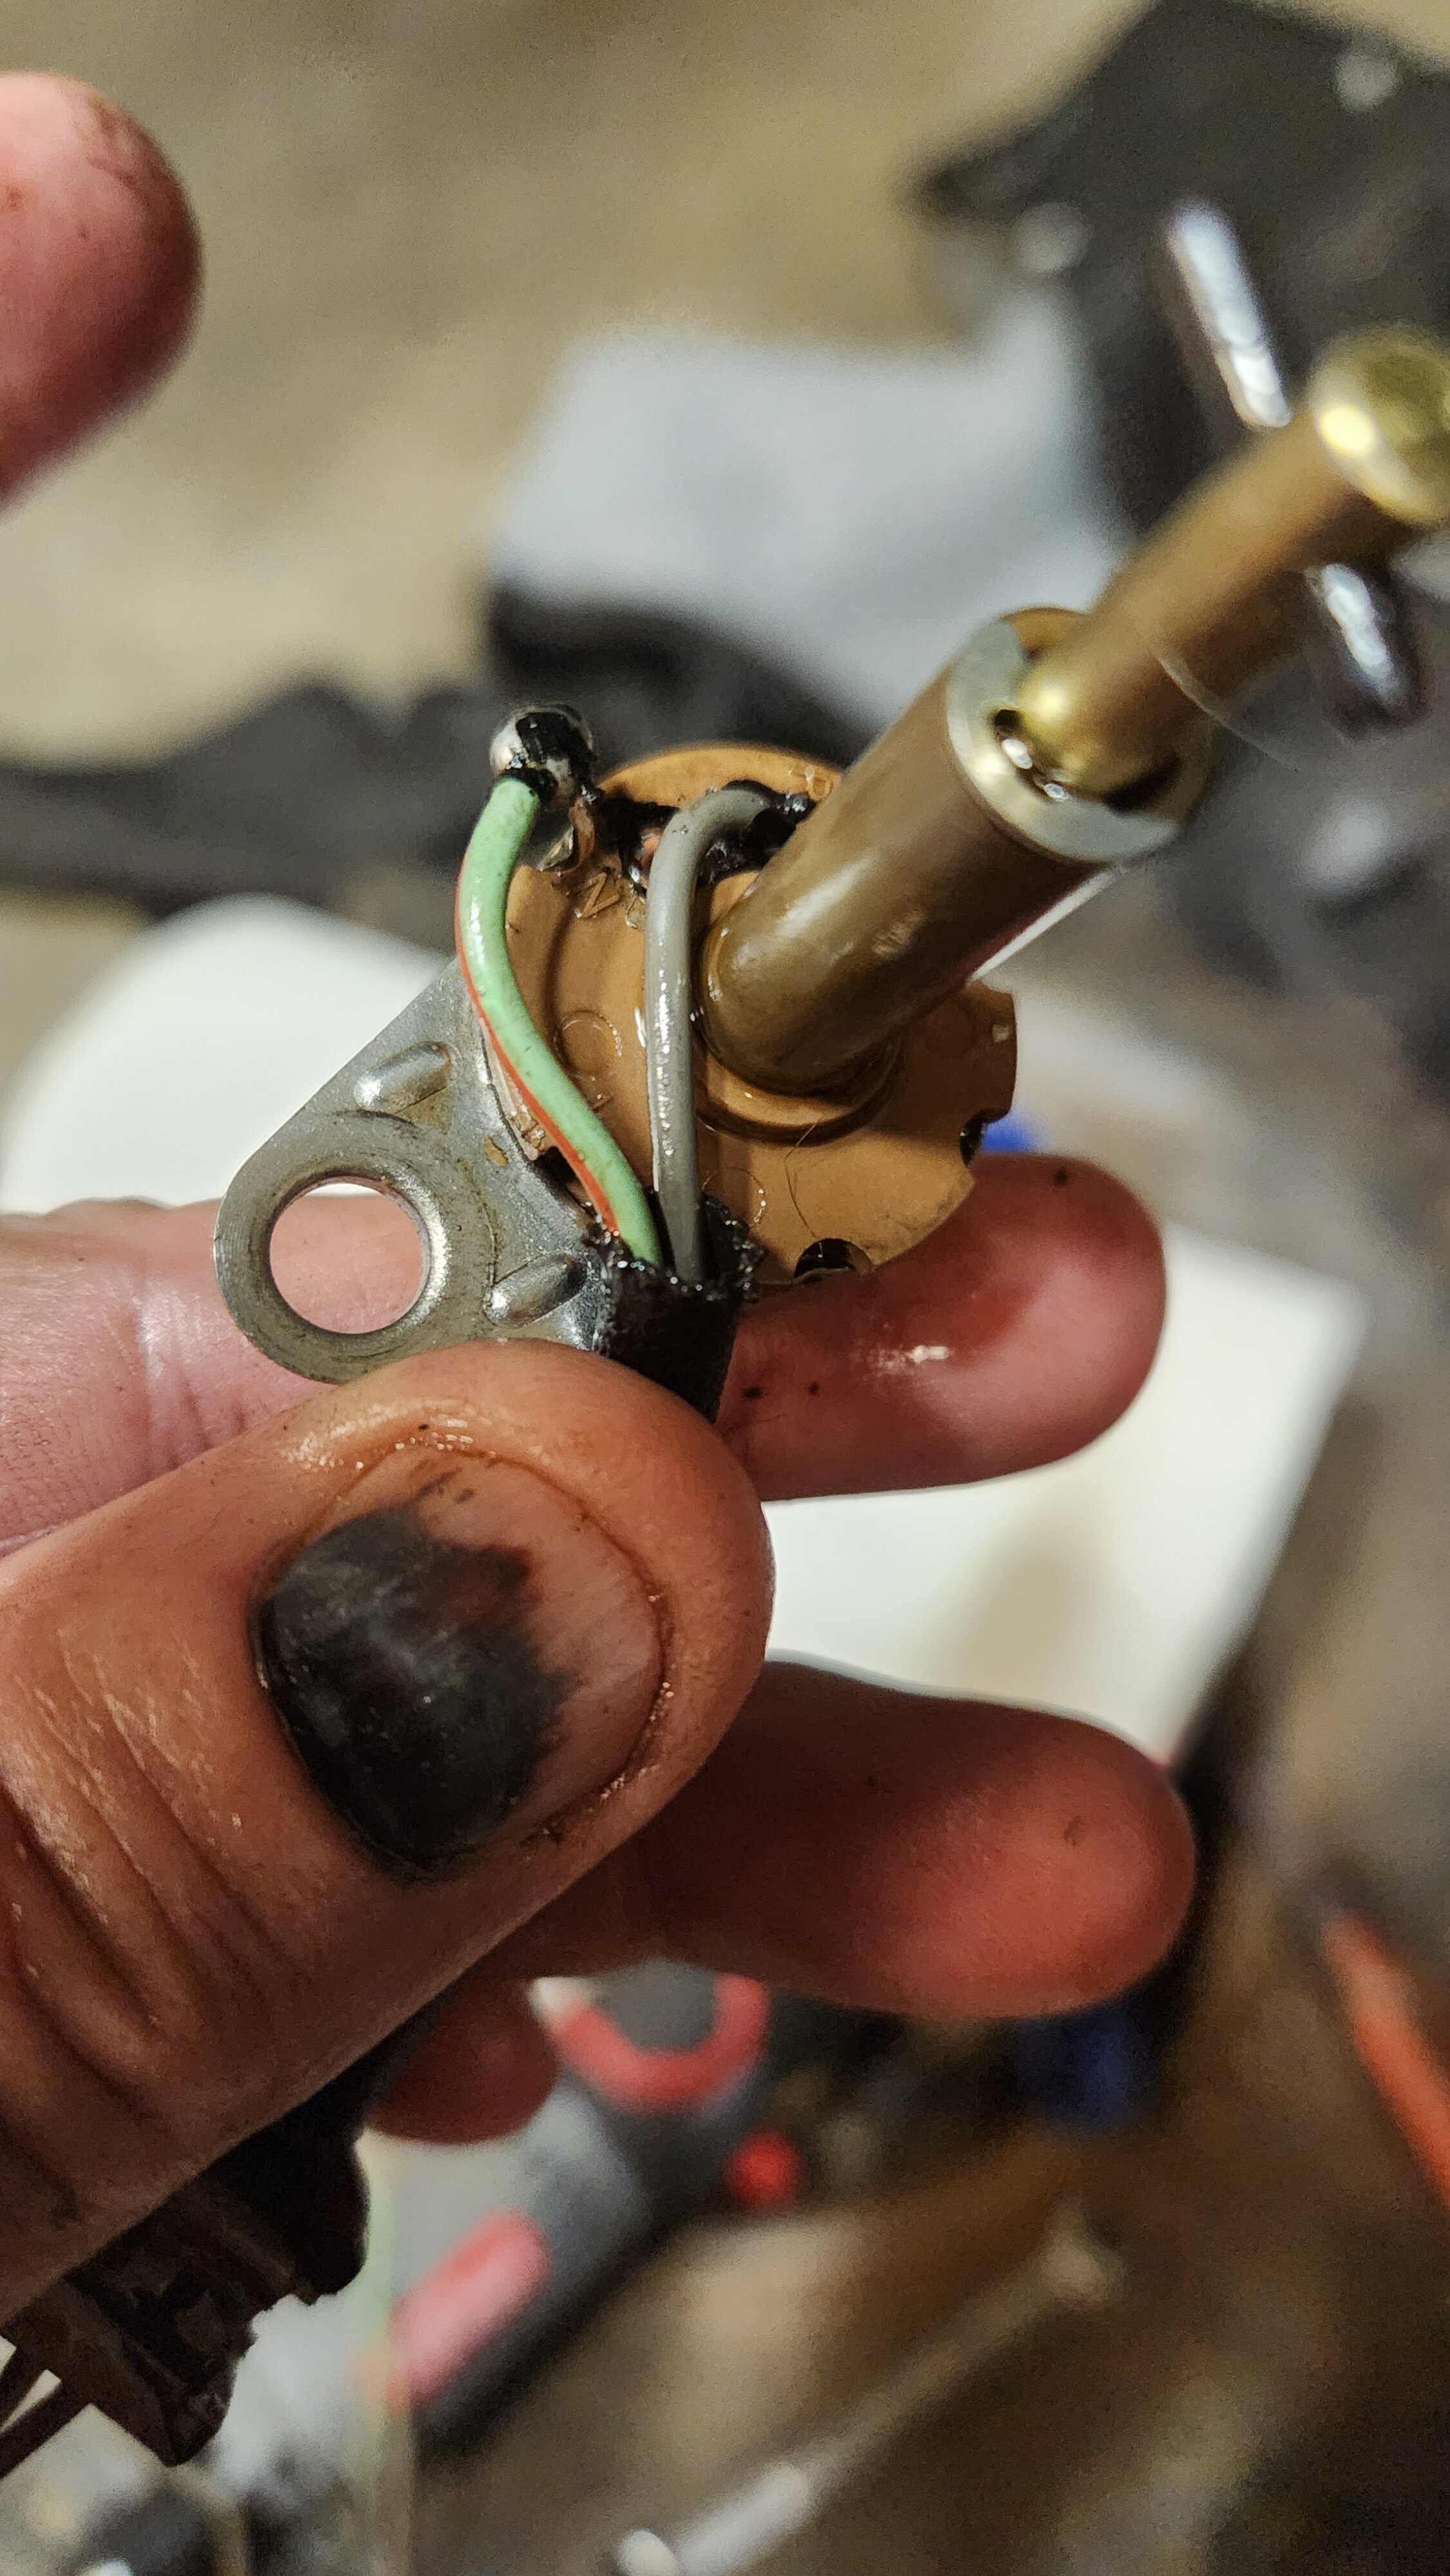
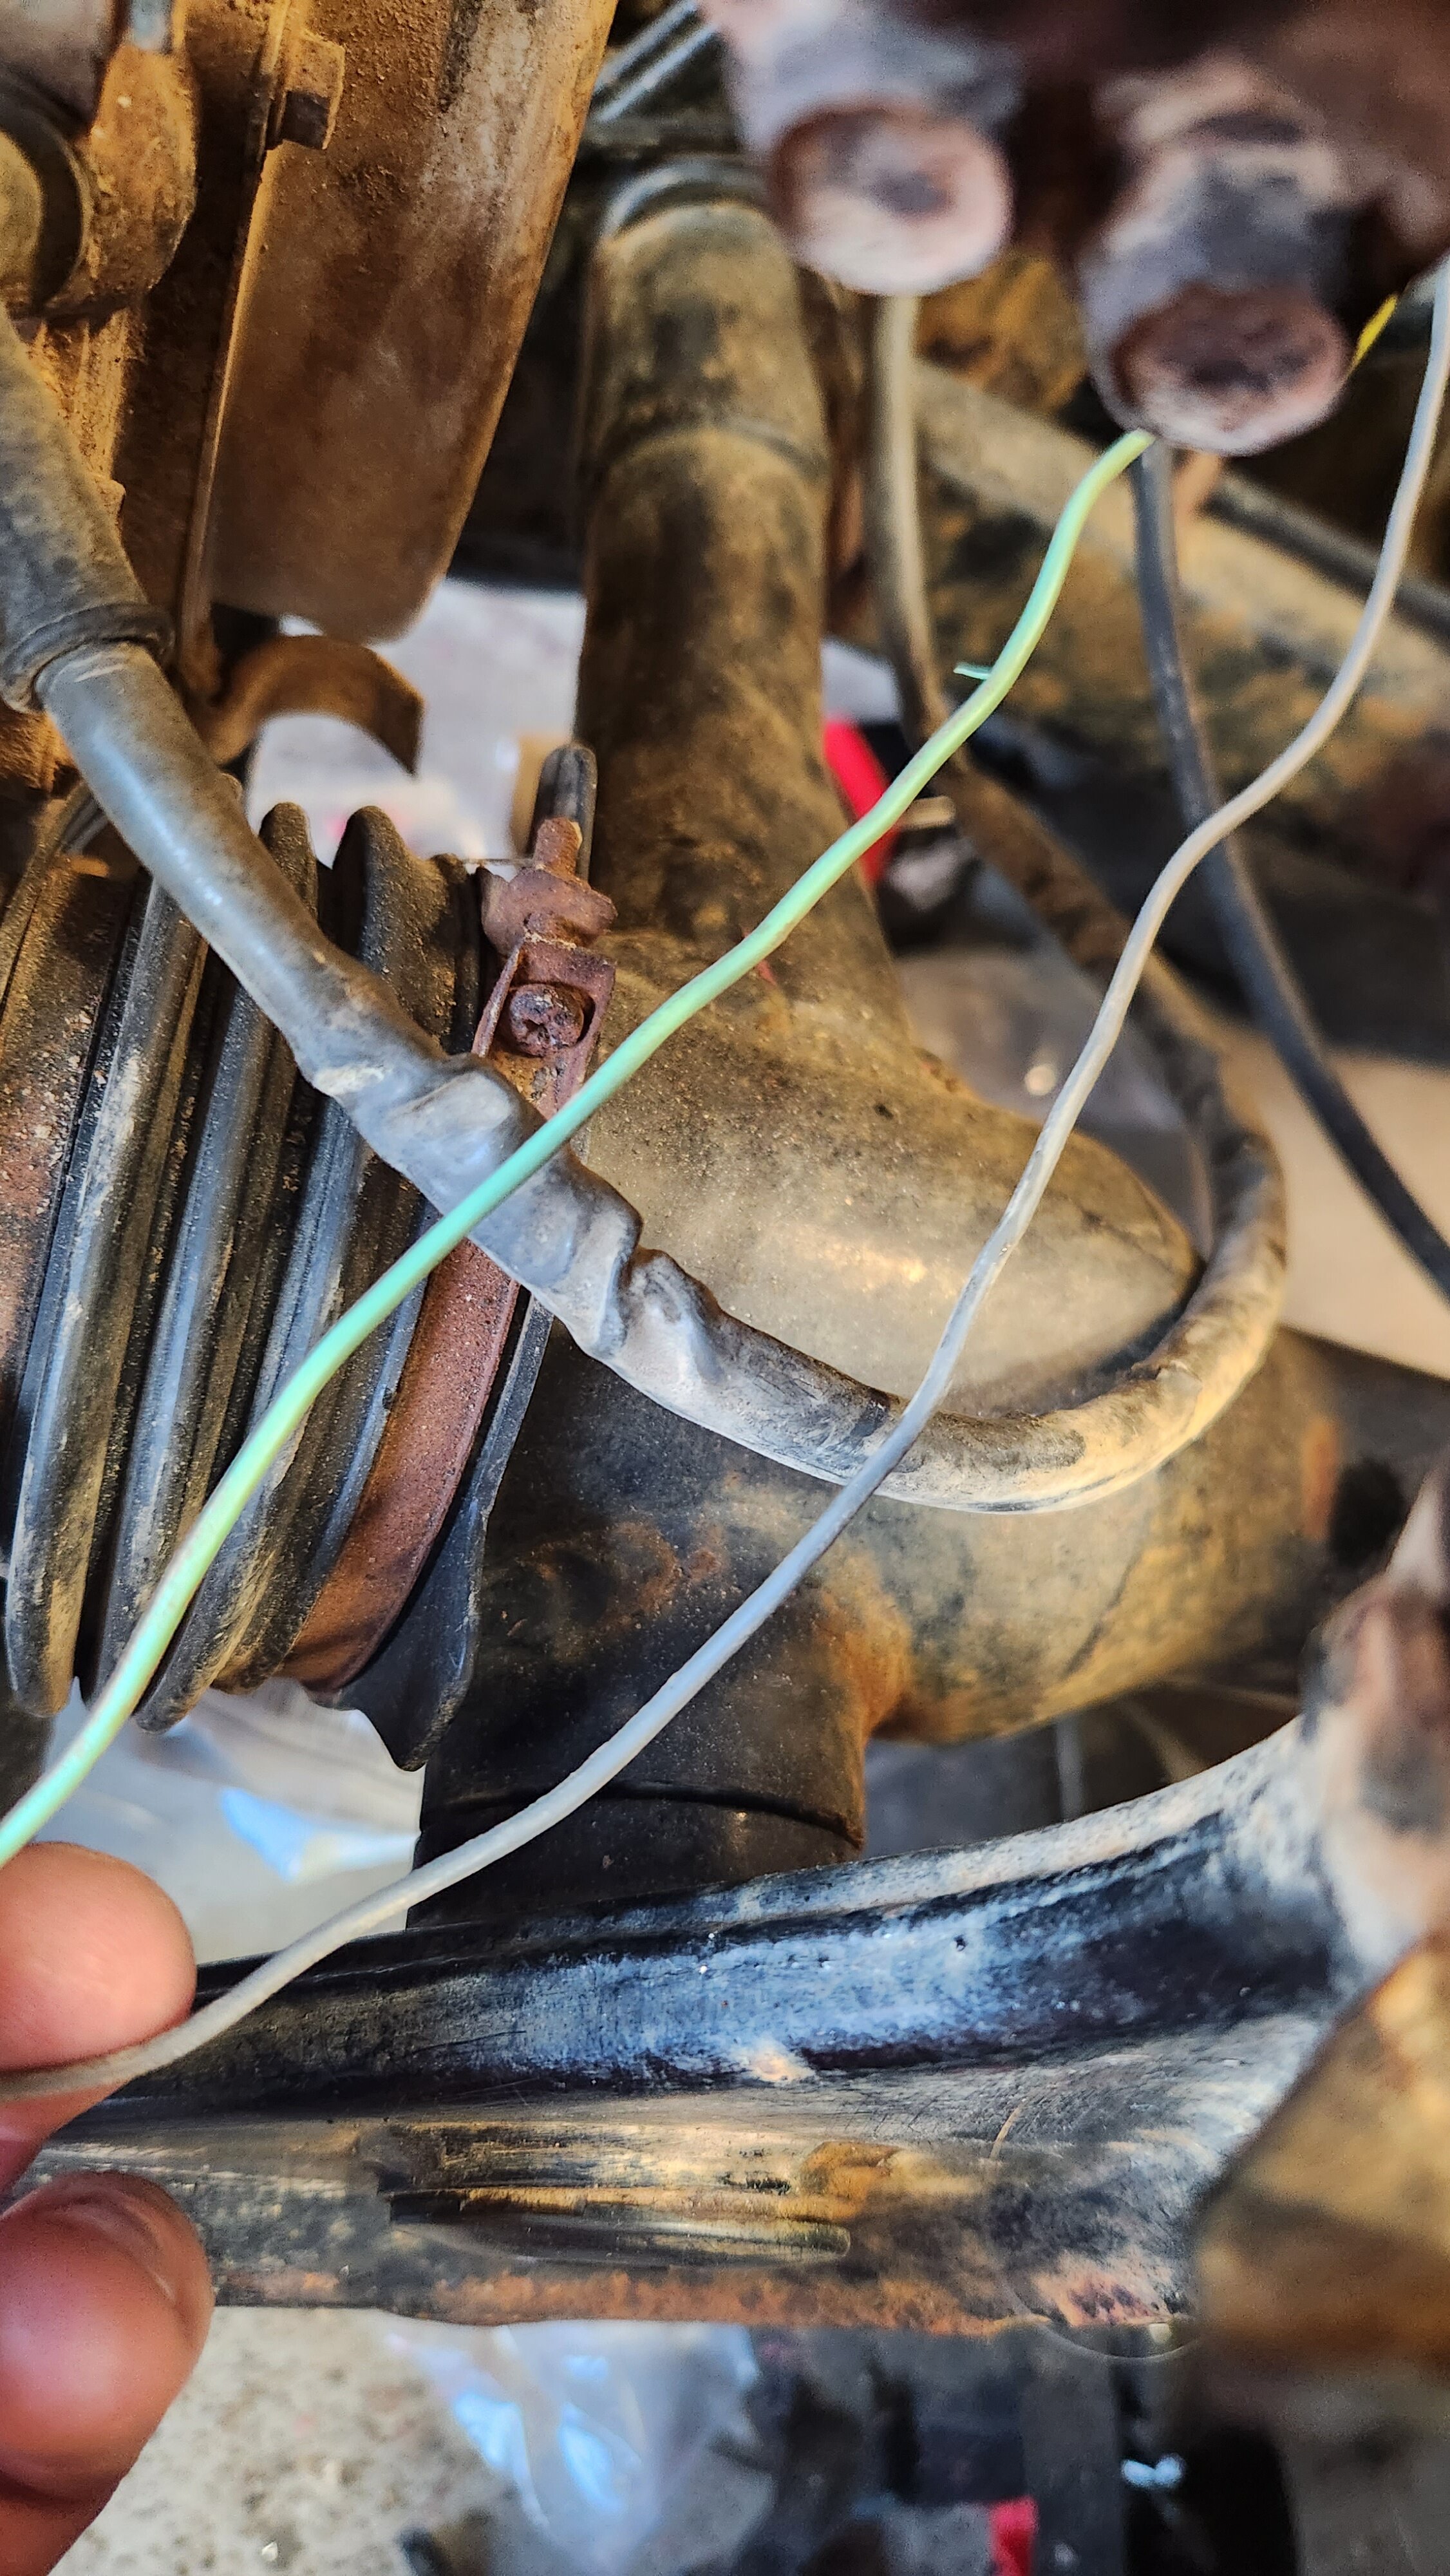
17 hours ago, KrisR said:Well. I got the new switch in. As you can see i had a broken wire at the switch head. Swapped it out. Still no continuity on the green wire. No neutral light. I get the reverse light but no continuity on green wire. Thoughts now. I'll take it out tomorrow and check for breaks.
if you look at the top of that switch ^^ there is the letter N stamped on there. the long end of the small roll pin faces this letter N. ground the switch to the engine for a ground, make sure the roll pin's long end faces that letter N, you should get a neutral light on the dash when you turn the key on, that is..if your neutral light bulb is good on the dash ?. worst case, your shift drum on the end is snapped off, and not spinning the netrual switch when you shift t neutral. you can check this with a flat blade screw driver stabbed into the back end of the shift drum while you have the rear engine cover off. if you can spin that slot easily around ?, then yes...the end of the shift drum has snapped off. if this is the case ?, then this means you will have to split the engine in order to change out the shift drum.
-
 1
1
-
-
i second d&b electrical ^^^, i use them all the time..very good starters, very decent price and warranty.
-
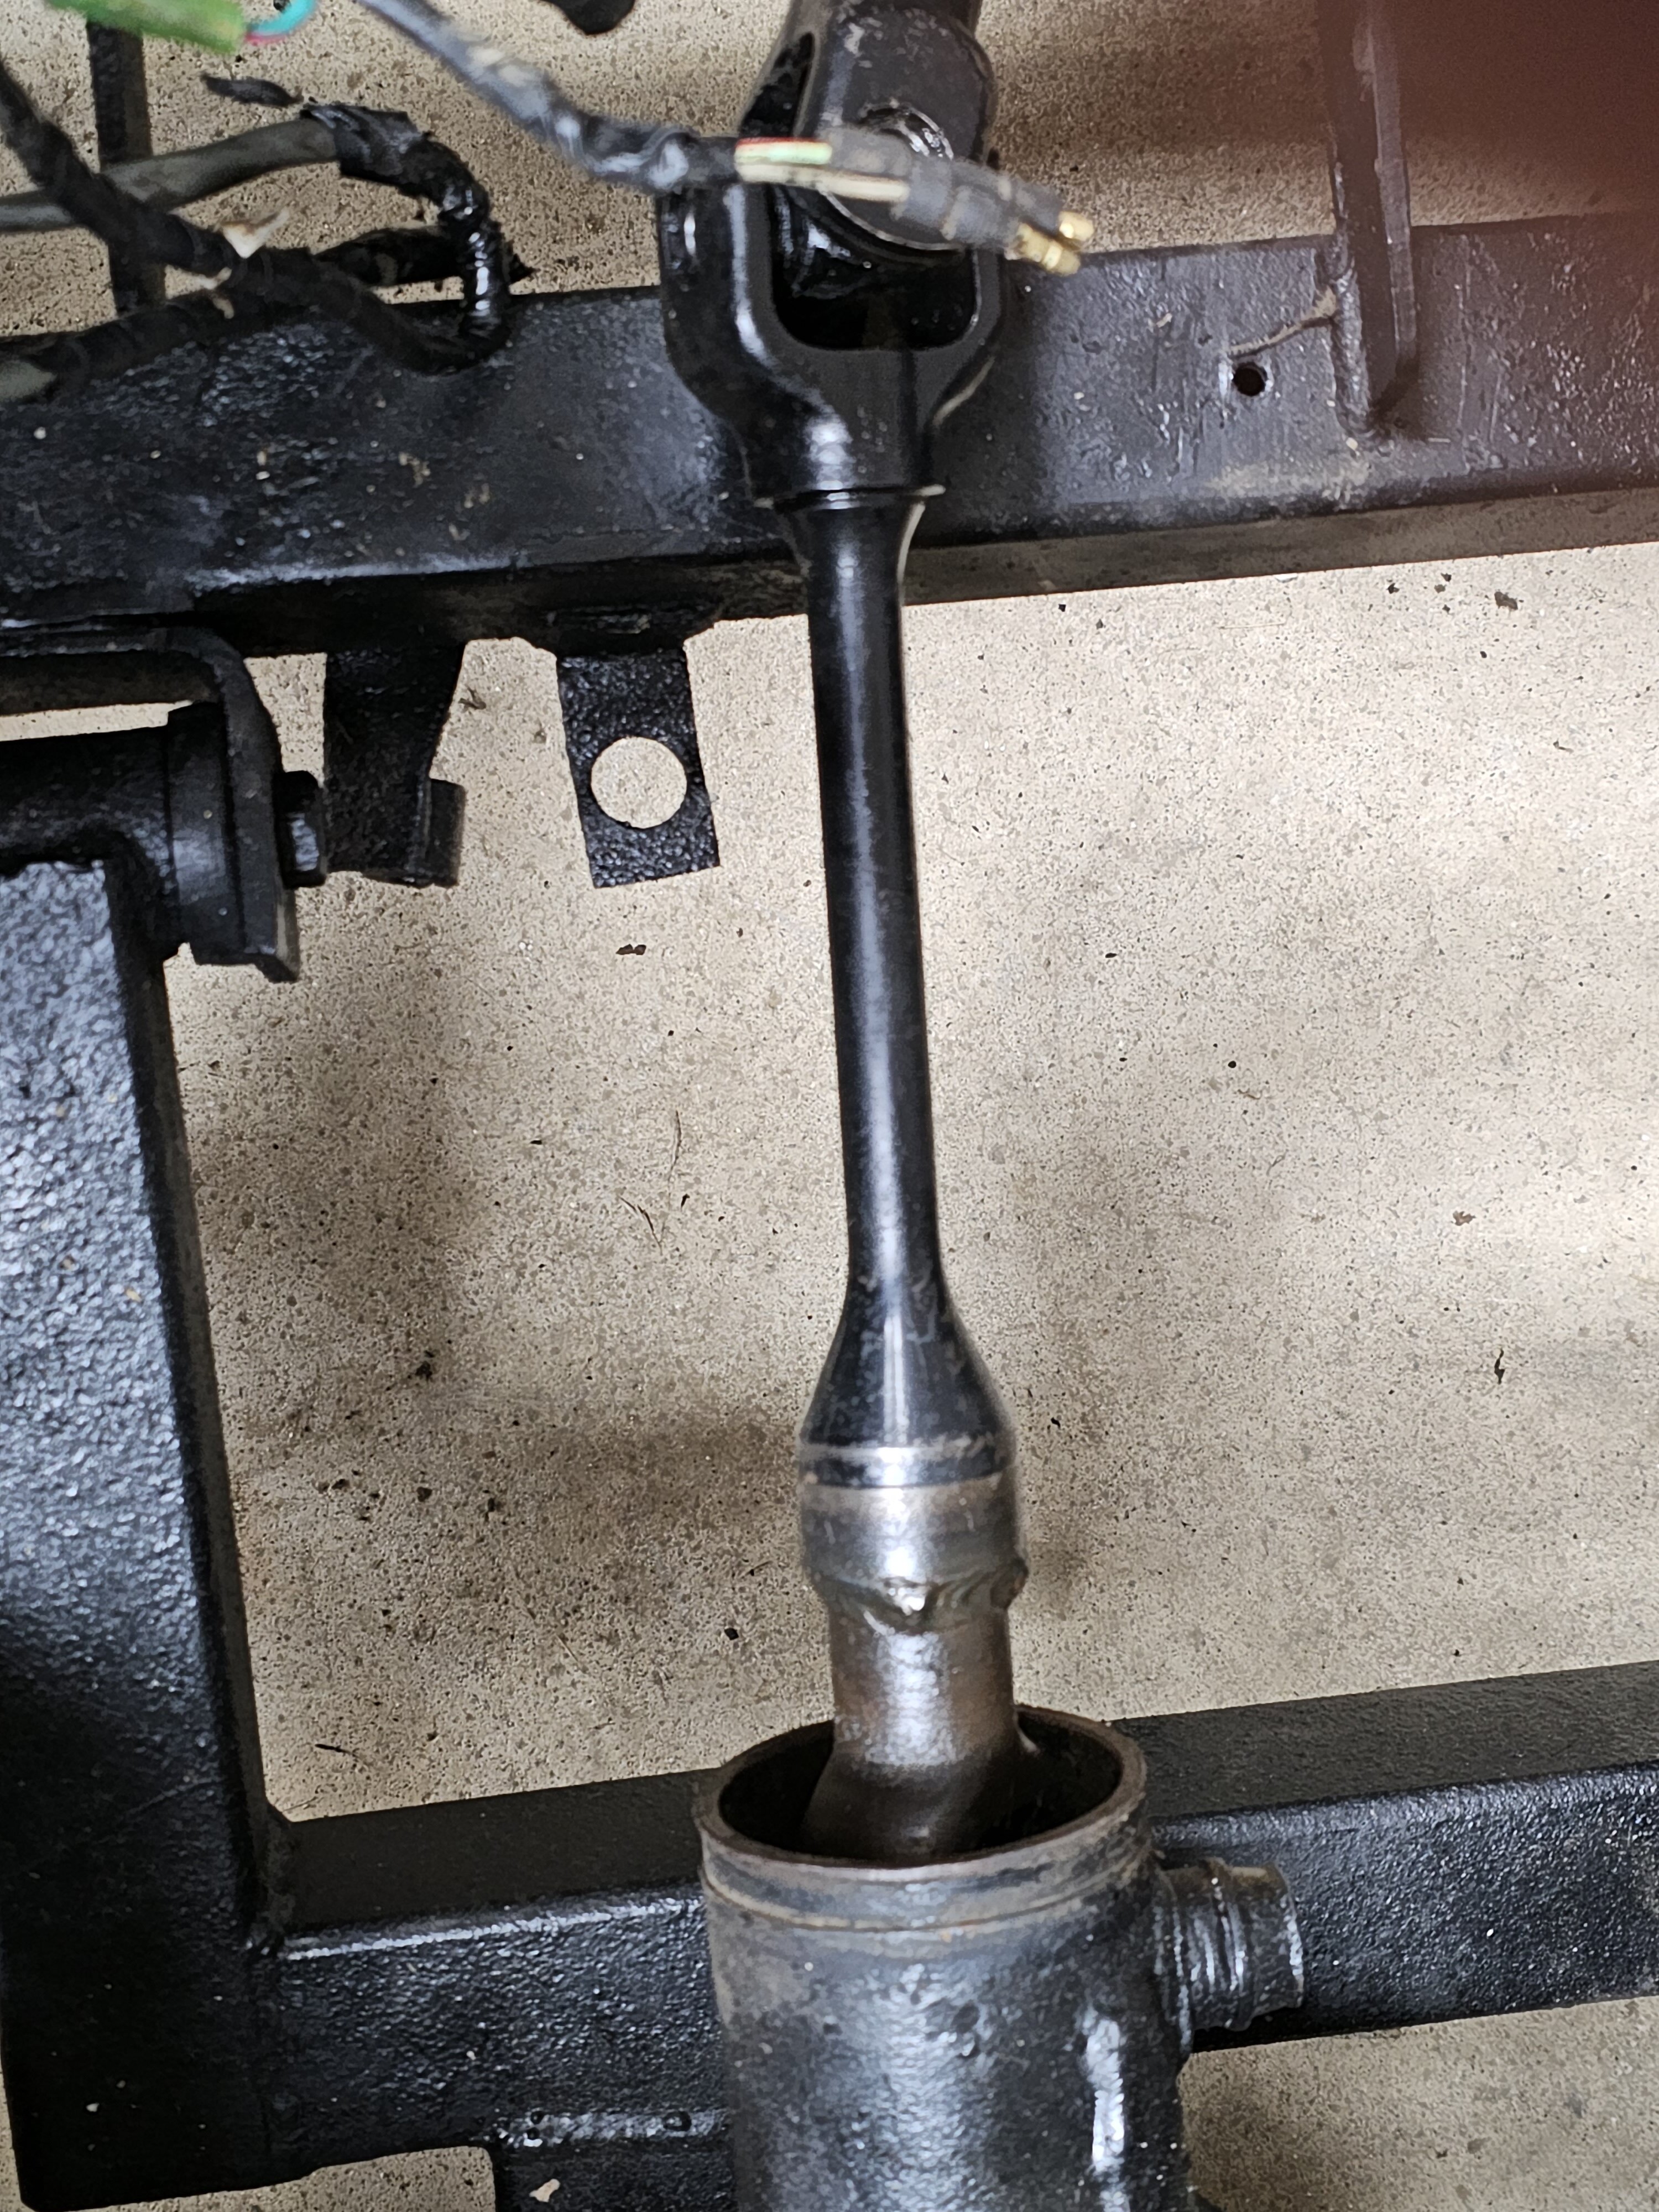
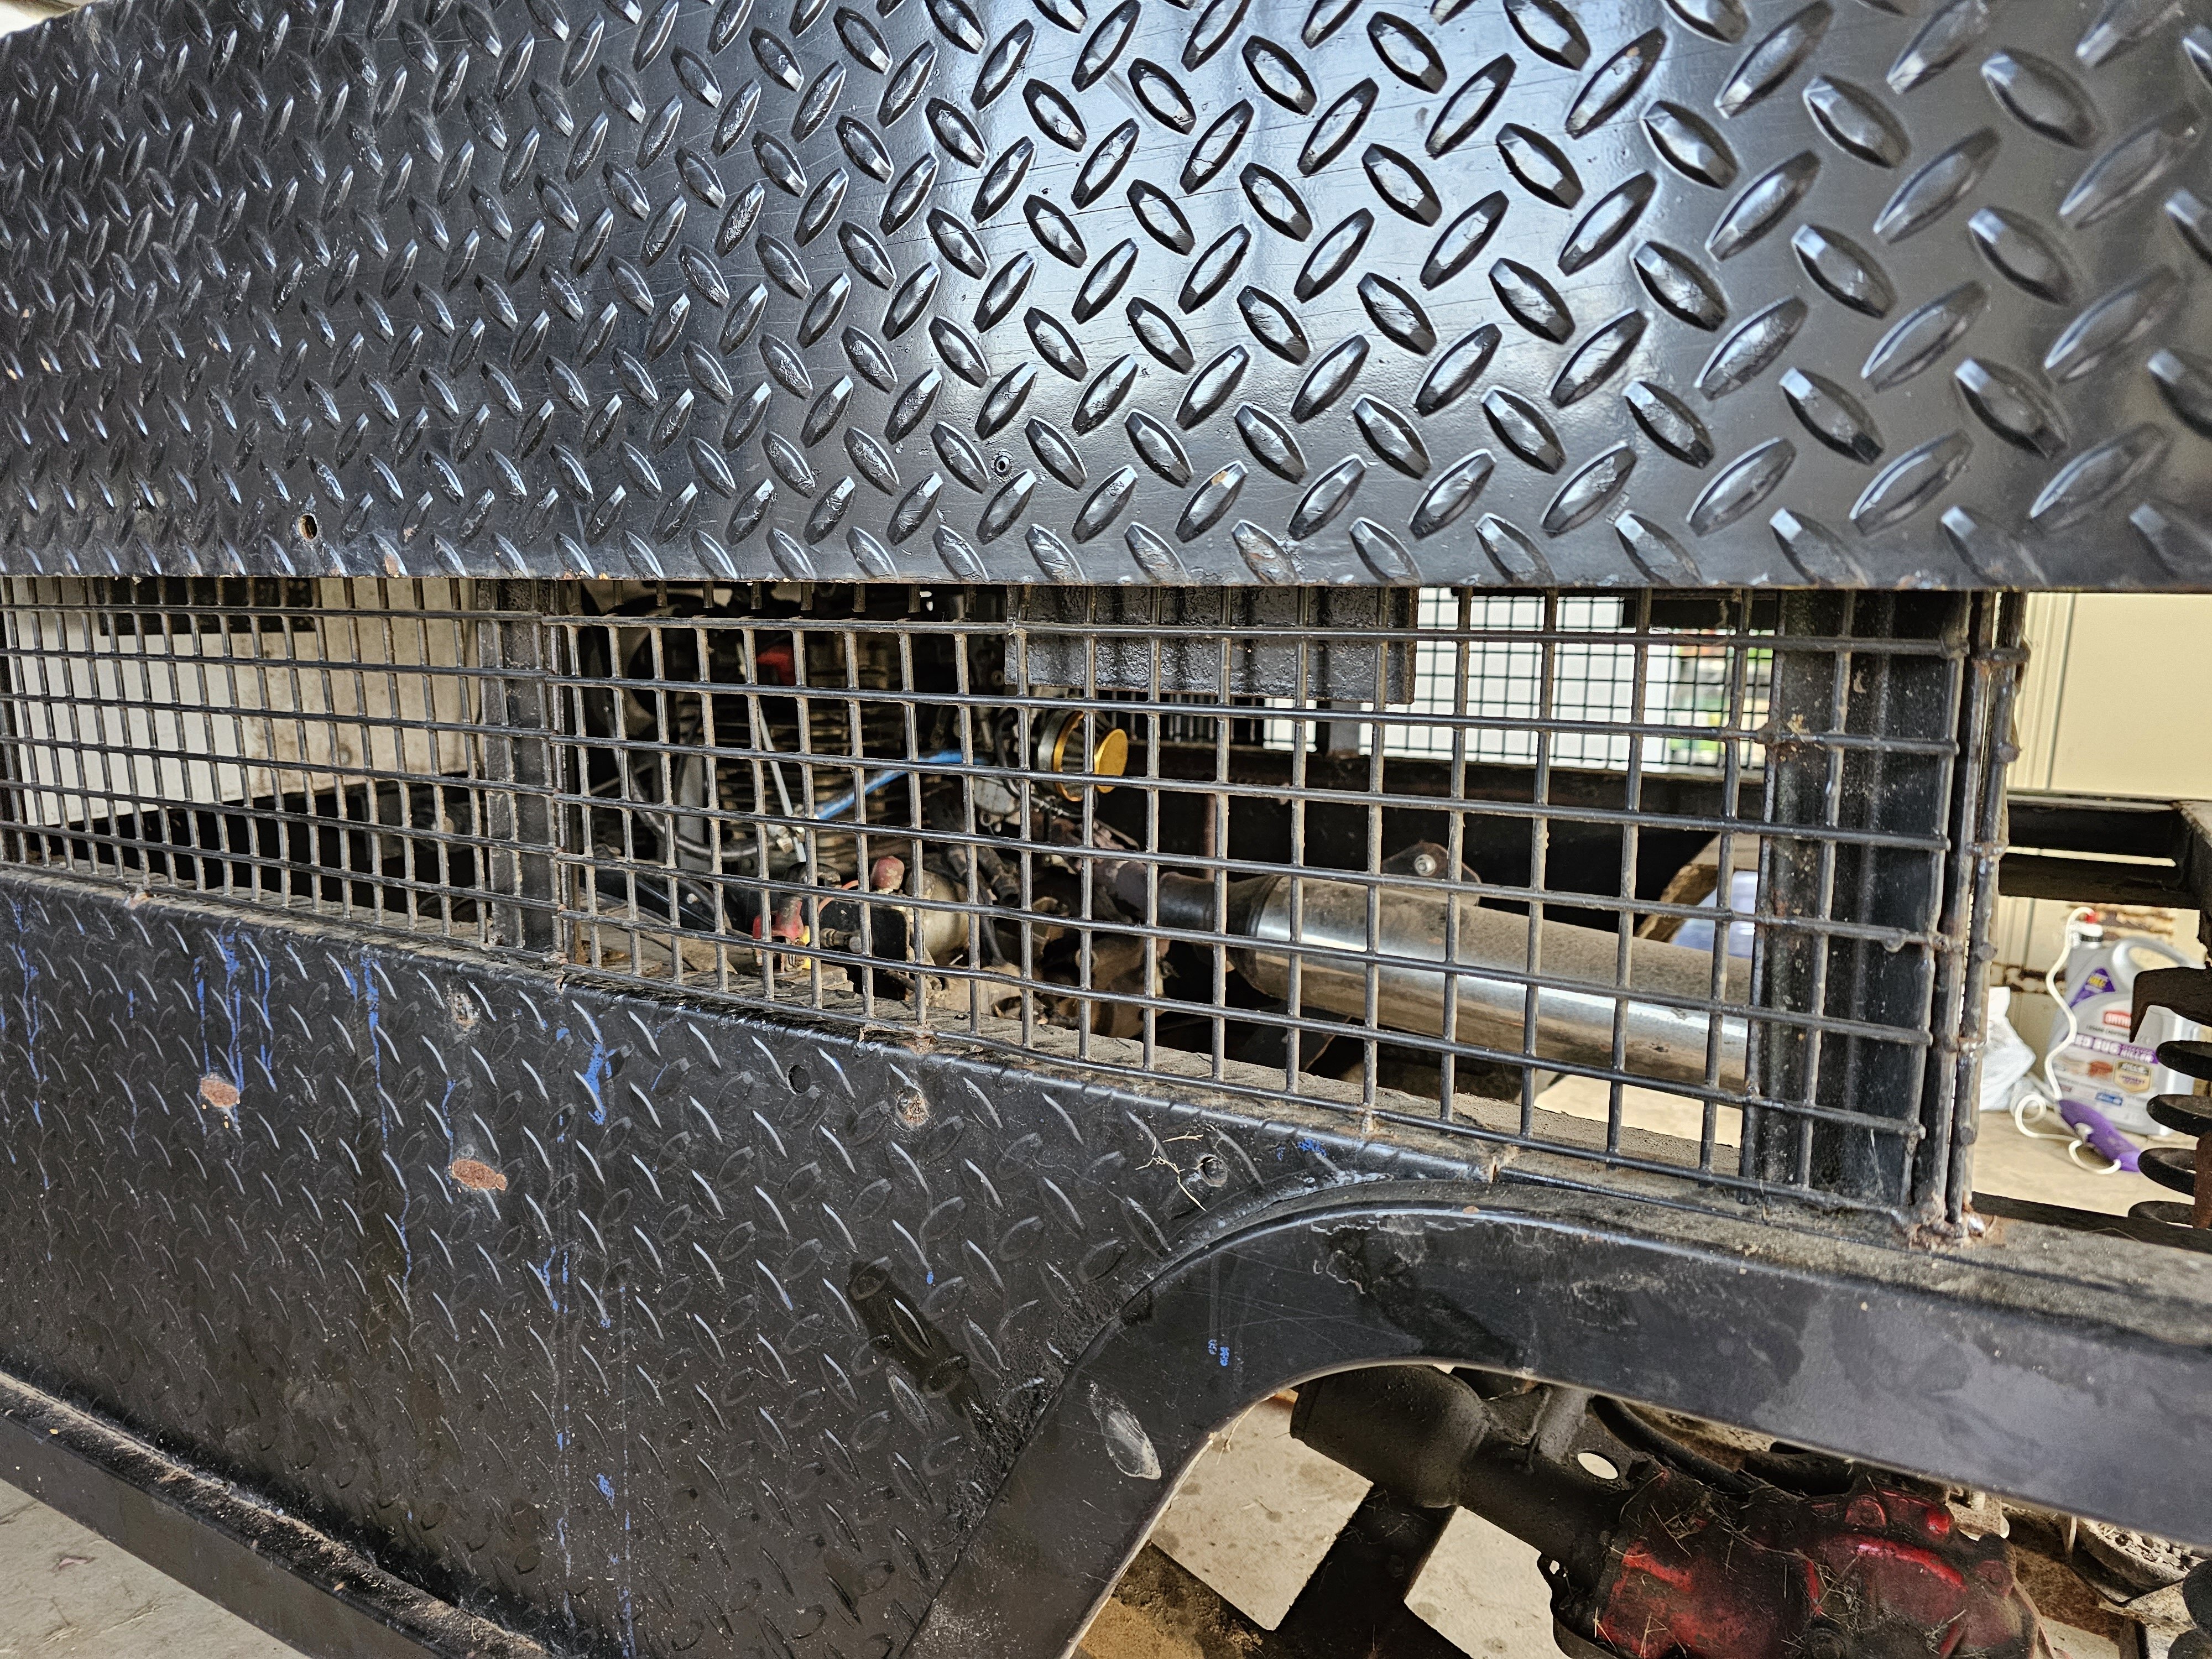
1 hour ago, Lcarter114 said:I pulled the plastic boot off the swing arm. I see what you are saying now. Whoever done it before welded the shafts together. I would have to source some shafts. One surprise after another...lol
yikes !...lol. yeah..now yer gonna have to locate a couple drive shafts on top of a couple u-joints.
-
1 hour ago, MaggieBlu said:I'm sorry , I should have said the "starter" I think is bad. The way they have this thing it is almost impossible to get at without taking the whole dang thing apart! At least that is what I think the problem is anyway. It all started with the battery dying , replaced the battery, then it decided not to switch to reverse and that was fine for the time being. Then it just will not start period,, Has power to solenoid it clicks and has power going to it . that is as far as I got because I can't get to it to even test it. I understand Deer season and I am not in a real hurry , I know all about it , I am a hunter/ trapper myself LOL
if you remove the air box ?, this will give you plenty of room to get at the starter from the top, back end.
-
2
-
-
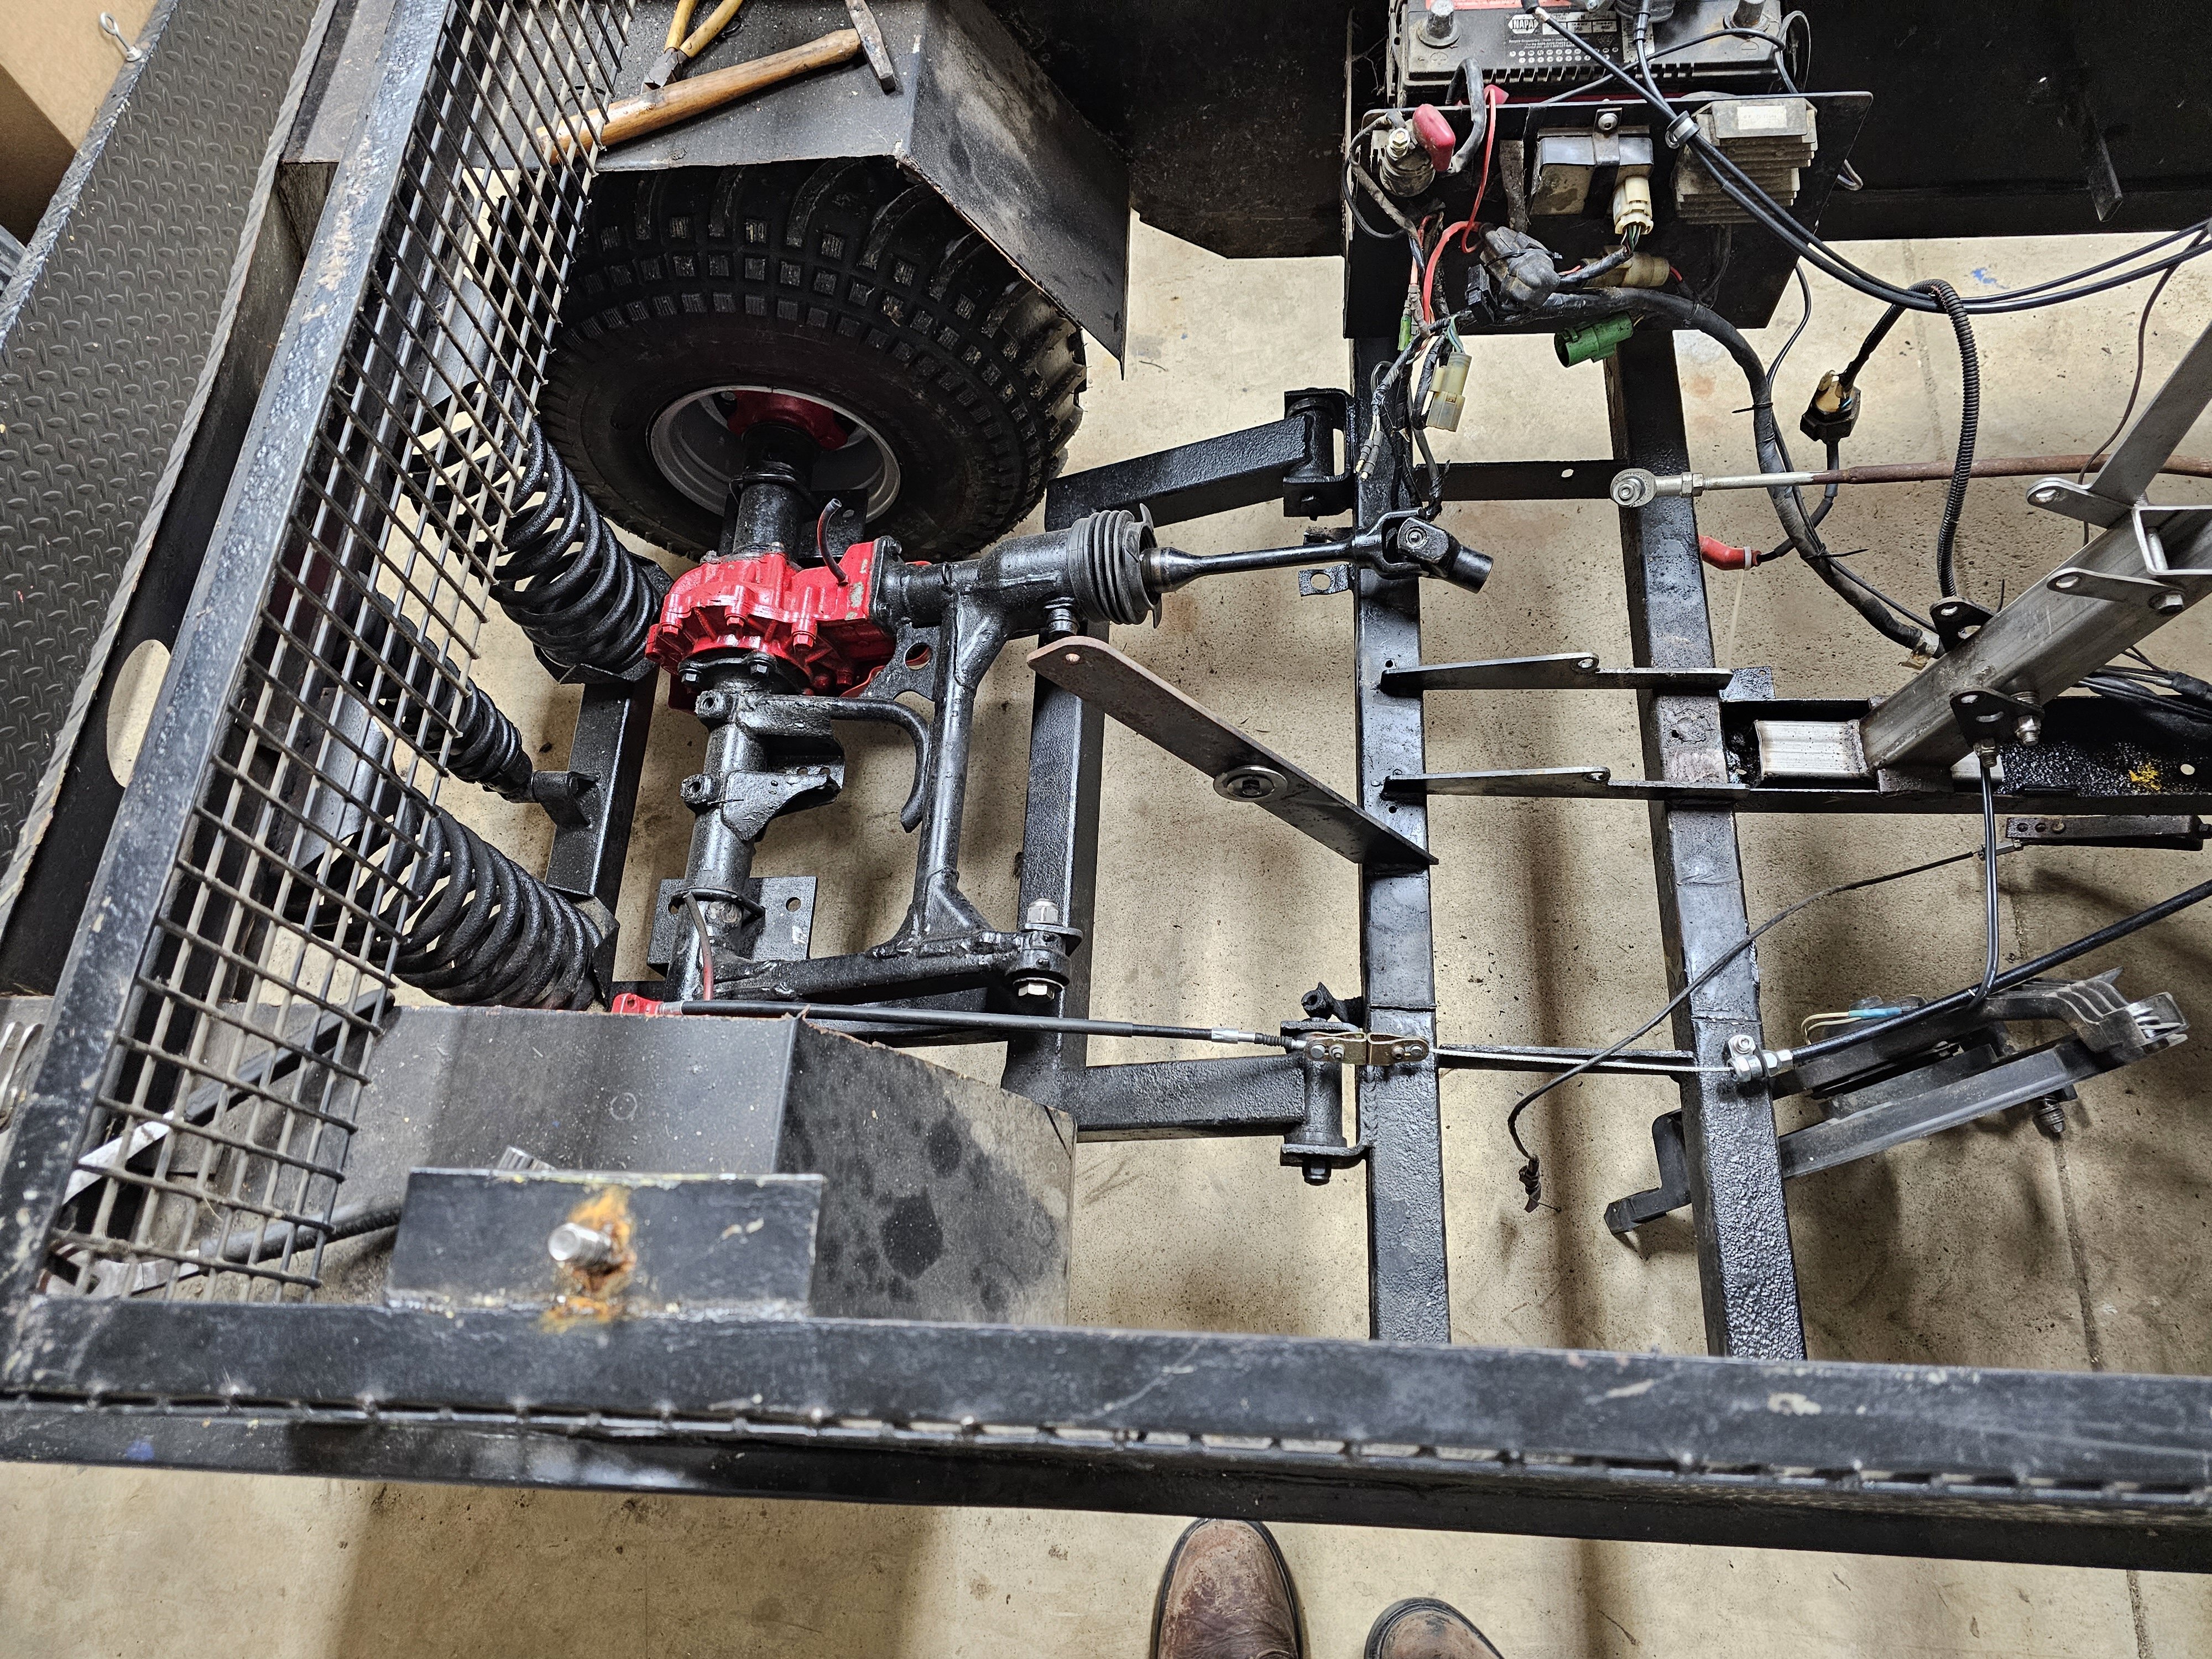
4 hours ago, jeepwm69 said:Yeah, I was thinking if he put a ujoint between that joint where the shafts come together, he'd had enough flex to set the engine level.
if he can get a u-joint to spline both ends there at the swing arm..this would work.
-
2 hours ago, jeepwm69 said:Neat looking project. Could you add a second ujoint where the shaft goes into the swingarm? That should solve your angle problems.
if you look closely...he's already got two drive shafts going to rear end as it is. most drive shafts stop right at the end of swing arm, he's got an extension tapped into the swing arm drive shaft.
-
1 hour ago, Rolandtd said:Yup. I finally got around to working on it and now the fuel injector isn't working. If it's in between gears will it cause it not to work? Seems odd to me considering it ran before.
chances are...if the dash is not showing a neutral light ?, then yes...the fuel system will not work.
-
43 minutes ago, MaggieBlu said:I give up ! I have tried to get into the area where my starter is and I just can't get anything to cooperate with me.I did watch a video and it was a different machine so I couldn't make it work for me. Everywhere I turned to make this work I was blocked by something. So I am looking for a reliable , honest, and as close to me as I can get,, Honda repair person.I don't want to go to a dealership you know how pricey they can be. I am on Bon Air Mt/ Sparta. I can trailer it or you can come to me , I have a garage to work in . I don't have a lot of money so kindness is appreciated, I have sheep so a deal there could be made there. Machine is a 2014 Honda Foreman es - 500 I believe Thanks
can ya give us an idea what you are trying to get too..fix ?. with it being deer season down here in arkansas, it leaves me no time to make a road trip..lol. it will be a couple weeks b4 i am back. i am sure someone that hangs around here would be more than glad to lend a few kind words to help you get your issue fixed.
-
1
-
-
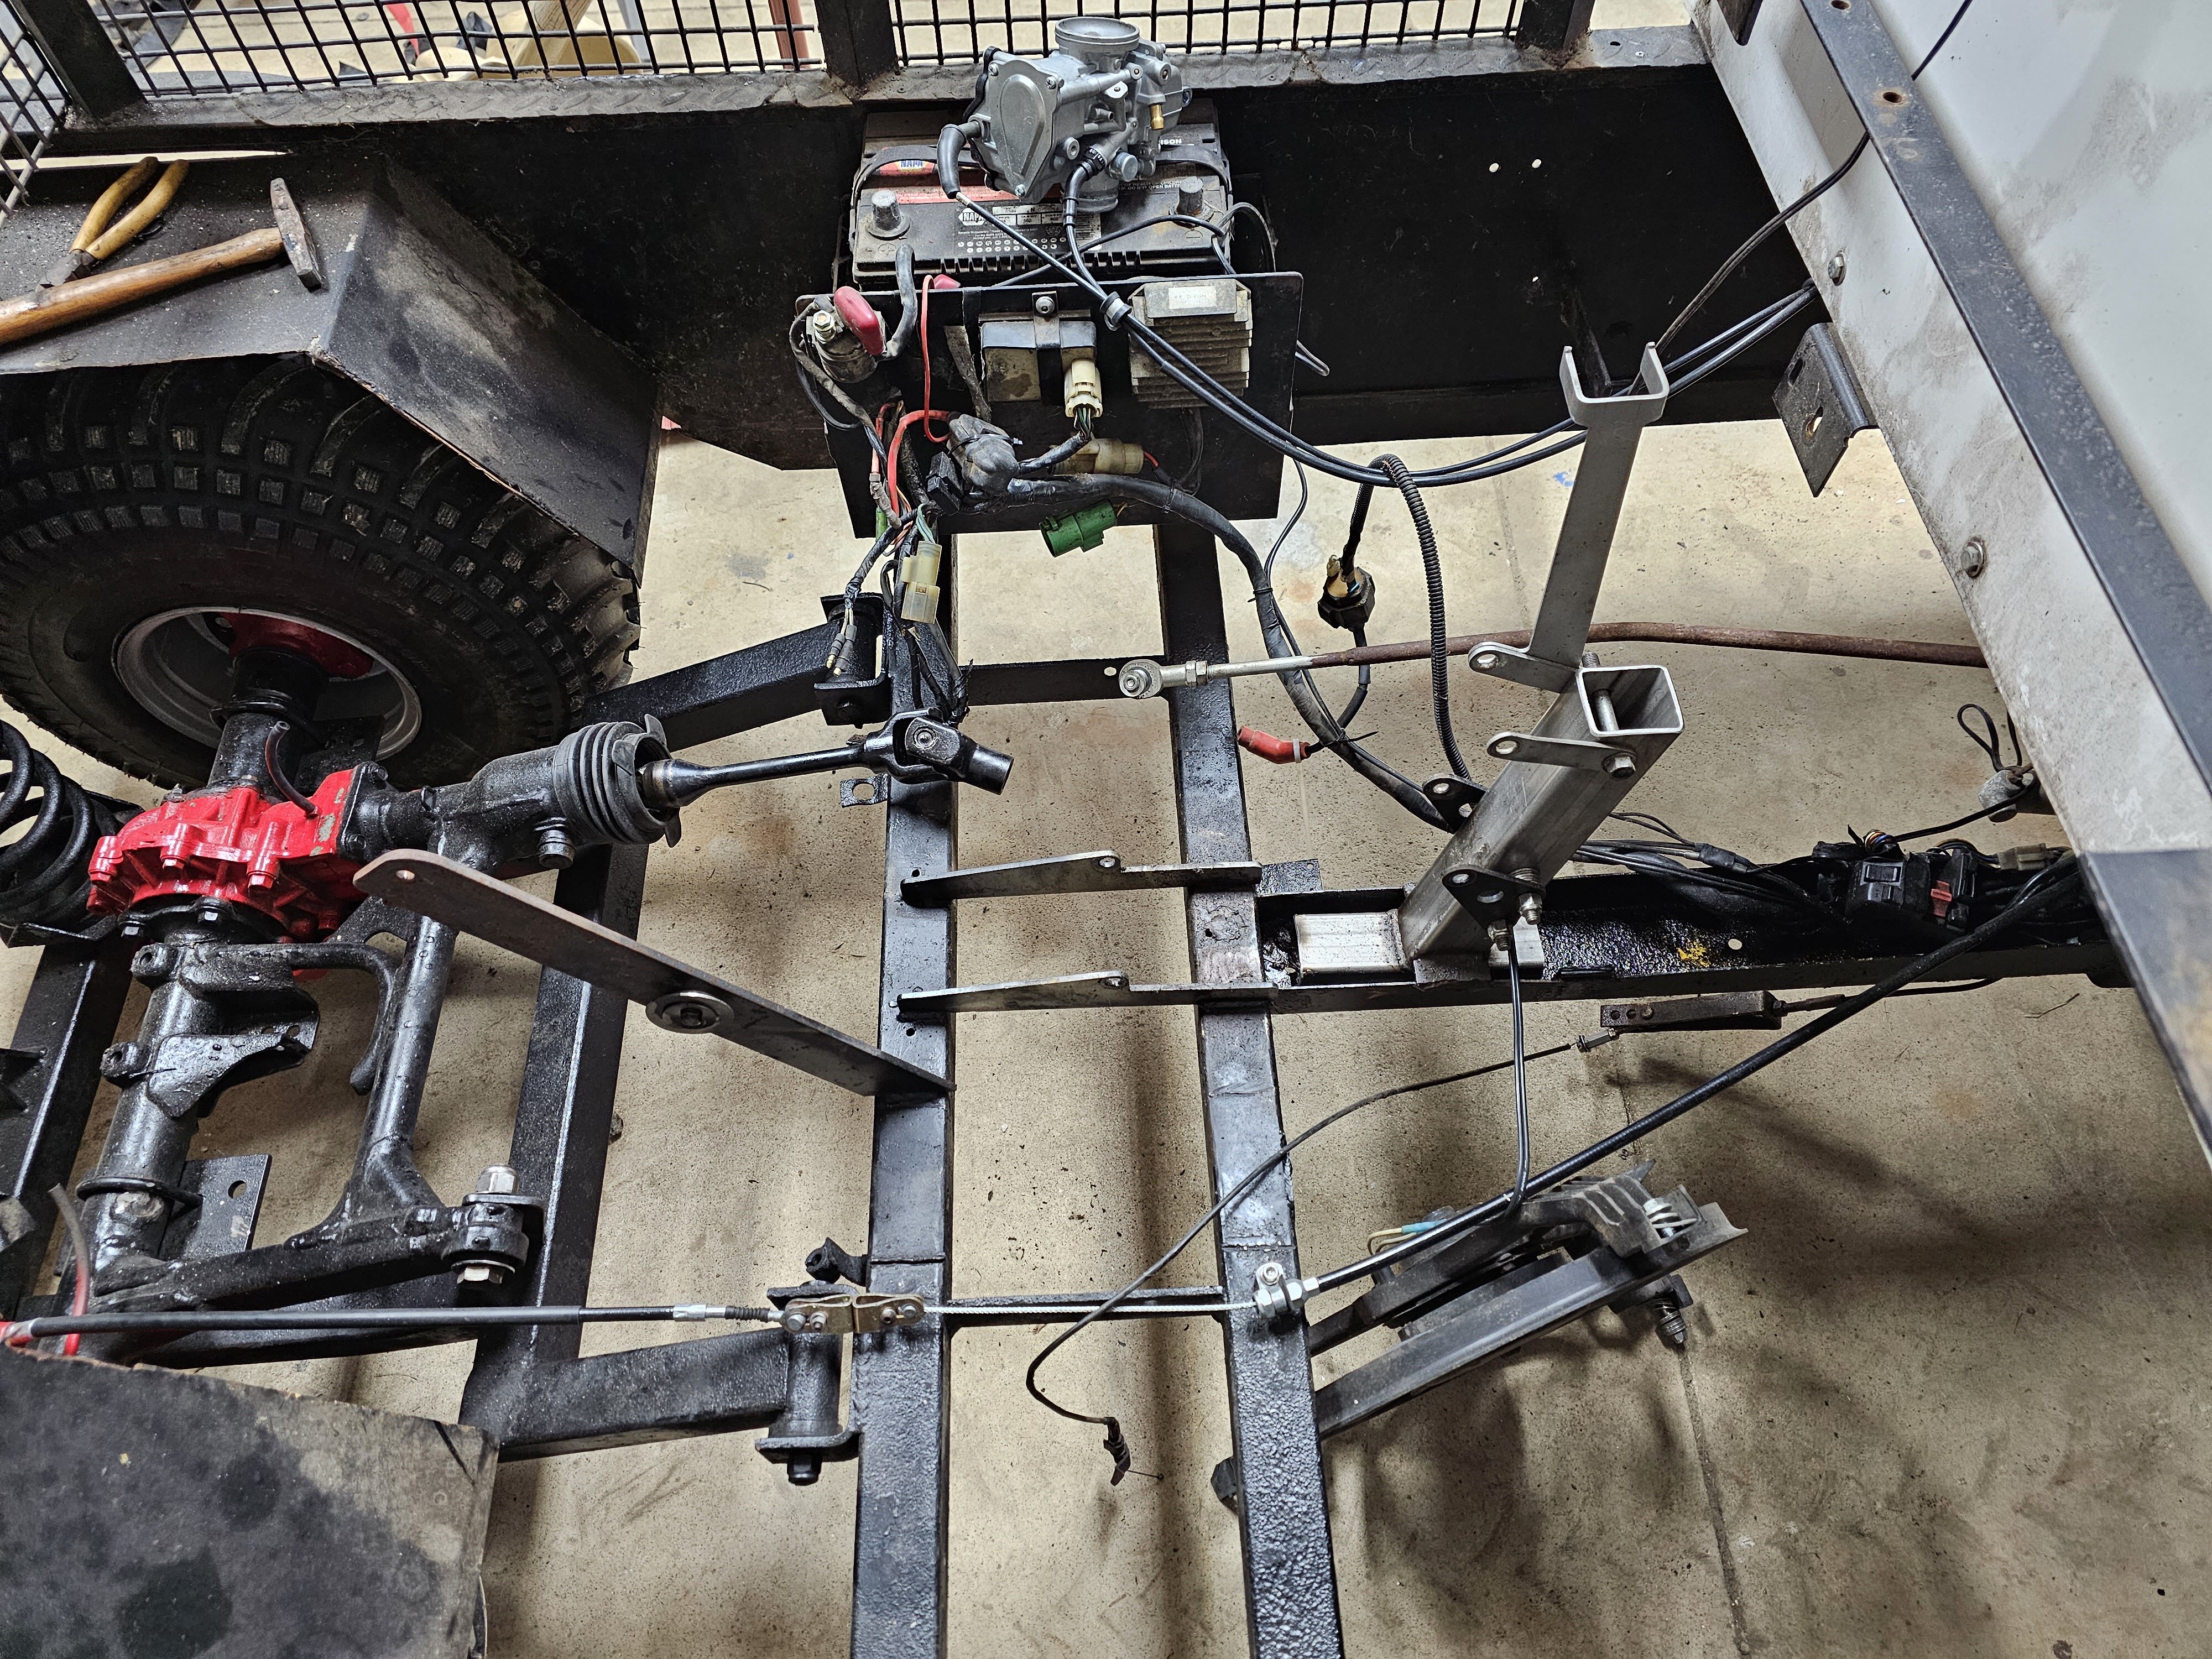
36 minutes ago, Lcarter114 said:The front of the motor bolts to the upright square tube. There is only 1 drive shaft. It would probably be used for a little yard work but more of a toy. Originally it had a throttle lever on a homemade shift knob. I added a gas and brake pedals and fixed the rear brake. It still need front brakes, that one drum brake doesn't get it. I also changed the swing arm seals and bearings, new tires and wheels. I am pretty good at mechanical and electrical, but welding is my weak suit. I could maybe go bigger wheels and tires and shorten the springs to try position of the swing arm, then change the motor mount. Alot to think about. I don't want to go ahead and fix the motor if I could potentially damage it in this configuration.
have you thought about adding shocks to the swing arm to raise the swing arm up some ?.
-
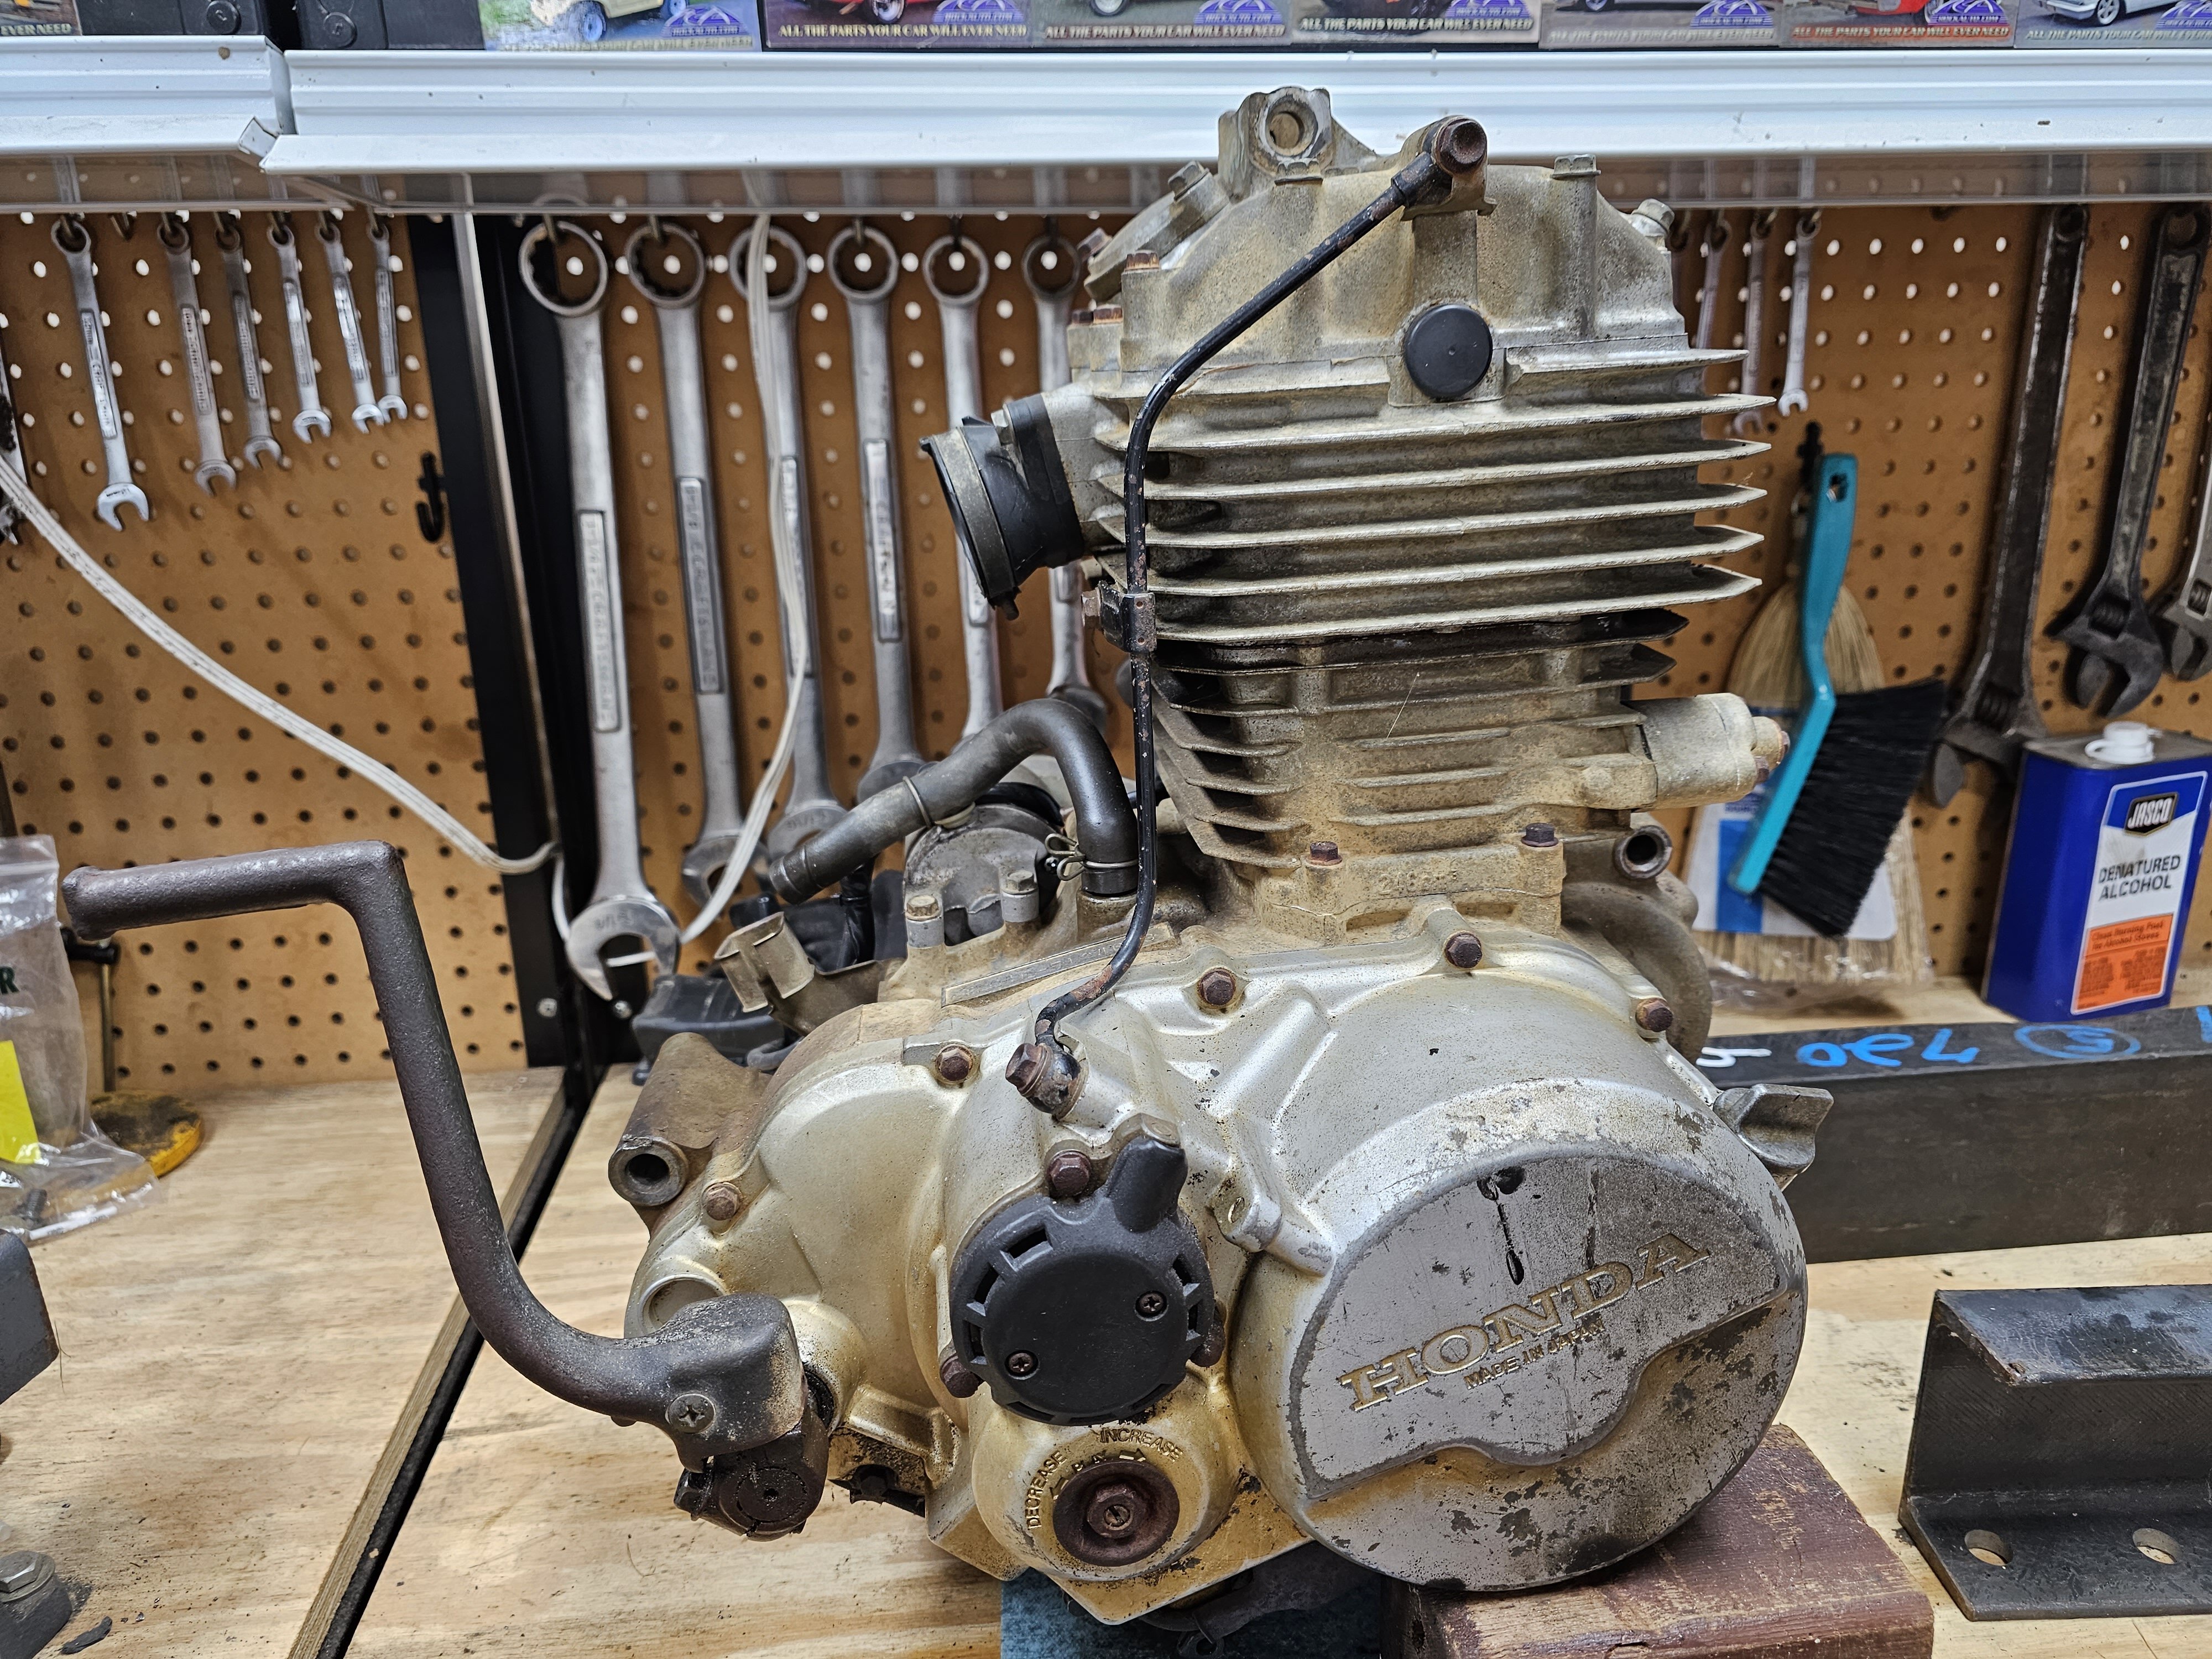
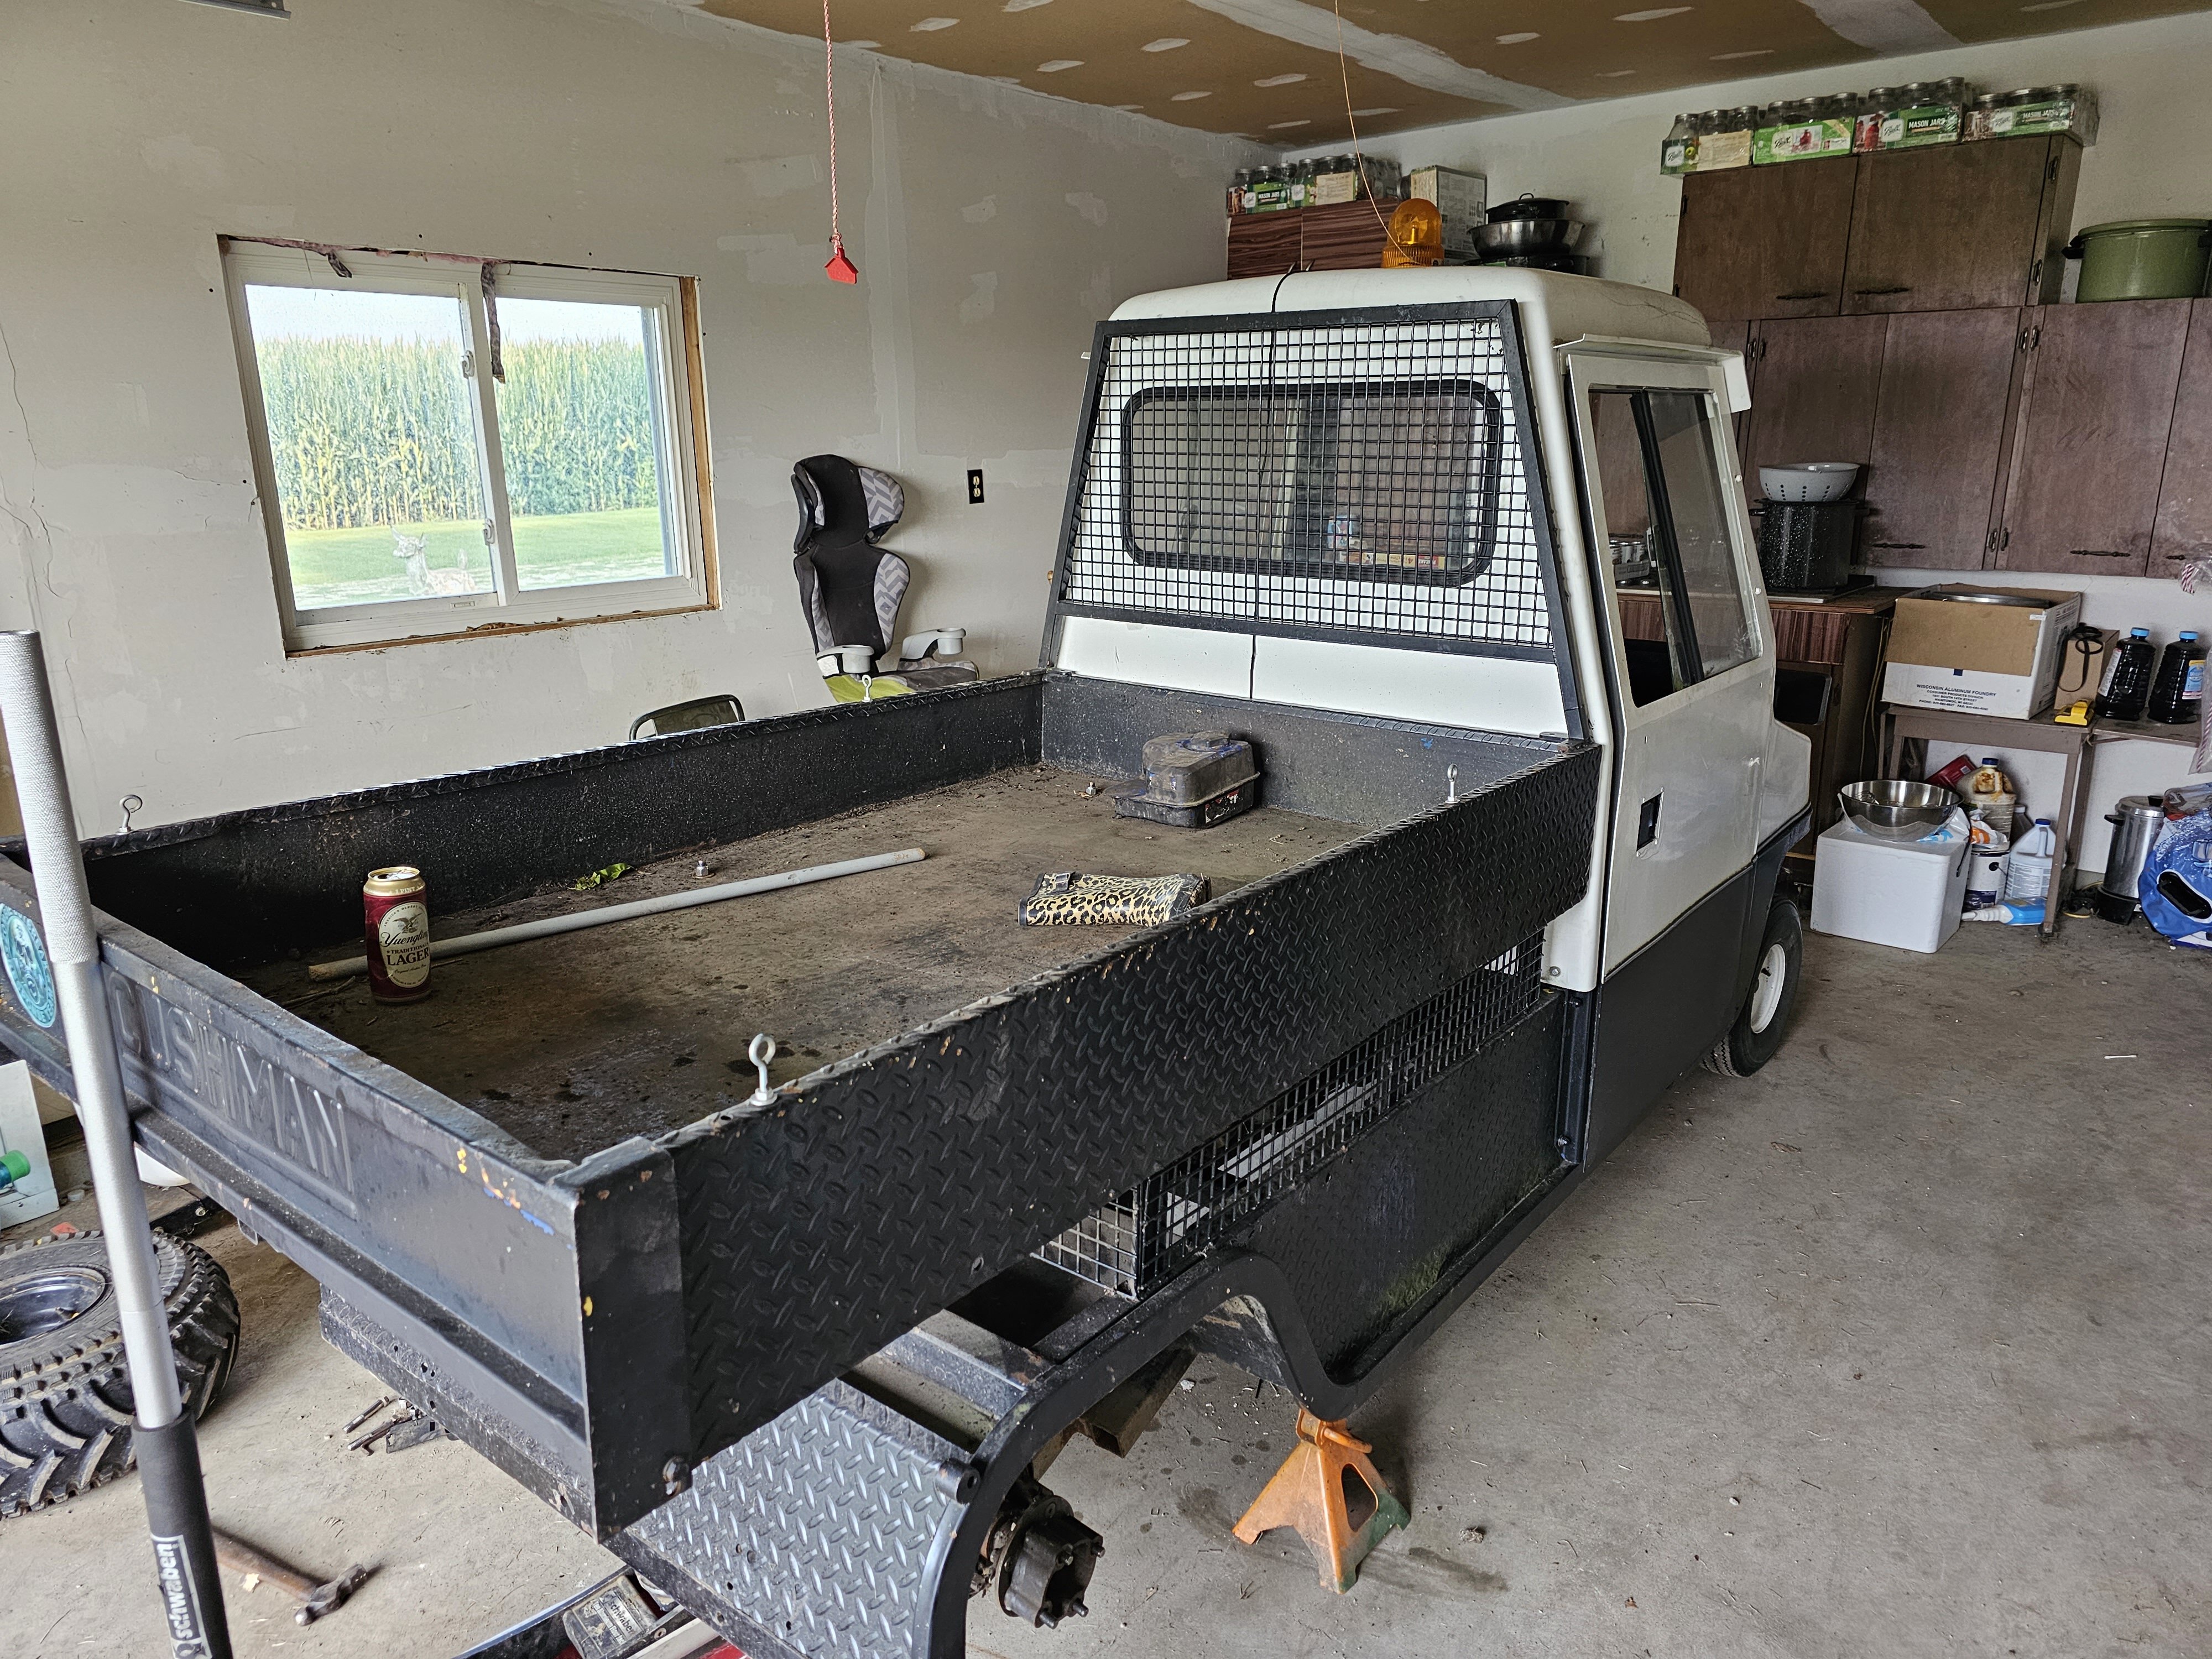
1 hour ago, Lcarter114 said:I didn't get any pictures before I took the motor out. The silver square tube is the mounting for botlting the motor plus one more at the bottom. The way the engine is sitting on the bench is how it sits in the vehicle. If I rotate it forward I will have to redo the mount (which is not out of the question) and the drain plug will be straight down in u channel. Don't know if I should cut my loses and sell off the parts or try to make it work. It does have an electric fan so I think the temp is ok.
It will be a fun project my wife said...🙄
if you can weld ?, weld up a drop tubbing under the drive shaft , this will let it clear the output shaft.
-
2 hours ago, toodeep said:Do you have any pictures? There has to be a way to get the motor and swingarm sitting in there correctly. Being shaft drive they can take on a pretty good angle but sometimes the u joint needs ground a little for clearance. The case of the motor is the pick up for the oil pump so not much to modify there and messing with the crankcase vent I would think would just give you seal problems which would be a new oil loss issue. Once you start tearing the motor down you will know if it was ran low on oil or if it's just in a place to not get enough air flow to cool properly.
ty toodeep, i forgot it was shaft drive ?..dang i hate getting old !.
-
1 hour ago, Davidtorresmx said:That's a very good explanation you give me, I'm going to try and if possible I'll change the connecting rod along with the top end and valve train to make sure everything is in optimal working order.
This forum has been very helpful, I thank you all
please keep us posted on this project !, you very well may help someone else with the same problem !.
-
1 hour ago, KrisR said:Ok. I have no continuity on the green/red wire. I removed the entire outer protective black shrink wrap sheathing all the way down to the case and have no breaks that I can see. Here's my problem. This switch is no longer made. Any thoughts
do you have a 12vdc test light ?. if you do ?, one with a sharp point will work great for this test. ground test light to neg on battery, or engine somewhere to get a good ground, most have a clip that lets you clip it to somewhere. once grounded, turn key on, then carefully poke green wire with red stripe wire...when you do this, you should not only get the test light to light up, but the green light on dash as well. if and when this takes place, this tells me your gear position switch is bad. you may have to do the gray wire, red stripe wire same way ?, its been a min sense i worked on one..lol.
-
50 minutes ago, Lcarter114 said:I recently purchased a Cushman truckster project where the prior owner removed the batteries, constructed a rear suspension and motor mounts, then installed the engine and swing arm out od 1985 ATC 250. When doing this they rotated the engine back appropriately 15 degrees, (the piston is pointing straight up). The problem I discovered is if the oil is filled to the correct level on the dip stick it will blow out of the crank case vent. The engine has a knock so I pulled it out to rebuild it but I am worried about the oil issue. From what I can see from the shop manual the oil pump is toward the front of the engine. I fear that when the oil blew out of the crankcase vent it was too low for the oil pump to pick it up. I can't turn the engine back to original position due to the angle of the swing arm. Am I correct in assuming I am losing oil suction with the engine tilted? If so can I make a taller vent tube with a couple of 90 degree turns to keep from losing oil and not have any issues?
Any advice would be greatly appreciated.
well..i see you are trying to take a square peg..and fit it into a round hole ?!..lol. here's an idea. maybe try adapting a roller guide for the chain, this way you can put the engine back at the correct angle. the oil pump is on same side as the clutches, which in this case, are on right hand side.
-
1 hour ago, jcz said:This one is already back together. I have run it thru initial break in and changed the oil. I am putting the essentials back on so I can ride it for a bit for the next oil change. I didn't feel any excess play in the connecting rod or crank when i had it apart.
whewww..glad you were smart enough to check the rod !. good deal :-).


Service Manual Downloads
in Engine - Drivetrain
Posted
have a look on this page --> trx520 service manual for sale | eBay , pick out the best one you like. MAKE SURE IT COVERS YOUR YEAR/MAKE/MODEL BEFORE YOU ORDER IT !.